In a world increasingly conscious of sustainability and resourcefulness, transforming discarded materials into functional and stylish pieces is both rewarding and environmentally responsible. This project demonstrates precisely that, guiding you through the creation of a height-adjustable workshop stool crafted entirely from scrap materials. Forget expensive, mass-produced furniture; let's explore the possibilities of upcycling and build a robust, personalized stool perfectly suited to your workshop needs. This design prioritizes practicality and adaptability, showcasing how ingenuity can turn waste into a valuable asset.
We'll be utilizing readily available scrap wood, salvaged metal, and repurposed components to construct a sturdy and ergonomic stool with a unique, height-adjustable mechanism. This allows for comfortable working at various bench heights, maximizing your efficiency and comfort. Ready to transform your scrap pile into a functional and stylish addition to your workspace? Let's dive into the step-by-step instructions to bring your DIY height-adjustable workshop stool to life.
Preparation and Safety Guidelines
- Scrap metal
- Wood scraps
- Wheels/Casters
- Threaded bar
- Box section
- Welder
- Measuring tools
- Cutting tools
- Nuts and bolts
- Penny washers
- MDF
- Foam
- Fabric
- Staple gun/Hot glue
- Wood glue
- Paint
- Always wear appropriate safety glasses and a dust mask when sawing, sanding, or using power tools. Wood dust is harmful to your lungs.
- Ensure all screws and fasteners are securely tightened to prevent collapse or injury. Regularly check the stability of the stool during and after construction.
- Use caution when working with sharp tools like chisels and saws. Maintain a clean and organized workspace to avoid accidents.
Step-by-Step Instructions
Prepare the Frame
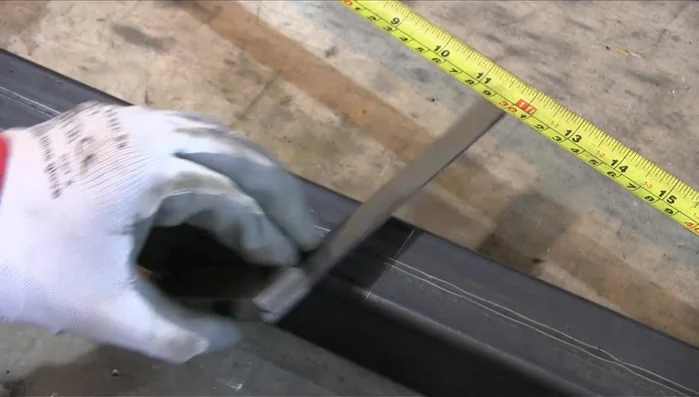
- Measure and cut the box section for the stool's legs and frame.
- Weld the wheel frame together.
- Secure the threaded bar using nuts and washers, welding one nut to the bar for stability.
- Weld a penny washer to the box section to create a housing for the threaded bar.

Prepare the Frame - Cut and countersink holes for the pipe attachment, welding the bracket.
Prepare the Frame Assemble the Height Adjustment Mechanism
- Attach a circular hollow section to the top of the threaded bar.
Assemble the Height Adjustment Mechanism Construct the Seat Support
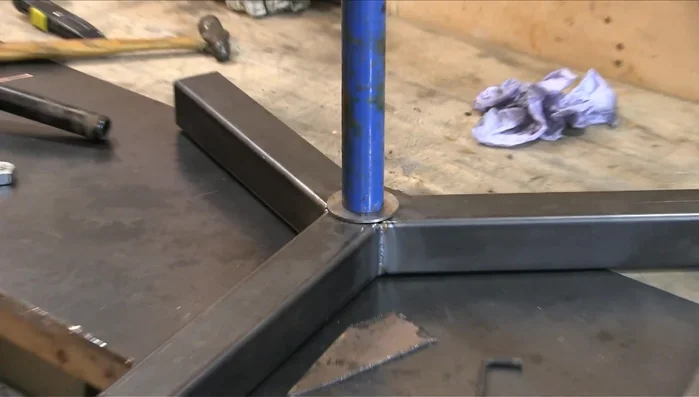
- Weld the seat post to the bracket, ensuring it's secure and can withstand uneven pressure by adding reinforcing triangles to spread stress.
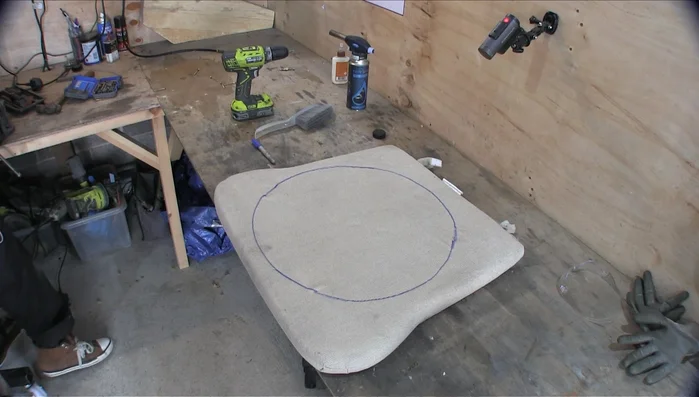
Construct the Seat Support Prepare the Seat
- Cut and prepare the MDF for the seat base. Seal the MDF with wood glue to prevent paint absorption.
Upholster the Seat
- Create and attach the seat using foam, a plywood backing, and fabric (upcycled bandanas in this case).
Upholster the Seat Final Assembly
- Assemble the final stool by attaching the seat to the frame.
Final Assembly


Read more: Miniature Spider Welding Tutorial: Crafting a Tiny Metal Arachnid
Tips
- Use reinforcing triangles to strengthen the joint where the seat post attaches to the bracket.
- Seal MDF with wood glue before painting to prevent paint absorption.
- Upcycle materials whenever possible. Old bandanas can make surprisingly effective seat covers.