Industrial-style kitchens are all the rage, offering a blend of rugged charm and modern functionality. A key element in achieving this aesthetic is often a sturdy, versatile kitchen cart – a perfect spot for prepping food, displaying cookware, or adding extra counter space. But purchasing a pre-assembled cart can be expensive, and finding one that perfectly matches your kitchen's unique character can be a challenge. Luckily, building your own DIY industrial kitchen cart is easier than you think, offering a rewarding experience and a customized addition to your home.
This guide provides a comprehensive, step-by-step approach to assembling your own industrial-style kitchen cart, from gathering the necessary materials to the final touches. Whether you're a seasoned DIY enthusiast or a complete beginner, we'll walk you through each stage, ensuring a smooth and successful build. So grab your tools, let's get started!
Preparation and Safety Guidelines
- Iron industrial kitchen cart
- Screws
- Wrench
- Hex key
- Casters (optional)
- Always wear safety glasses to protect your eyes from flying debris or sharp edges.
- Use the appropriate tools for each step. Improper tools can lead to injury or damage the cart.
- Ensure the work area is clean, well-lit, and spacious enough to comfortably maneuver the cart and tools.
Step-by-Step Instructions
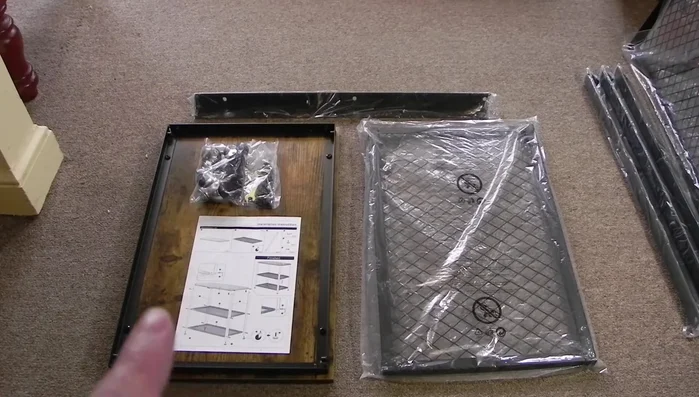
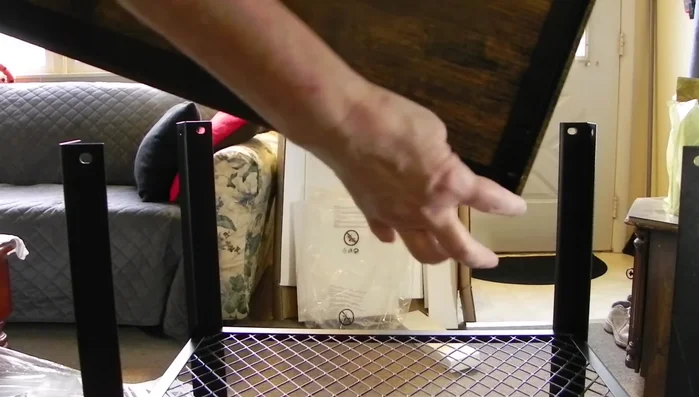
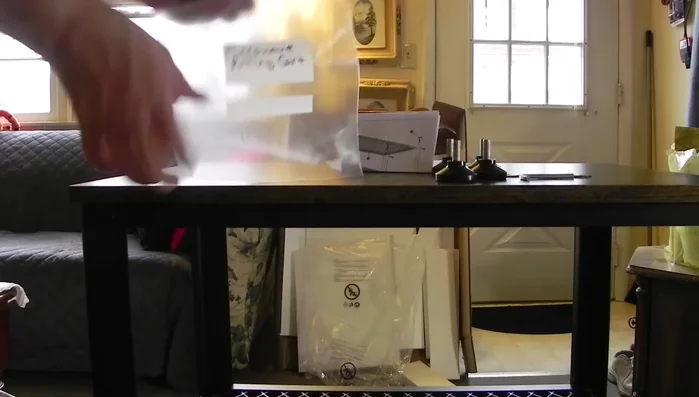
Unboxing and Inventory
- instructions, hardware (bolts, wrench, hex key), top, shelves, and side braces.

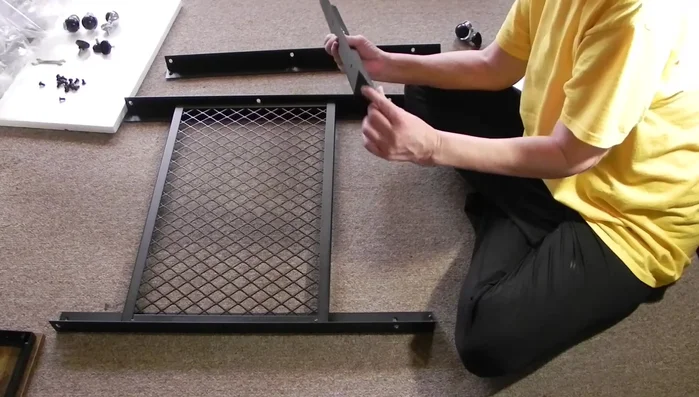
Unboxing and Inventory Attaching Side Braces
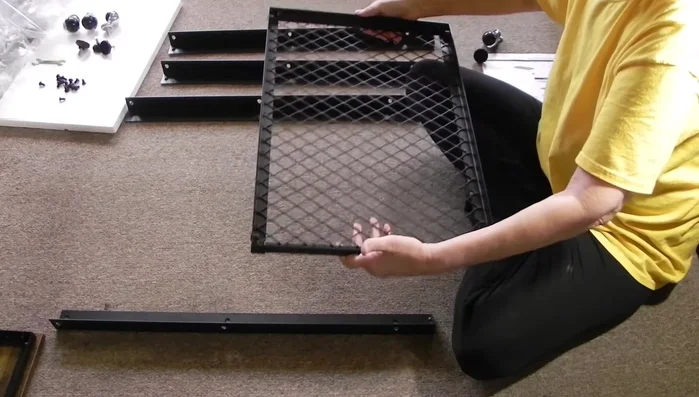
- Attach the side braces to the corners of each shelf and the top. Ensure the 'closed' side faces down.
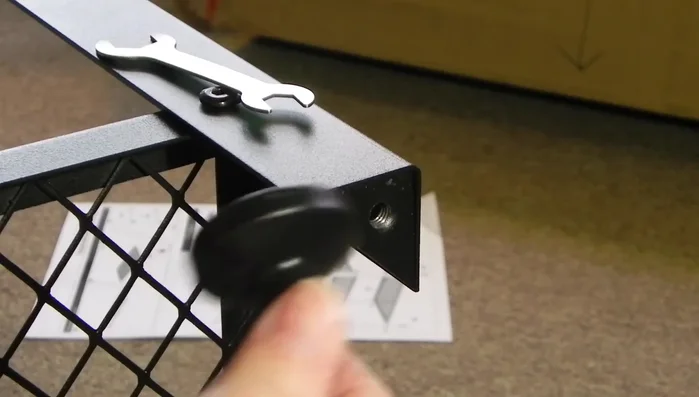
Attaching Side Braces Securing Shelves and Top to Braces
- Insert screws through the holes in the side braces and into the shelves and top. Start screws by hand, then tighten with a wrench or hex key. Ensure screws are straight before fully tightening.
Securing Shelves and Top to Braces Attaching Wheels or Feet
- Choose between feet (for stationary cart) or casters (for mobility) and attach accordingly.
Attaching Wheels or Feet Attaching and Securing the Top
- Carefully align and insert the top onto the assembled frame, ensuring all sides are aligned.
- Secure the top by tightening all screws.
Attaching and Securing the Top
Read more: DIY Pantry Door Spice Rack: Organize Your Spices in Minutes!
Tips
- Start screws by hand to ensure they go in straight before fully tightening.
- Don't overtighten screws initially in case adjustments are needed.
- If a screw is crooked, loosen it, re-align, and then tighten.
- Be cautious when inserting the top to avoid pinching fingers.