Tired of outdated kitchen cabinets dragging down the aesthetic appeal of your home? A fresh coat of paint can dramatically transform your kitchen, updating its look and feel without the hefty cost of a complete remodel. Professional-looking results, however, require more than just slapping on some paint; it necessitates careful preparation, the right tools, and a methodical approach. Outdated cabinets can significantly impact your home's resale value, while a professionally painted kitchen can boost it considerably, making this a smart investment as well as a stylish upgrade.
This guide provides a comprehensive, step-by-step approach to painting your kitchen cabinets like a pro, delivering a stunning finish that will leave you amazed. We'll walk you through every stage of the process, from meticulous surface preparation and primer application to the final coat and essential aftercare. Let's dive into the detailed steps to achieve a flawless, long-lasting paint job.
Preparation and Safety Guidelines
- 220° sandpaper
- B-shelac primer
- Cabinet paint (e.g., Benjamin Moore Advance, Sherwin-Williams Emerald Urethane Trim Enamel)
- Glazing putty
- Spray equipment
- Masking materials
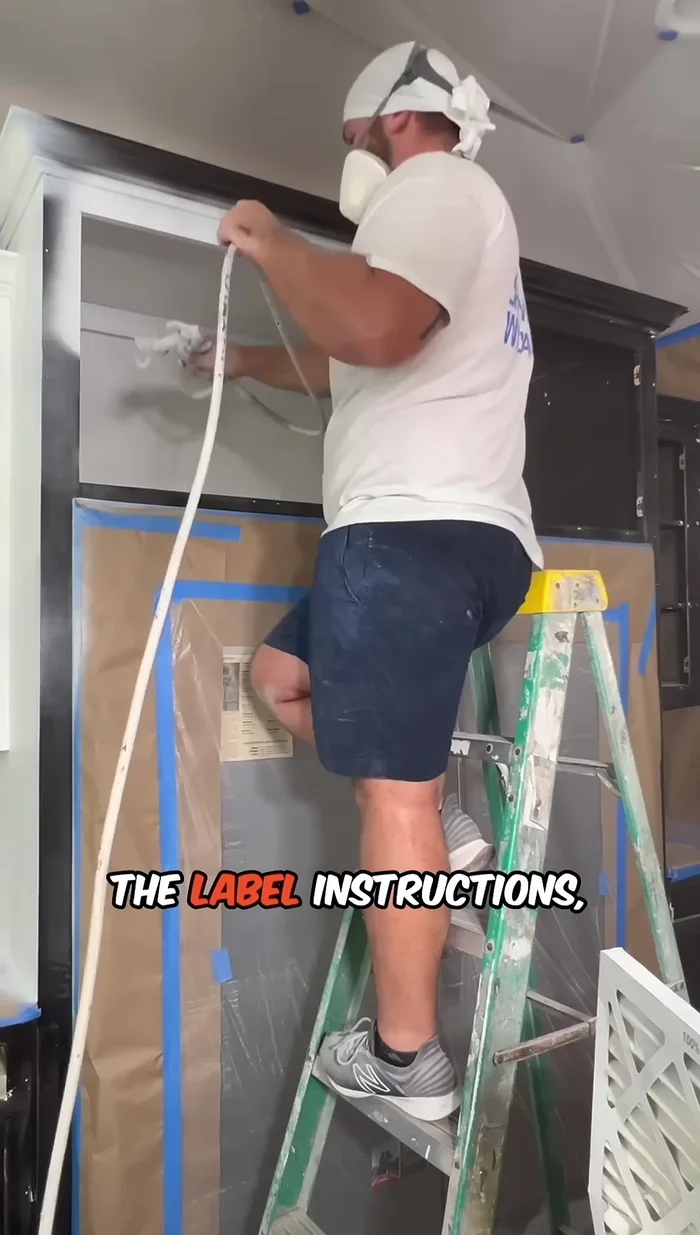
- Always work in a well-ventilated area. Cabinet paint and primers contain volatile organic compounds (VOCs) that can be harmful if inhaled.
- Wear appropriate safety gear, including a respirator mask, safety glasses, and gloves. Skin and eye protection are crucial to prevent irritation and exposure to chemicals.
- Properly dispose of all paint cans, rags, and other waste materials according to local regulations. Do not throw paint or solvents in the trash.
Step-by-Step Instructions
Preparation
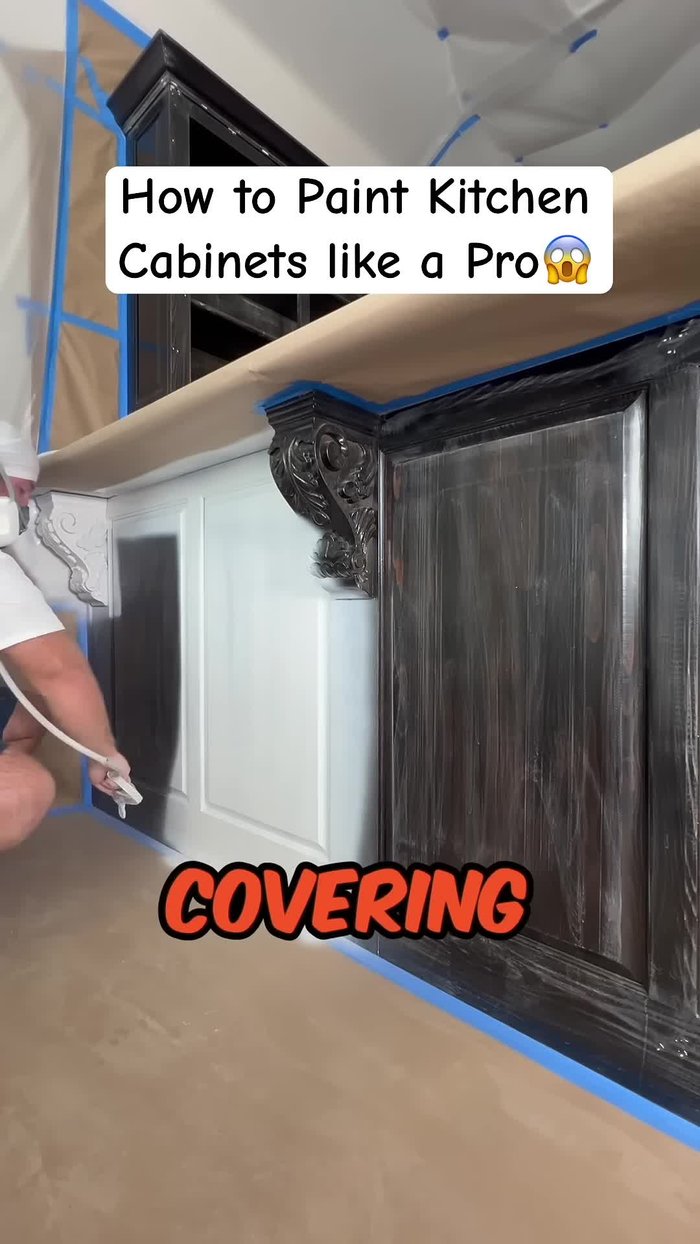
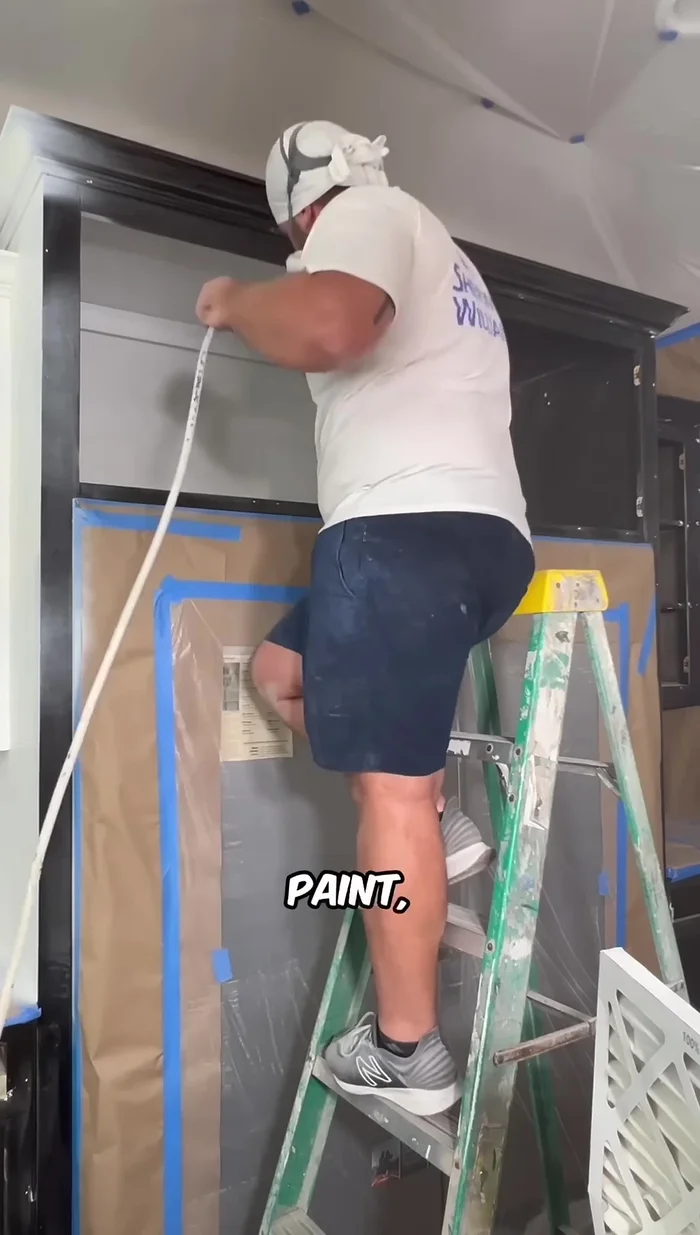
- Cover and mask the area to prevent overspray.
- Degrease the cabinets to remove grease and dirt.
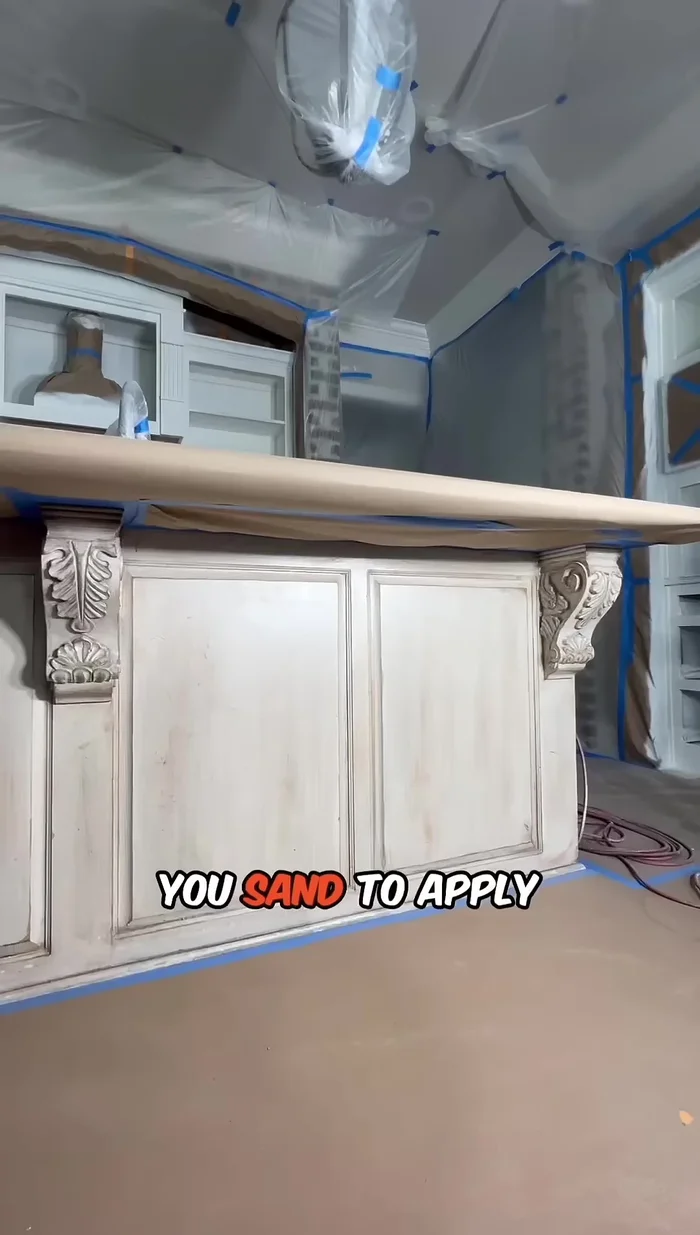
- Sand the cabinets with 220° sandpaper.

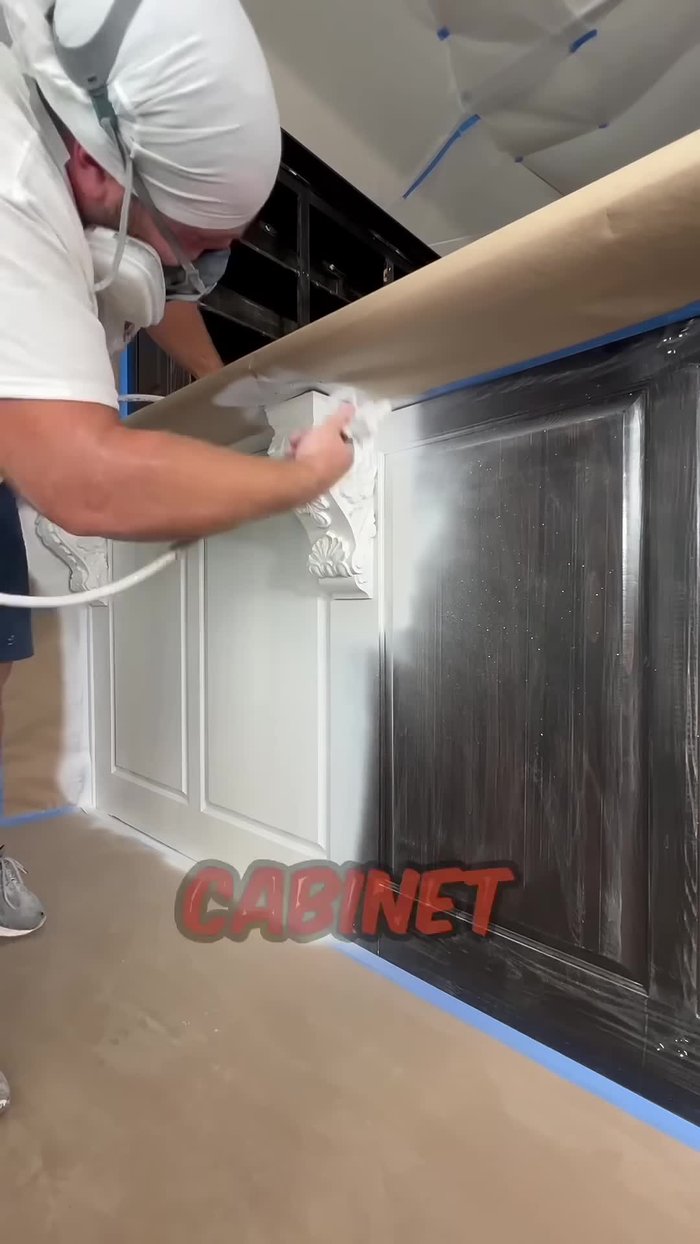
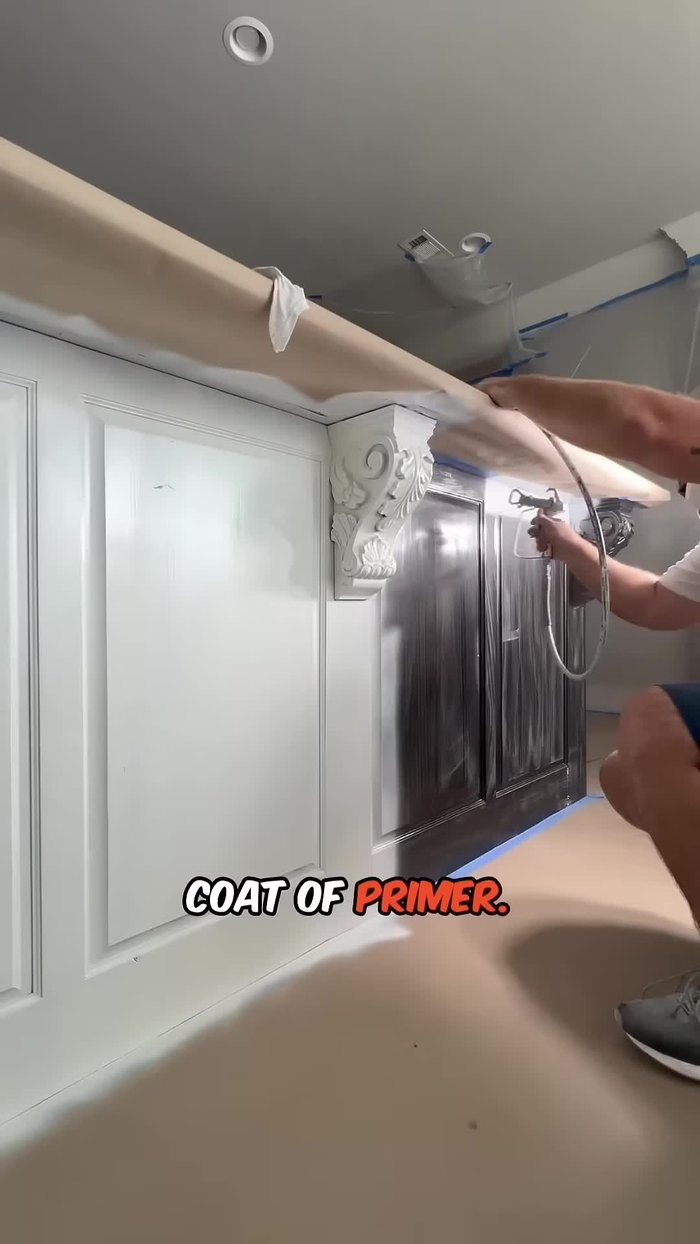
Preparation First Priming
- Apply the first coat of B-shelac primer.
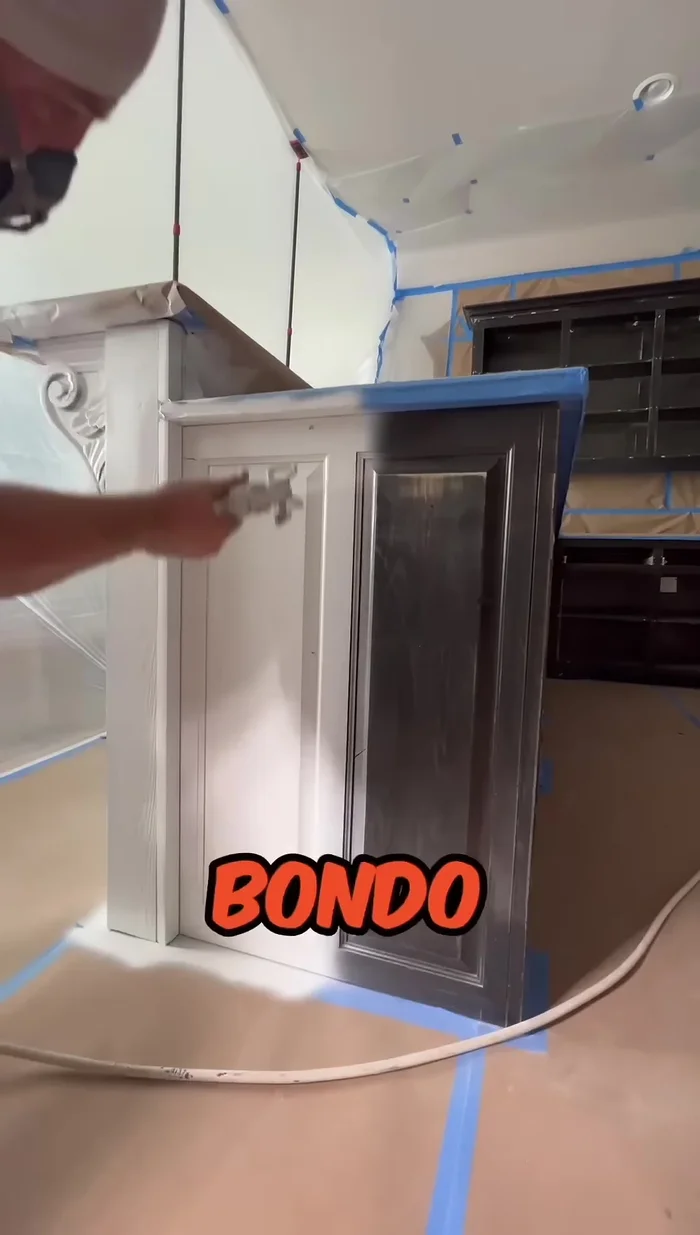
- Check for imperfections and fill with glazing putty.
- Sand the putty and apply a second coat of primer.
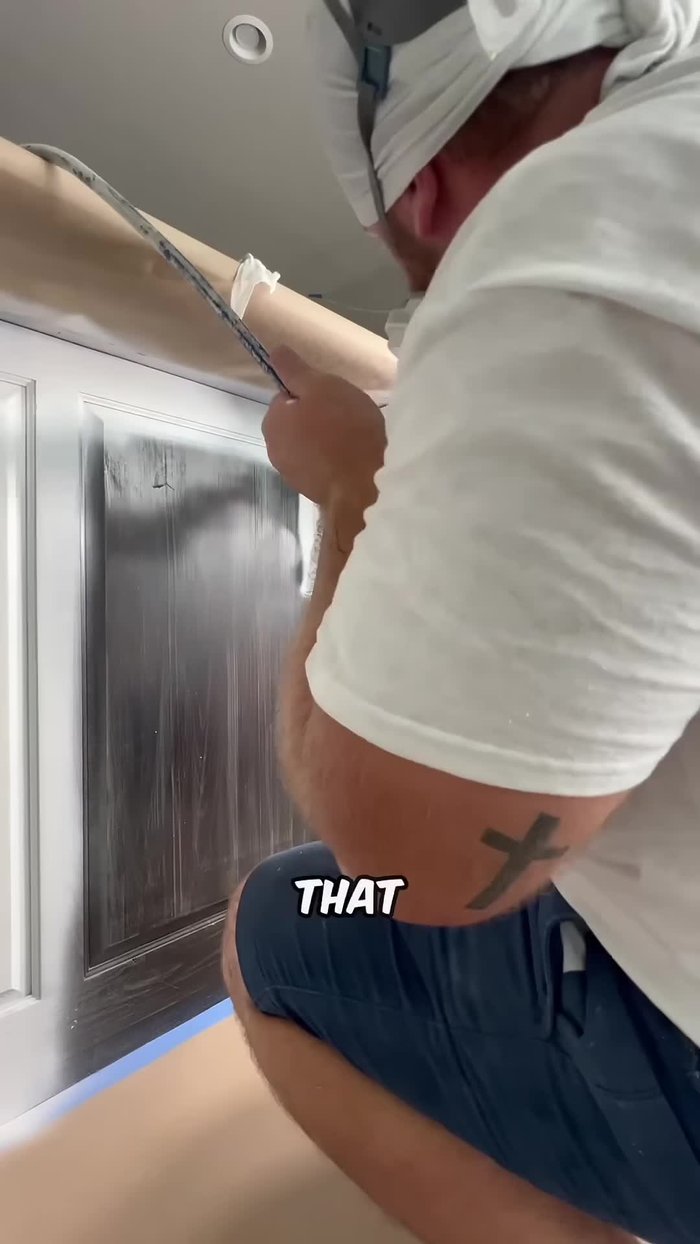
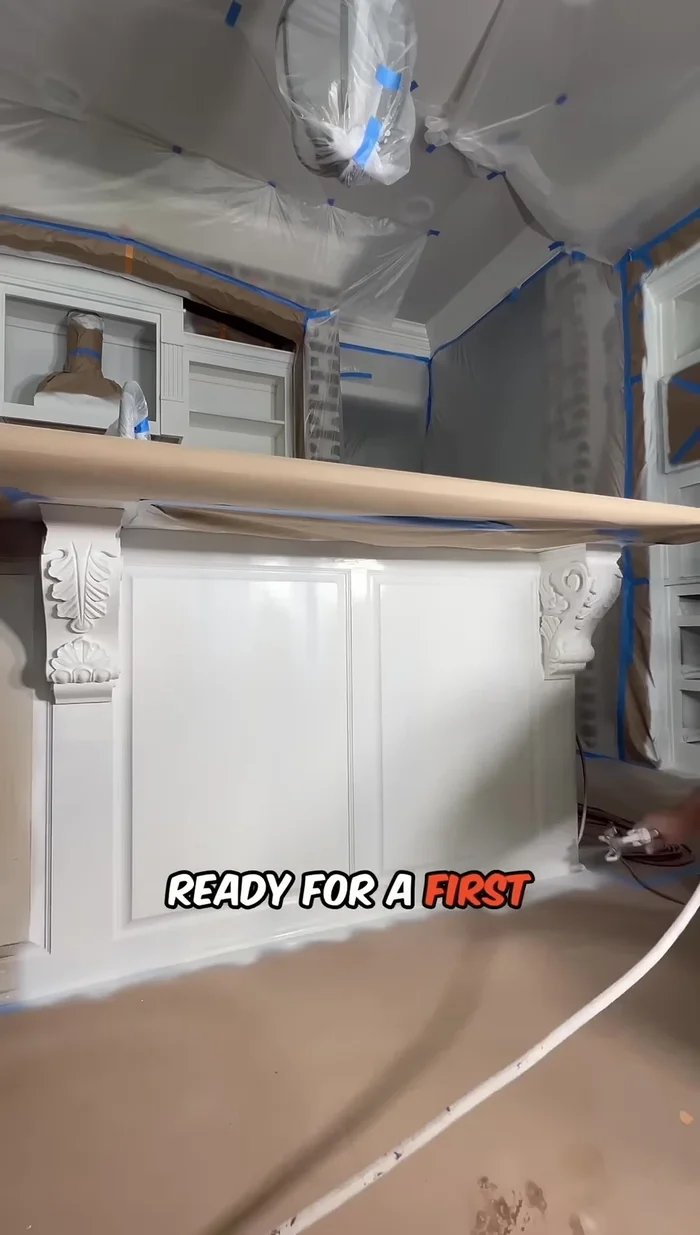
First Priming First Paint Coat
- Check for imperfections again and apply the first coat of paint.
- Let the first coat of paint dry.
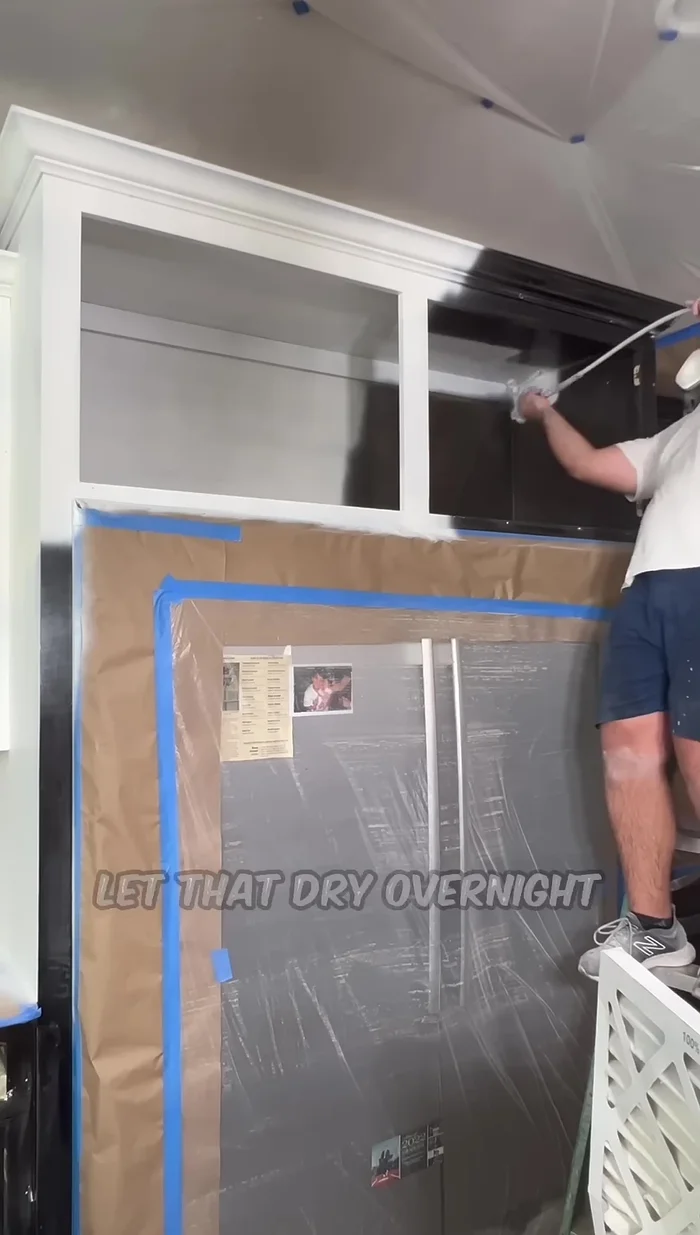
First Paint Coat Second Paint Coat
- Check for imperfections and apply the second coat of paint.
- Let the second coat of paint dry overnight.
Second Paint Coat
Read more: DIY Pantry Door Spice Rack: Organize Your Spices in Minutes!
Tips
- Use a high-quality primer like B-shelac primer to block stains.
- Use a good cabinet paint like Benjamin Moore Advance or Sherwin-Williams Gallery Series.
- Allow sufficient drying time between coats as indicated on the paint label.