Neatly stacked firewood isn't just aesthetically pleasing; it's crucial for efficient drying and easy access during colder months. A poorly constructed log rack can lead to wasted space, rotting wood, and frustrating winter evenings spent hunting for kindling. Investing a little time in building a sturdy, well-designed rack ensures your firewood stays dry and organized, maximizing its value and minimizing your effort. Beyond practicality, a well-built log rack can become a charming addition to your outdoor space, a testament to your resourcefulness and craftsmanship.
This guide provides a comprehensive, step-by-step approach to constructing a durable log rack that will serve you for years to come, protecting your precious firewood from the elements and keeping your outdoor area tidy. Let's get started on building your own robust and functional log rack.
Preparation and Safety Guidelines
- 2x6 lumber
- 2x10 lumber
- 4x4 lumber
- 3-inch deck screws
- 1/2-inch lag bolts
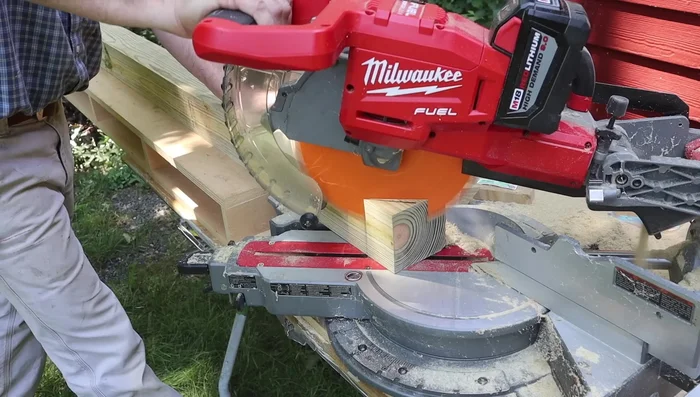
- Circular saw with CMT Orange Tools 40-tooth blade
- Measuring tape
- Clamps
- Hammer
- Chisel
- Drill with drill bits (1/8 inch, 1/2 inch)
- Plywood or sawhorses (for work surface)
- Always wear safety glasses and gloves when working with wood and tools. Flying debris and splinters are a real hazard.
- Ensure the log rack is built on a level surface and is stable enough to support the weight of the logs. Avoid placing it near flammable materials.
- Use appropriate fasteners and tools for your chosen wood type and design. Undersized or improperly installed hardware can lead to collapse.
Step-by-Step Instructions
Build the Base
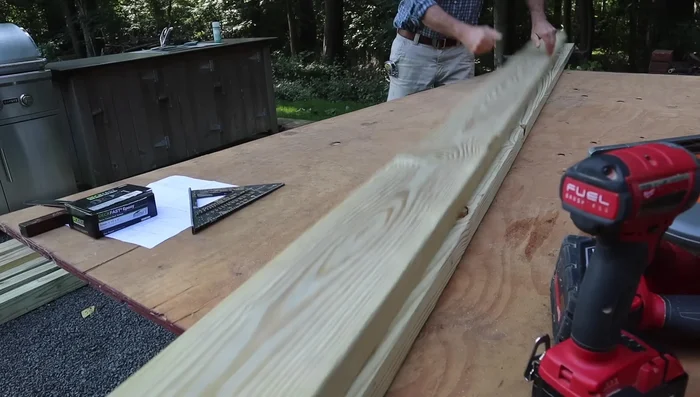
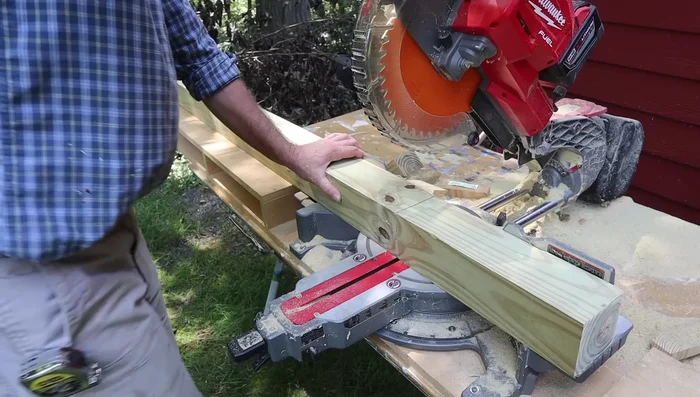
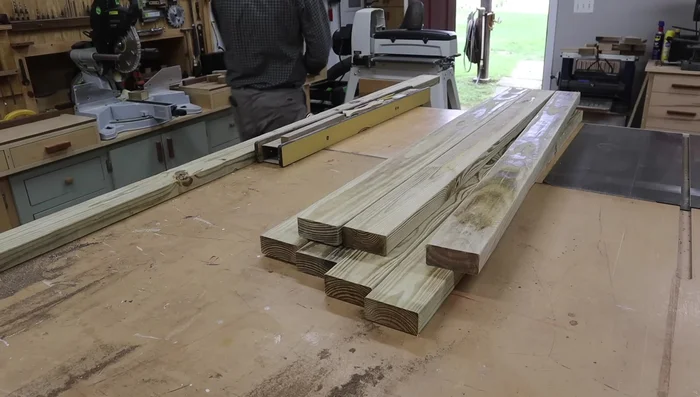
- Cut two 2x6x12s, adding a 10-degree angle to each end for aesthetics.
- Cut four pieces at 35.5 inches from one 2x6x12.
- Attach the cross braces to the 2x6s using 3-inch deck screws. Use clamps for easier assembly.

Build the Base Prepare the Posts
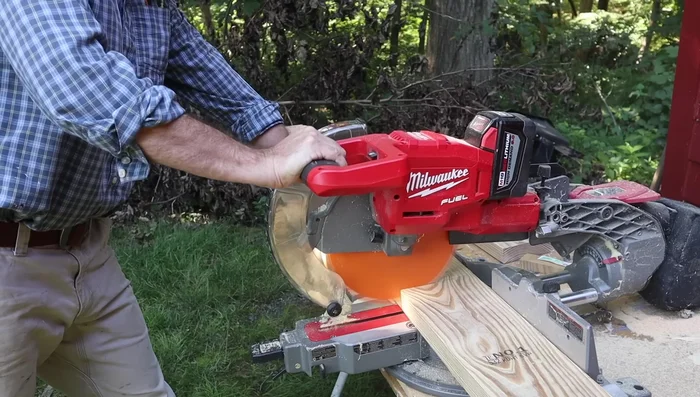
- Cut three 12-foot 4x4s in half.
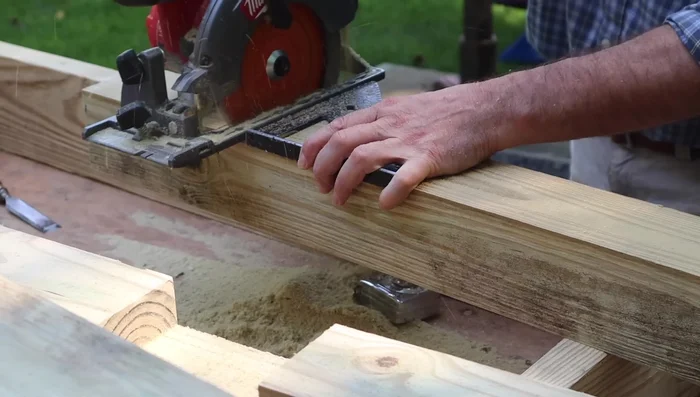
- Cut lap joints (8 inches from the bottom, 1.5 inches deep) in each post using a circular saw and chisel.
- Cut a 45-degree angle at the top of each post.
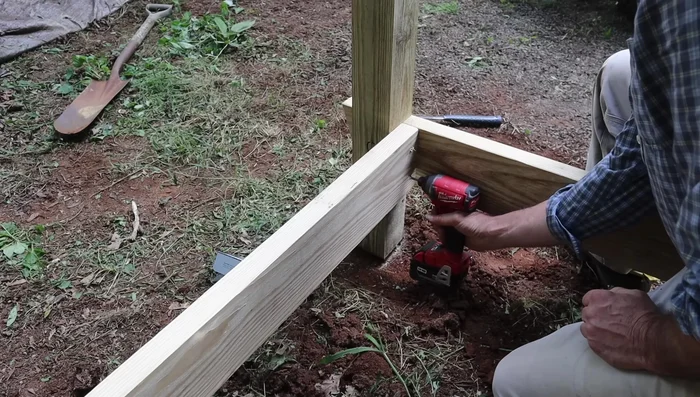
Prepare the Posts Assemble the Frame
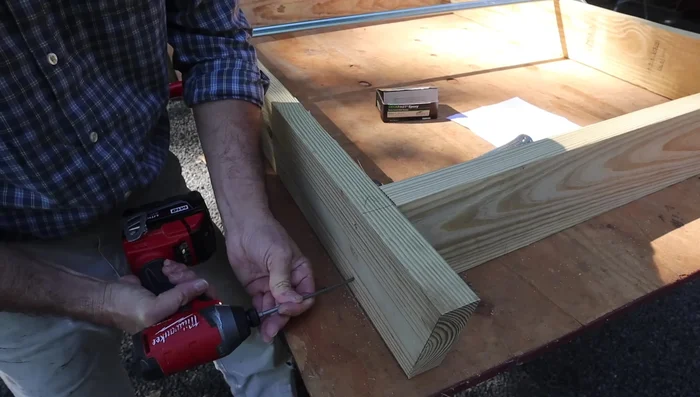
- Cut four 4x4s at 13.5 inches and attach them to the frame using 3-inch deck screws.
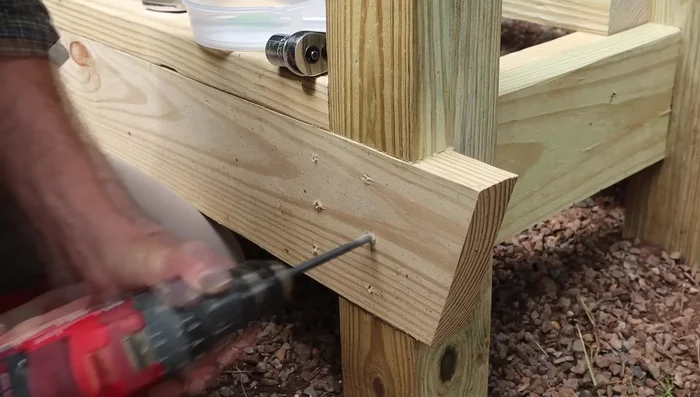
- Attach the 4x4 posts to the frame using 3-inch deck screws, then reinforce with 1/2-inch lag bolts for extra strength.
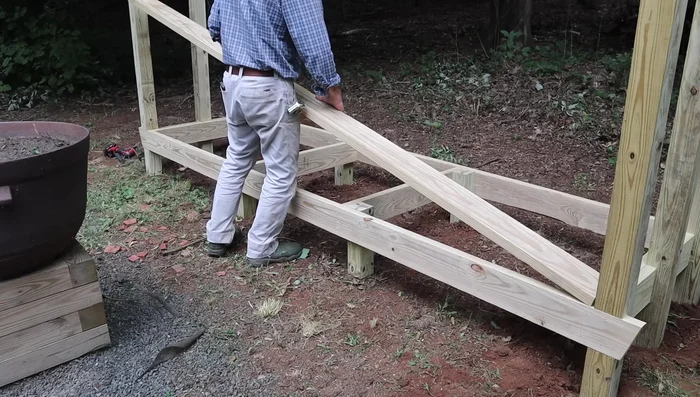
Assemble the Frame Add Support and Surface Area
- Attach 2x6s to each side and a 2x10 in the center of the frame with 3-inch deck screws.
- Attach the 2x6s and 2x10 to the 4x4 posts with 1/2-inch lag bolts; predrill holes for lag bolts.
Add Support and Surface Area Widen the Base
- Cut and attach 2x4s to the bottom of the 4x4 posts to widen the base, adding a 45 degree angle for aesthetics.
Widen the Base

Read more: Build a Sag-Proof Wood Fence Gate: The Ultimate DIY Guide
Tips
- Use a large, stable work surface like a workbench or sawhorses.
- Clamping helps to hold pieces together while screwing.
- Pre-drilling holes for lag bolts prevents wood splitting.
- Use green tape on the drill bit to act as a depth guide when drilling pilot holes.