Transform your flower shop's exterior with a charming and durable window awning, crafted entirely from MDF! This DIY project offers a cost-effective alternative to expensive pre-fabricated awnings, allowing you to create a bespoke design that perfectly complements your shop's aesthetic. Forget flimsy temporary solutions; this project focuses on creating a permanent, weather-resistant awning that will enhance your storefront's curb appeal for years to come. The sturdy nature of MDF makes it ideal for intricate designs and allows for customization with paint, varnish, or even decorative elements like faux flowers or climbing vines.
This guide will walk you through each step of building your very own unique MDF window awning, from initial planning and material selection to the final touches. Get ready to roll up your sleeves and discover how easy it is to create a stunning, permanent addition to your flower shop, all while showcasing your creativity and craftsmanship. Let's begin the step-by-step process of bringing your vision to life!
Preparation and Safety Guidelines
- MDF board
- Paint (white and black)
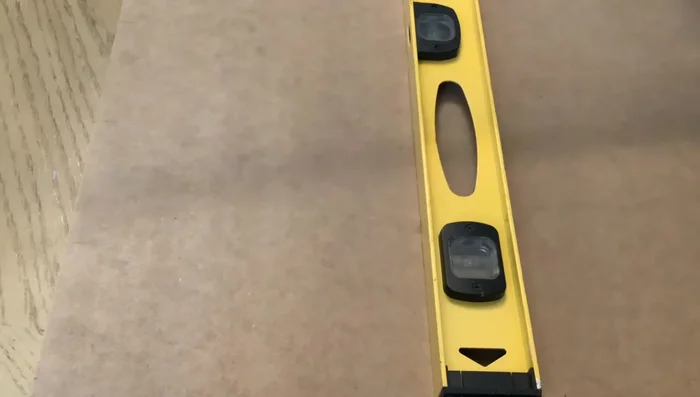
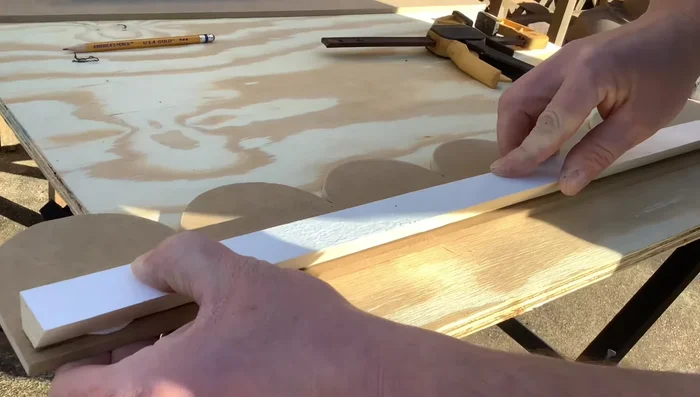
- Ruler or piece of wood
- Jig saw
- Molding
- Wood glue
- Nails
- Painter's tape
- Always wear safety glasses and a dust mask when cutting and sanding MDF. MDF dust is harmful if inhaled.
- Use appropriate safety gear when using power tools like saws and drills. Ensure proper ventilation when working with paints and stains.
- Securely fasten the awning to the window frame to prevent accidental falls or damage. Consider using appropriate weatherproofing sealant to protect the MDF from the elements.
Step-by-Step Instructions
Prepare MDF Pieces
- Cut the MDF into pieces. The largest piece is 9 inches wide, another is 4 inches wide for the scalloped edge, and two 2-inch wide pieces for support.

Prepare MDF Pieces Mark and Cut Scalloped Edge
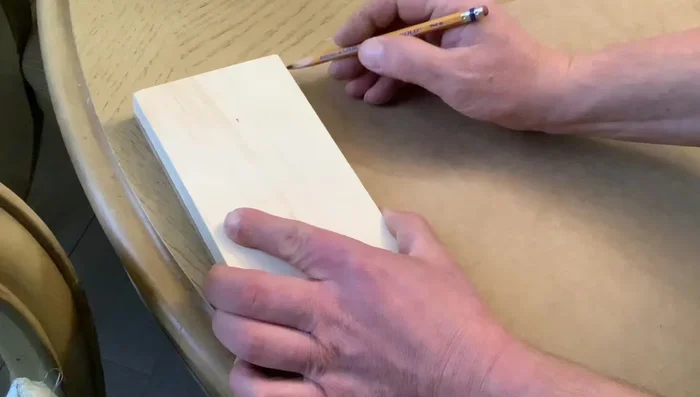
- Mark stripes (4 inches wide) on the larger MDF pieces using a ruler or wood piece.
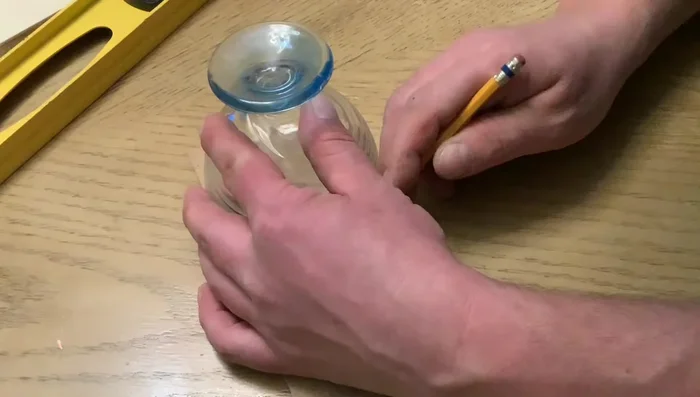
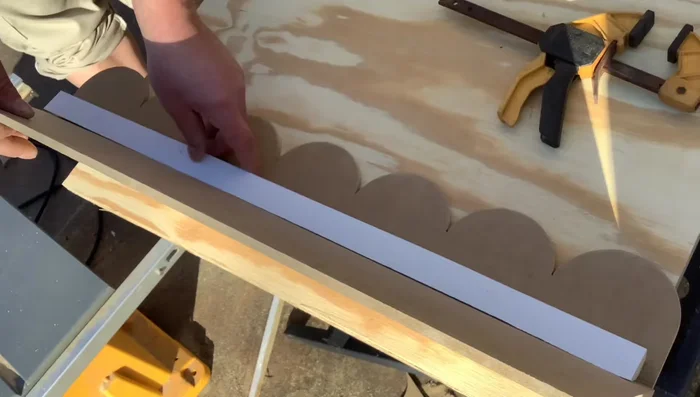
- Create the scalloped edge on the 4-inch wide piece by tracing a glass or dish and cutting it out with a jig saw.
Mark and Cut Scalloped Edge Assemble the Awning
- Cut a piece of molding at a 45-degree angle and glue it to the inside of the two larger pieces to connect them and create a slight tilt.
- Apply glue along the molding line and attach it. Reinforce with nails.
Assemble the Awning Paint the Awning
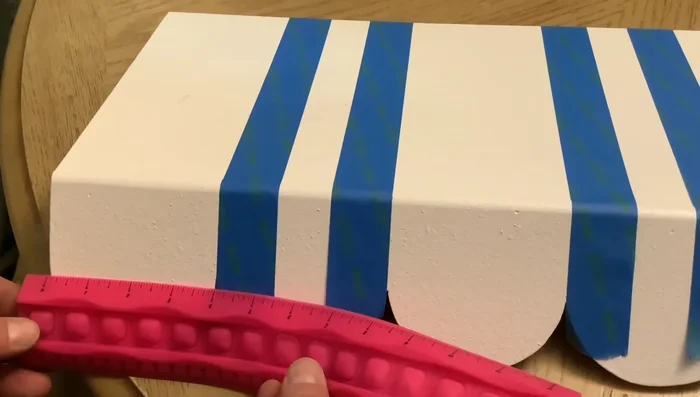
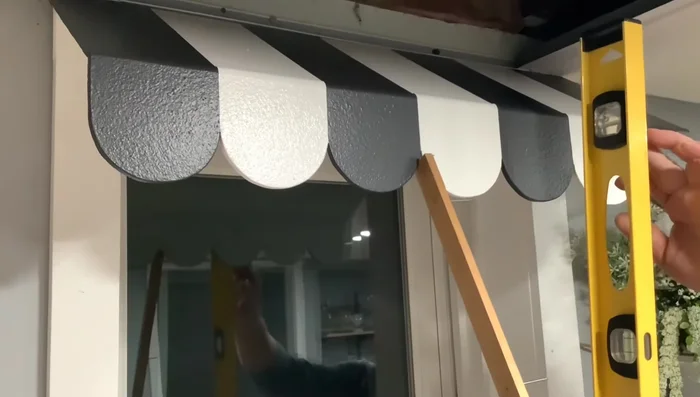
- Paint the entire awning white.
- Use painter's tape to mark stripes and paint them black.
Paint the Awning Attach Support Pieces
- Attach the two smaller support pieces to the sides and the top of the awning.
Attach Support Pieces Install Awning
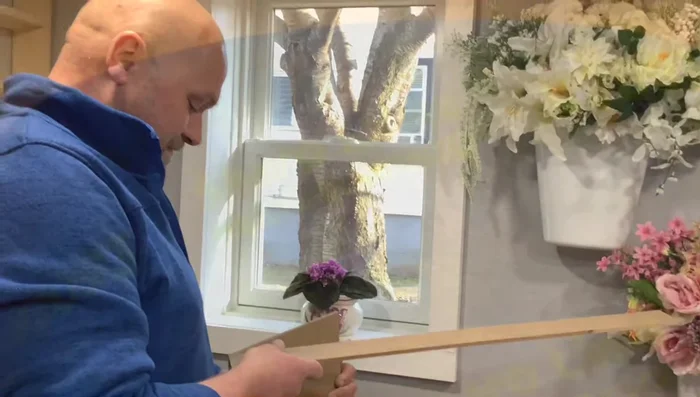
- Install the awning on the window frame.
Install Awning
Read more: Build a Sag-Proof Wood Fence Gate: The Ultimate DIY Guide
Tips
- Use high-quality painter's tape for clean lines (like Home Depot's 'Sharp Lines').
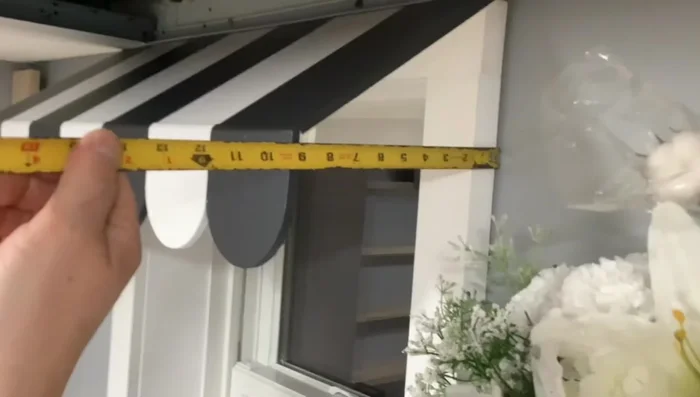
- Ensure stripes are precisely 4 inches wide for a professional look. Measure carefully from the scalloped edge.
- Carefully apply tape to avoid paint seeping underneath and creating imperfections.
- If using an even number of stripes, start and end with the same color for a balanced look.