Transform your garden from ordinary to extraordinary with the addition of a sturdy, handcrafted metal trellis! Climbing plants, whether vibrant flowers or lush vines, can dramatically enhance your outdoor space, but they need support to reach their full potential. A well-built trellis provides not only structural assistance for your climbing beauties but also adds a touch of elegant design to your garden's aesthetic. Imagine the satisfying sight of roses gracefully climbing a meticulously crafted metal structure, creating a breathtaking focal point. Forget flimsy, store-bought options that quickly rust and fail; this guide will empower you to build a lasting, beautiful trellis that will enhance your garden for years to come.
This step-by-step guide will walk you through the entire process, from gathering the necessary materials to the final touches of installation, ensuring you create a robust and visually appealing metal garden trellis. Let's get started and build that stunning garden feature!
Preparation and Safety Guidelines
- Rebar (5/8 inch and 1/2 inch)
- Square tubing
- Plasma cutter
- Cut-off wheel
- 1/4 inch round stock
- Drill with roto hammer bit
- Welding machine (MIG welder with flux core wire recommended)
- Grinder with wire wheel
- Sledgehammer
- Tape measure
- Plywood
- Paint (e.g., Krylon 2x semi-gloss black)
- Support hooks (150 lbs rating)
- Concrete
- String
- Straight edge
- Always wear safety glasses and gloves when working with metal. Sharp edges and potential flying debris can cause serious injury.
- Use appropriate tools for cutting and shaping metal. Improper tools can lead to accidents and damage to the materials.
- Ensure the trellis is securely anchored to the ground to prevent it from tipping over, especially in windy conditions.
Step-by-Step Instructions
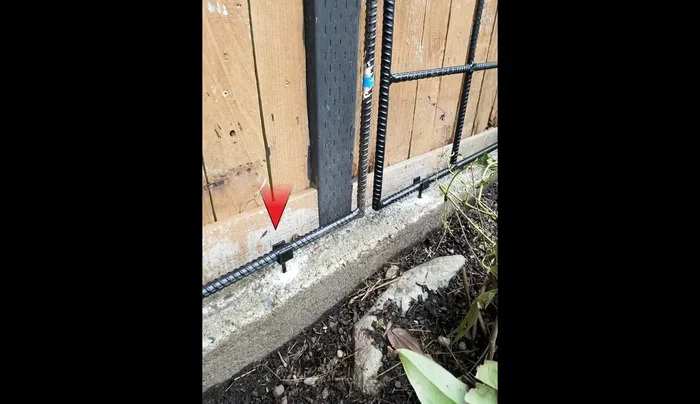
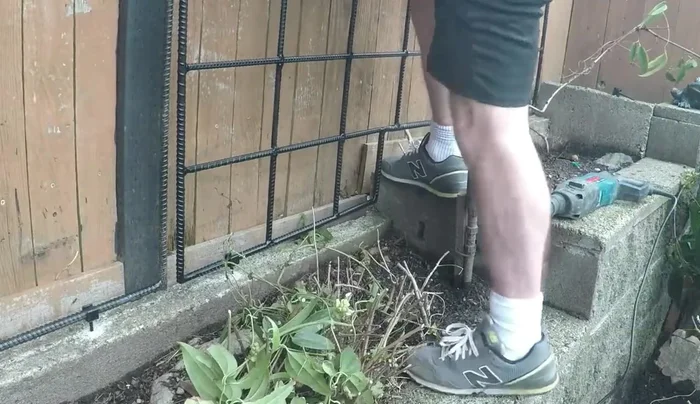
Prepare Support Brackets
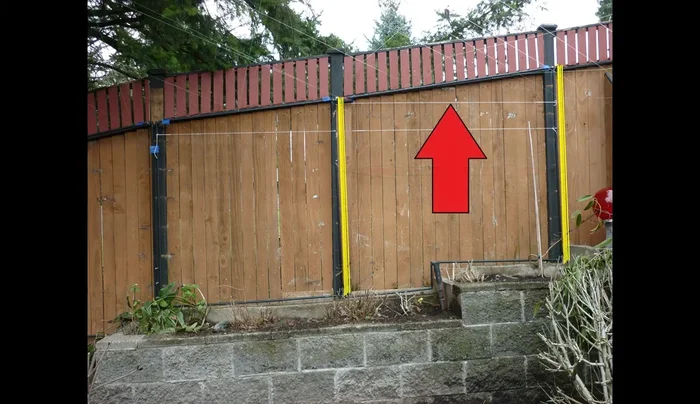
- Build support brackets to mount the trellis securely to the fence, embedding them in concrete for stability.
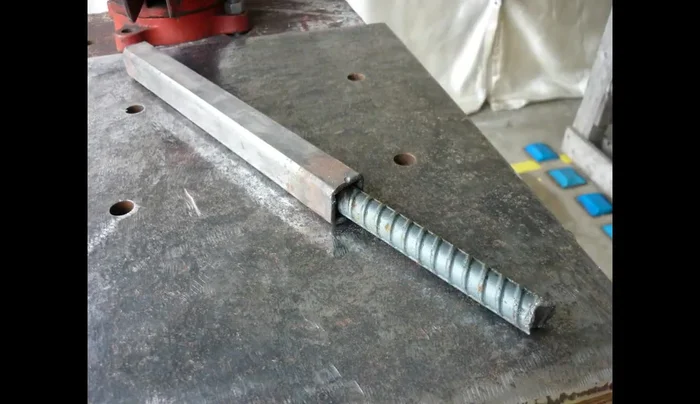
- Cut the square tubing to create U-shaped brackets that securely hold the 5/8 inch rebar.
- Cut the metal into 1-inch pieces using a cut-off wheel for a clean cut.

Prepare Support Brackets Create Trellis Frame
- Create the trellis frame using 5/8 inch rebar. Weld it directly to the fence.
Create Trellis Frame Build Trellis Sections Template
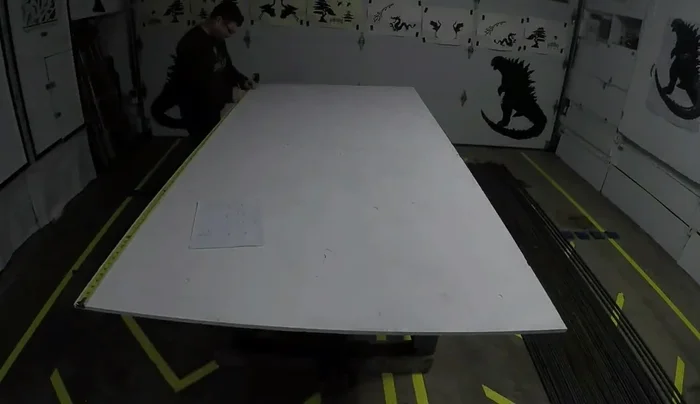
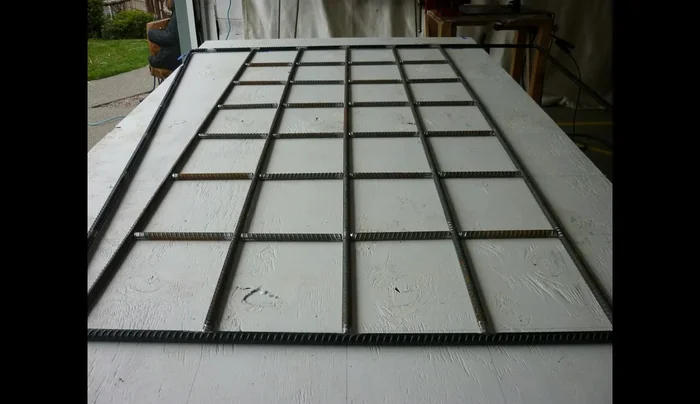
- Construct a template from plywood to ensure identical internal trellis sections.
Build Trellis Sections Template Prepare Rebar for Internal Structure
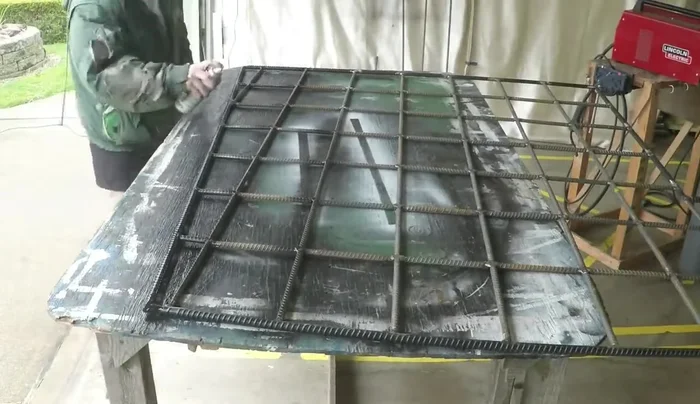
- Cut and prepare the rebar for the trellis internal structure. Clean rust and paint from the rebar where welding will take place.
- Prepare the trellis frame sections outside to properly lay them on the template for consistent spacing.
- Use string to mark horizontal lines on the trellis frame, ensuring accurate placement on the template.
Prepare Rebar for Internal Structure Assemble Trellis Sections
- Place the rebar on the template, aligning it with marked lines. Adjust for uneven fence post spacing if necessary.
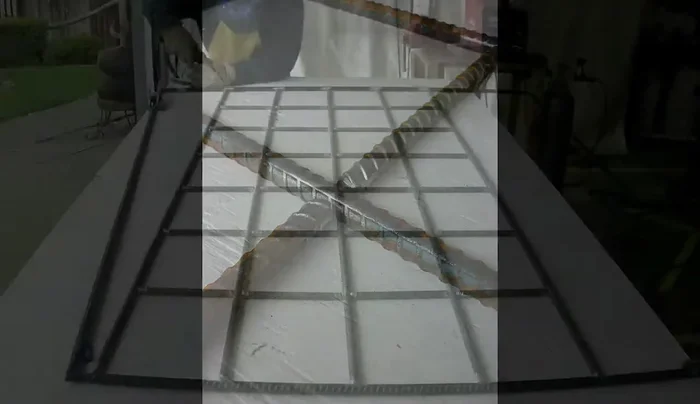
- Weld the internal rebar structure of the trellis sections according to the template.
Assemble Trellis Sections Connect Trellis Sections to Frame
- Customize and weld the rebar pieces that connect the trellis sections to the frame, accounting for non-square frame shapes.
Connect Trellis Sections to Frame Finish and Install
- Grind down welds for a smooth finish.
- Paint the entire trellis structure with a protective coat.
- Install the completed trellis sections into the support brackets.
Finish and Install


Read more: Miniature Spider Welding Tutorial: Crafting a Tiny Metal Arachnid
Tips
- Use flux core wire for welding if there is wind.
- Use a hot day to dry rebar after cleaning to prevent re-rusting.
- Build the trellis in sections for easier maintenance and handling.
- Use support hooks with a higher weight rating (150lbs) until the support brackets are installed.
- Clean at least an inch of paint and rust around weld points.