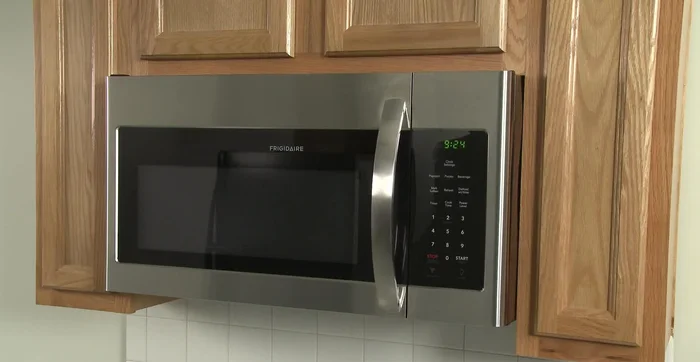
Microwave ovens are kitchen staples, offering quick and convenient heating solutions. However, like any appliance, they can malfunction, and a blown fuse is a common culprit behind a non-functional microwave. A dead microwave can be incredibly frustrating, leaving you scrambling for alternative heating methods. Understanding how to replace a microwave fuse can save you time, money, and the hassle of a costly repair call. Fortunately, this is often a simple DIY fix, requiring minimal tools and expertise.
A blown fuse is usually indicated by a complete lack of power to the microwave. Before calling a repair technician or prematurely discarding your appliance, consider tackling this common problem yourself. This guide will walk you through the process of identifying, accessing, and replacing your microwave's fuse, empowering you to restore your kitchen's functionality quickly and easily. Let's dive into the step-by-step guide below.
Preparation and Safety Guidelines
- Phillips head screwdriver
- Putty knife (optional)
- Magnetized screwdriver (recommended)
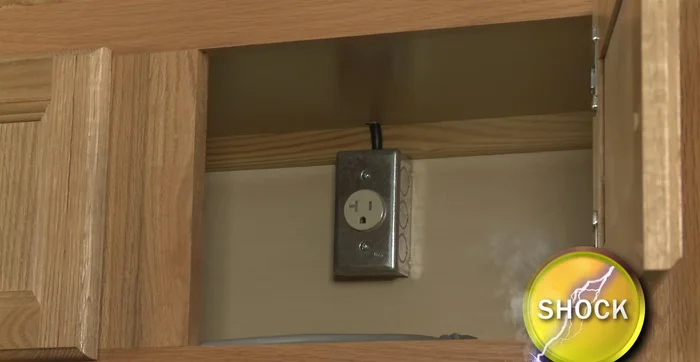
- Always unplug the microwave from the power outlet before attempting any repairs. Failure to do so could result in serious electric shock.
- If you are unsure about any step of the process, or uncomfortable working with electrical appliances, contact a qualified appliance repair technician.
- Never operate the microwave if you suspect damage beyond a simple blown fuse. Internal damage could cause a fire or other hazards.
Step-by-Step Instructions
Safety First
- Unplug the microwave or shut off the power supply.
- Open the microwave door.

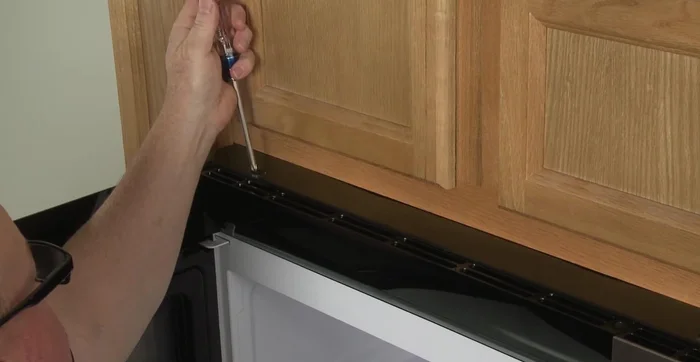
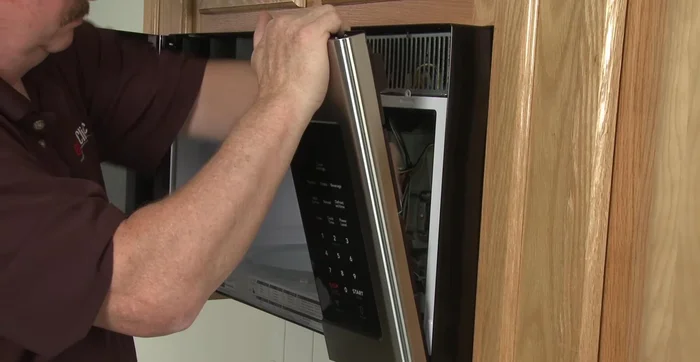
Safety First Remove Front Vent
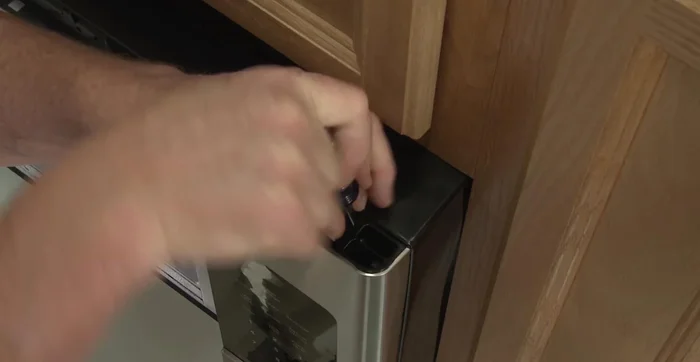
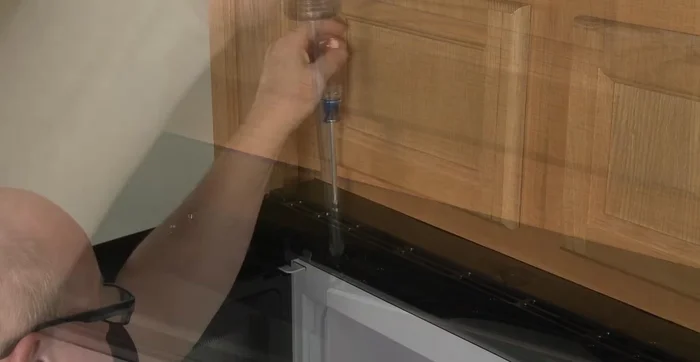
- Use a Phillips head screwdriver to remove the two screws securing the front vent.
- Use a putty knife (optional) to pry off the vent.
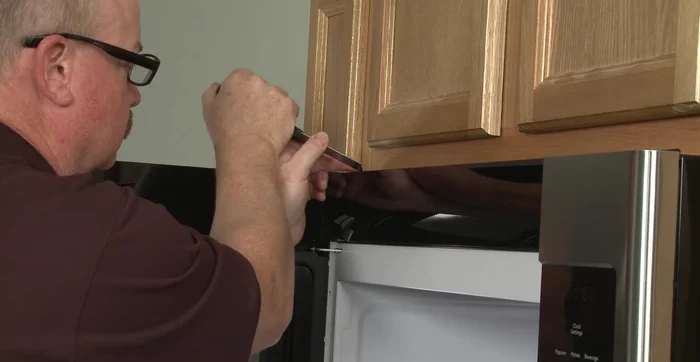
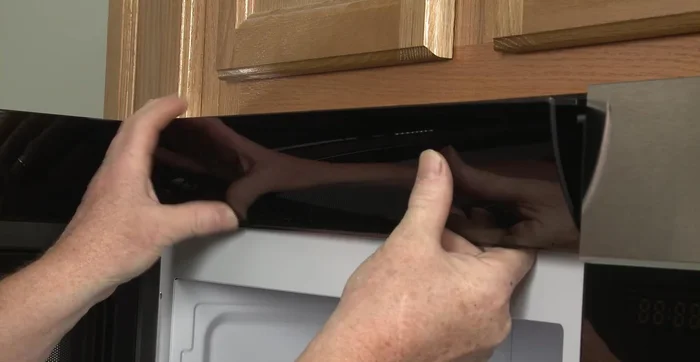
Remove Front Vent Access the Fuse
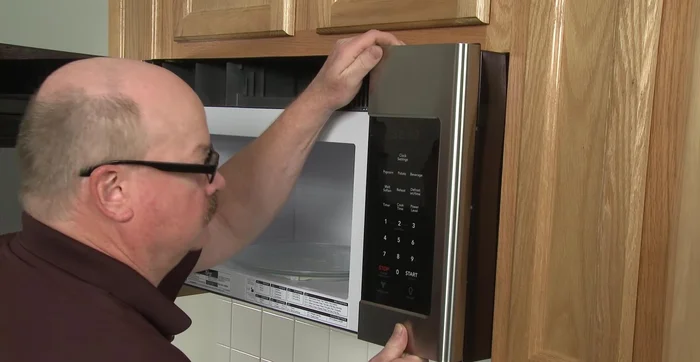
- Remove the screws securing the control assembly.
- Lift the control assembly to detach it. Note the wire orientation before disconnecting them from the control board.
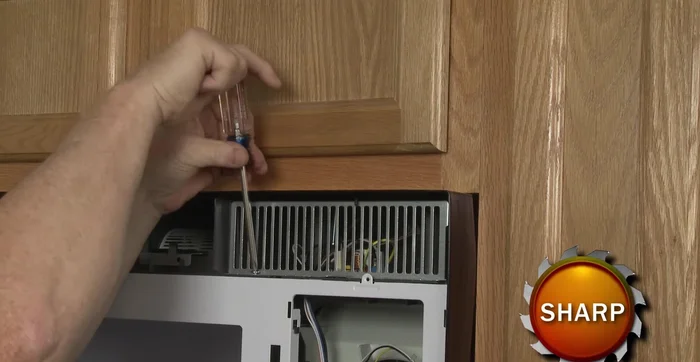
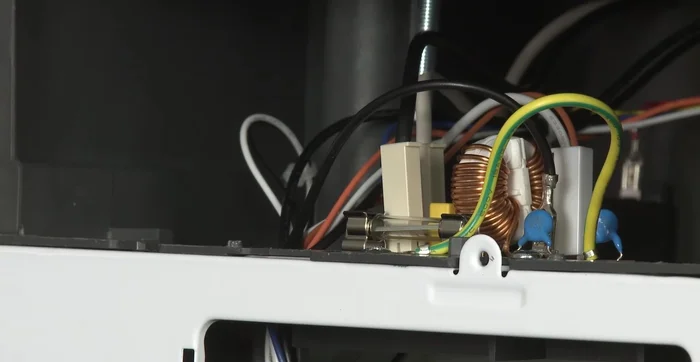
- Remove the screw to release the access grill. Use a screwdriver to pry out the old fuse.
Access the Fuse Replace the Fuse
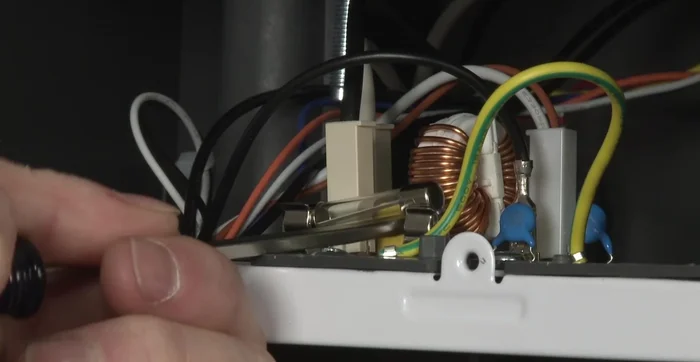
- Install the new fuse by snapping it into place on the noise filter board.
Replace the Fuse Reinstall Access Grill
- Realign the access grill and thread the screw back in.
Reinstall Access Grill Reinstall Control Assembly
- Reinstall the control assembly, connecting all wires to the appropriate terminals.
- Align the assembly and push down. Thread the screw (a magnetized screwdriver is recommended).
Reinstall Control Assembly Reassemble and Restore Power
- Reinstall the front vent, threading the two screws to secure it.
- Plug the power cord back in or restore the power supply.
Reassemble and Restore Power

Read more: Fix Washing Machine Won't Spin: Quick & Easy Motor Coupler Replacement
Tips
- Use caution when working with electricity. Always unplug the microwave before starting.
- A magnetized screwdriver will make reinstalling the screws easier.