Milking parlors are the heart of any dairy operation, and a malfunctioning gate can disrupt the entire milking process, leading to delays, stress, and potential injury. A broken or damaged gate not only impacts efficiency but can also compromise the safety of both the farmer and the animals. Regular maintenance is crucial, but sometimes repairs are unavoidable. Fortunately, many common gate issues can be addressed with readily available tools and materials, saving you the expense of professional repairs.
This often overlooked aspect of farm maintenance is surprisingly manageable with the right know-how. This guide will equip you with the necessary knowledge and confidence to tackle common milking parlor gate repairs yourself, minimizing downtime and maximizing your operational efficiency. Let's dive into a comprehensive, step-by-step process that will get your gate back in working order quickly and effectively.
Preparation and Safety Guidelines
- Grinder
- Impact gun
- Metal cutting saw
- Welding equipment
- Always disconnect power to any electric components before beginning any repairs. Failure to do so could result in serious injury or death.
- Wear appropriate safety gear, including gloves and safety glasses, to protect yourself from sharp edges, splinters, and potential electrical hazards.
- If you are unsure about any aspect of the repair, consult a qualified electrician or farm equipment technician. Improper repairs can compromise safety and functionality.
Step-by-Step Instructions
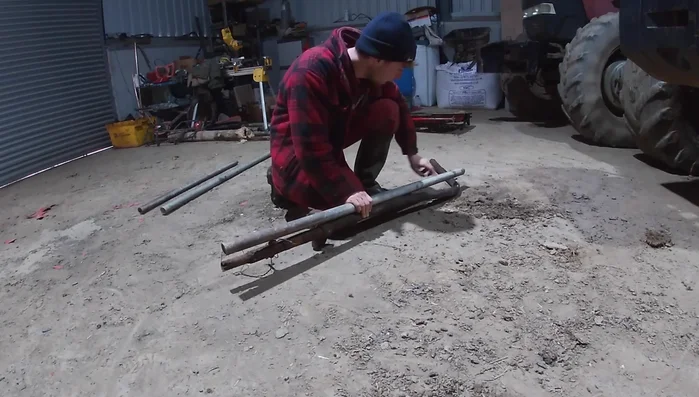
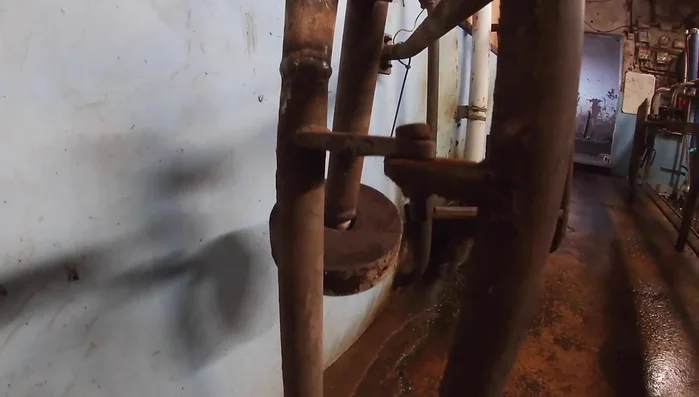
Gate Removal
- Remove the old, damaged gate. Use an impact gun to remove the pins securing the gate.
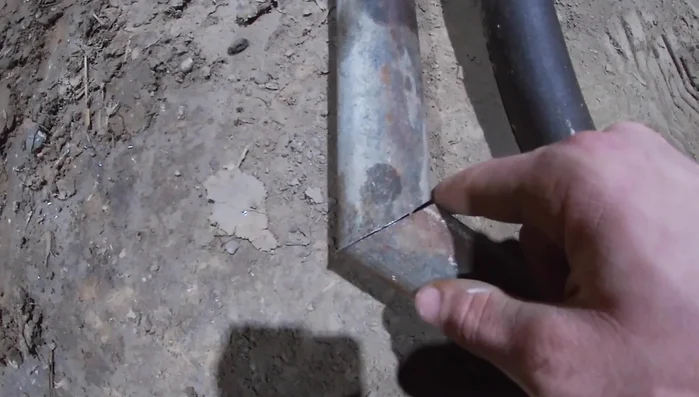
New Gate Construction - Cutting & Shaping
- Use the old gate as a template to create a new gate. Measure and cut the metal pieces according to the dimensions of the old gate, paying close attention to the angles.
- Cut the angle into the new gate piece. This is the most crucial step; ensure accuracy to ensure a proper fit.

New Gate Construction - Cutting & Shaping New Gate Construction - Welding
- Weld the pieces of the new gate together. Use tack welds to initially join the pieces, then finish welding for a secure bond.
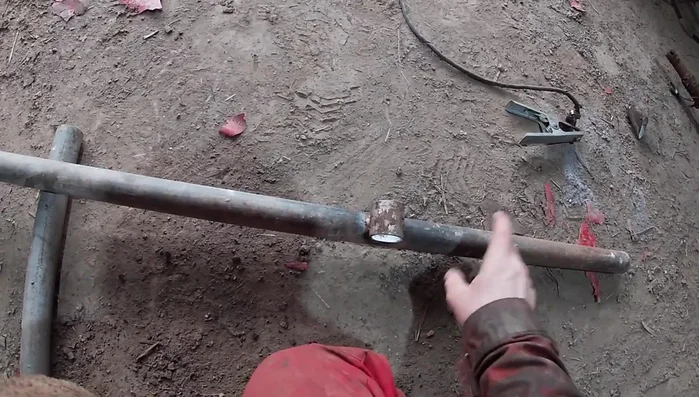
New Gate Construction - Welding Hinge Attachment
- Attach the hinge pieces to the gate.
- Weld the bottom hinge in place.
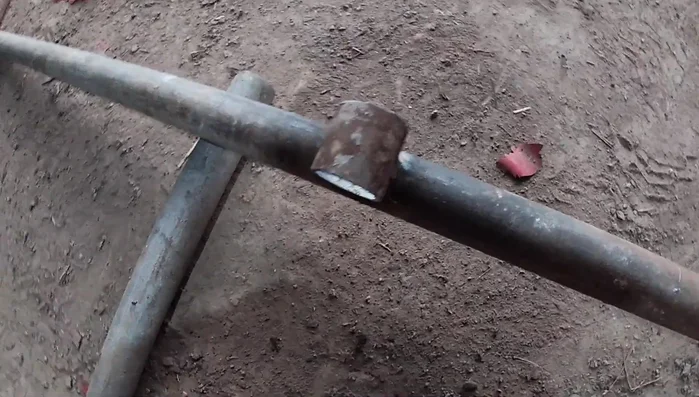
Hinge Attachment Cross-Piece & Bottom Hinge Welding
- Cut and weld the cross-piece across the bottom of the gate to add stability. Weld the tube section on the bottom for the hinge.
Cross-Piece & Bottom Hinge Welding Test Fit
- Test fit the gate in the milking parlor to ensure a proper fit before final welding.
Test Fit Gate Installation & Adjustment
- Re-hang the new gate and adjust the hinges as needed.
Gate Installation & Adjustment

Read more: Miniature Spider Welding Tutorial: Crafting a Tiny Metal Arachnid
Tips
- Take accurate measurements and pay close attention to angles when creating the new gate to ensure a precise fit.
- Always test fit before final welding to avoid mistakes and rework.
- Use tack welds initially to secure the pieces before completing the welds to make corrections as needed.