In today's increasingly compact living spaces, maximizing functionality is key. This project guides you through the construction of a modern desk that cleverly incorporates hidden drawers and a lift-up vanity, offering a versatile and stylish solution for your workspace and personal needs. We'll explore the efficient use of space and the elegant integration of these features into a single, aesthetically pleasing piece of furniture. Forget bulky, impractical desks – this design prioritizes both form and function, providing ample storage and a dedicated space for makeup or personal items without compromising on modern style.
This comprehensive guide details each step of the woodworking process, from initial design and material selection to the final finishing touches. We'll utilize efficient techniques to minimize waste and maximize precision, ensuring a professional-looking result even for intermediate DIY enthusiasts. Ready to transform your workspace? Let's delve into the step-by-step instructions and build your dream desk with hidden drawers and a lift-up vanity.
Preparation and Safety Guidelines
- Table saw
- Circular saw
- Crosscut sled
- Armor Tool Auto Jig
- Planer
- Jointer sled (or jointer)
- Router with flush trim bit and other bits
- Drill press
- Clamps
- Kerf Maker Jig
- Dowel jig
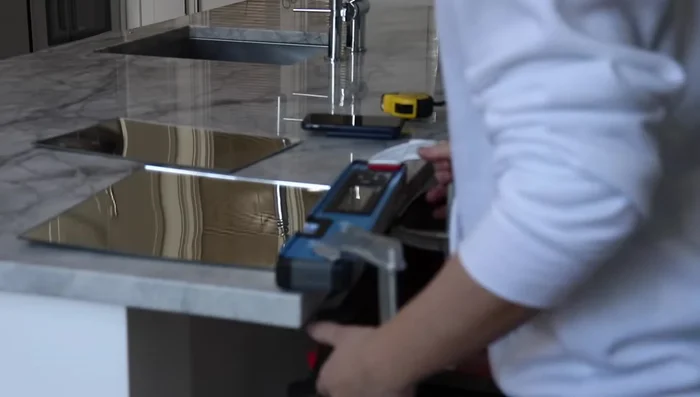
- Measuring tools
- Screws
- Glue
- Wood filler
- Primer
- Paint
- Piano hinge (or torsion hinges)
- Mirrored acrylic
- Double-sided tape
- Figure 8 tabletop fasteners
- Always wear safety glasses and a dust mask when using power tools and working with wood dust. Wood dust is a respiratory hazard.
- Use clamps to secure your workpieces during assembly and gluing. This prevents movement and ensures strong joints. Improper clamping can lead to inaccurate cuts and weak structures.
- Follow the manufacturer's instructions for all power tools and hardware. Incorrect use can result in serious injury or damage to the project.
Step-by-Step Instructions
Desktop Preparation
- Break down plywood into manageable pieces using a circular saw for initial cuts.
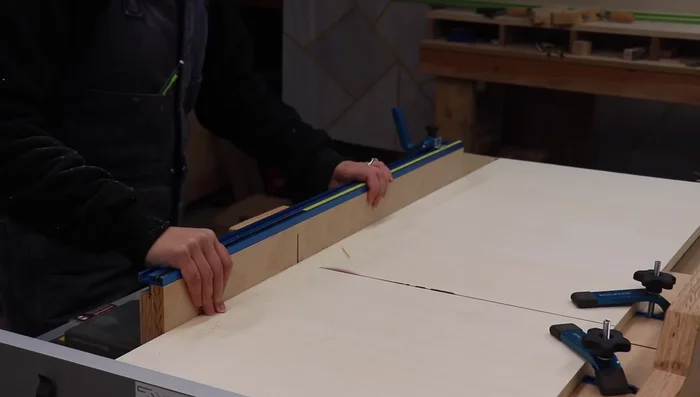
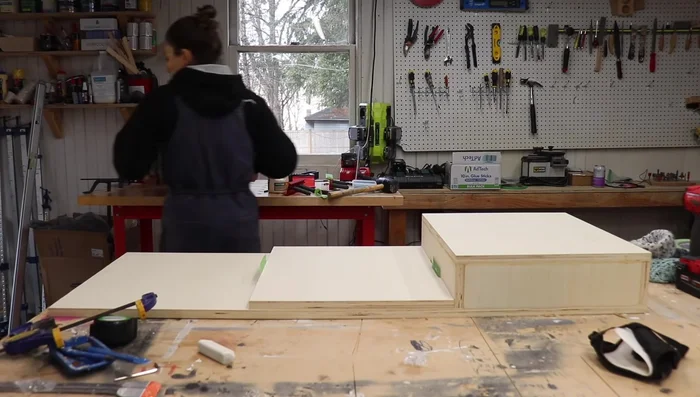
- Cut the desktop into three compartments using a crosscut sled for precise cuts.
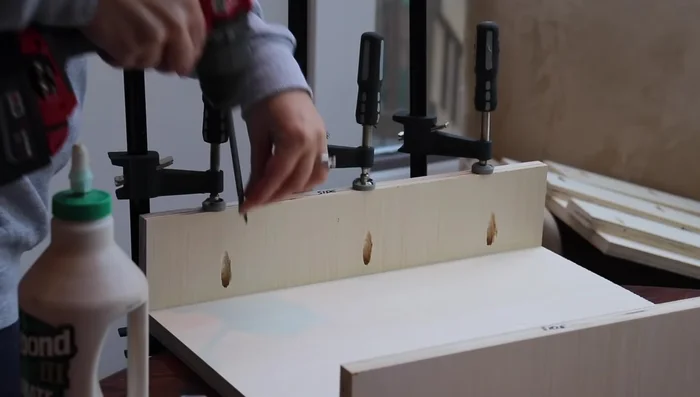
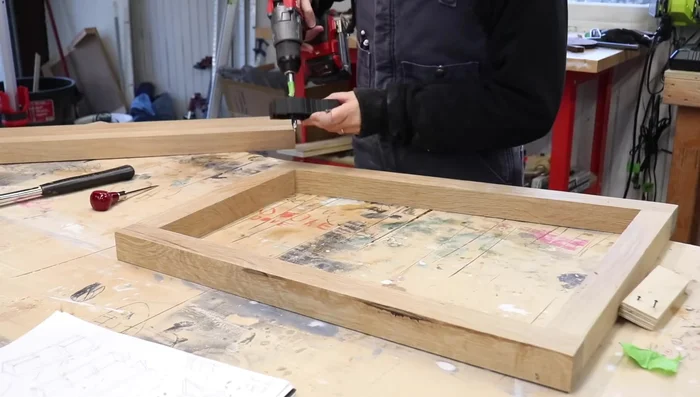
- Use the Armor Tool Auto Jig to create pocket holes for joining compartment dividers to the desktop. The Auto Jig automatically adjusts for thickness.
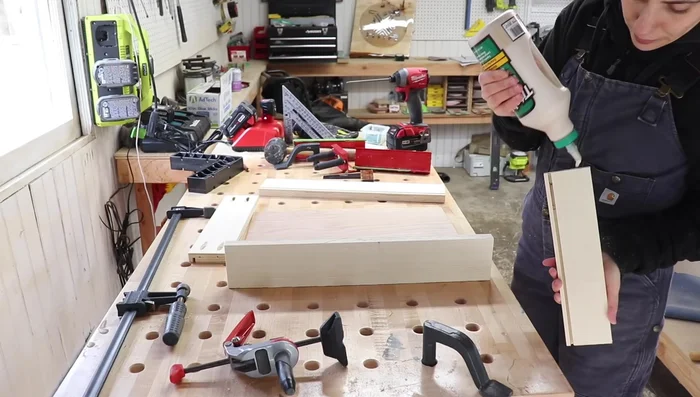
- Glue, clamp, and screw the divider pieces to the top sections of the desk. Build upside down to hide screw holes.

Desktop Preparation Drawer Construction
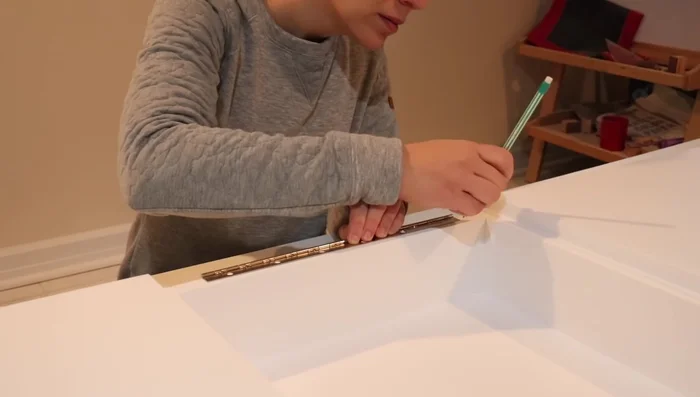
- Install drawer slides precisely, using spacers and a combination square for accurate placement.
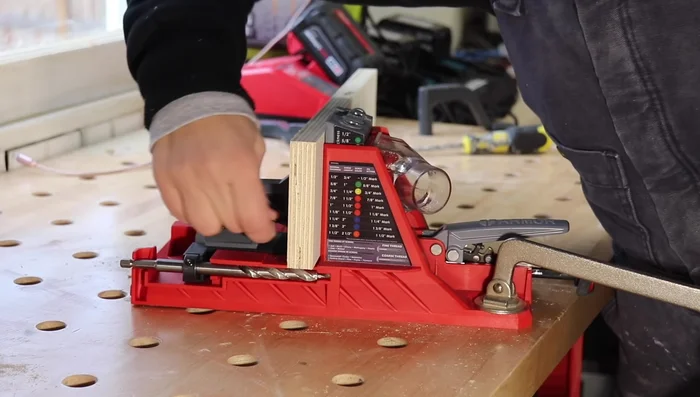
- Create grooves for drawer bottoms using a kerf maker jig for accurate and consistent depth.
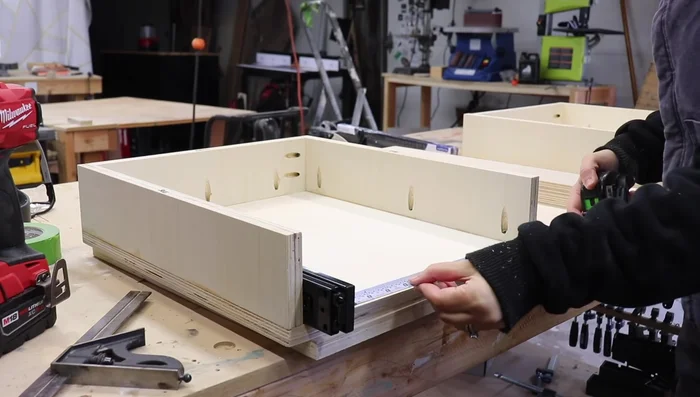
- Assemble drawers using the Auto Jig for pocket holes, ensuring a snug fit by using scrap pieces against stop blocks for precise measurements.
- Install the drawers into the compartments, pre-drilling holes for the slides.
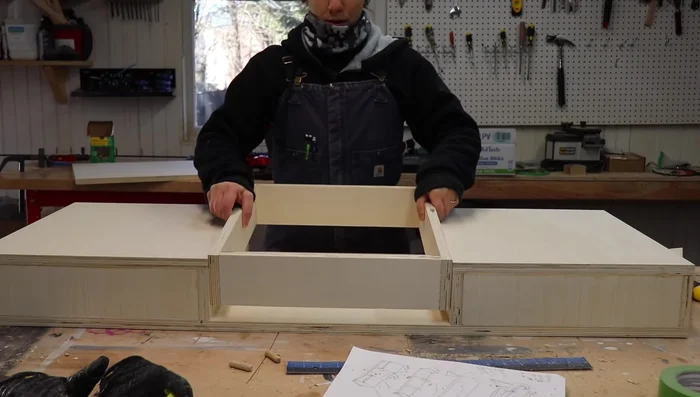
Drawer Construction Desktop Assembly
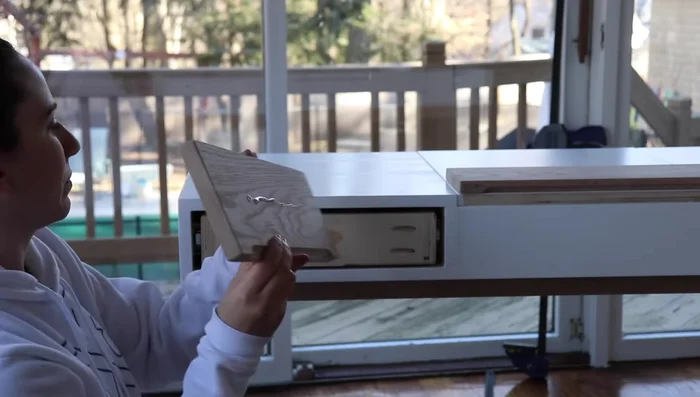
- Attach the bottom panel to the desktop compartments, leaving space for the lift-up mechanism.
- Assemble the center compartment using butt joints and screws.
Desktop Assembly Base Construction
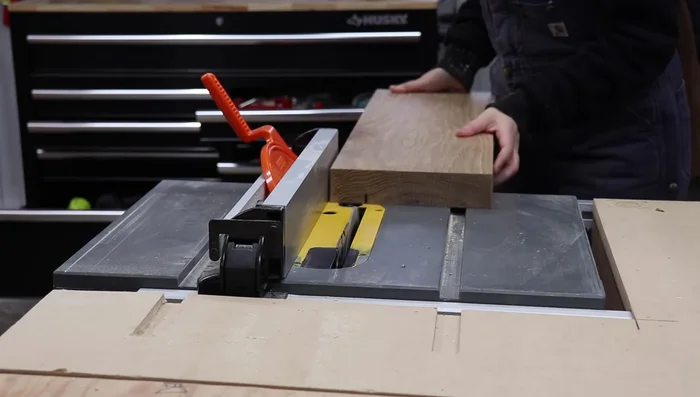
- Create the base from rough white oak (or pre-milled 2x2s) using a jointer sled and planer for flat surfaces. Use a router with a flush trim bit for straight edges.
- Rip the base pieces to their final dimensions on the table saw with a ripping blade.
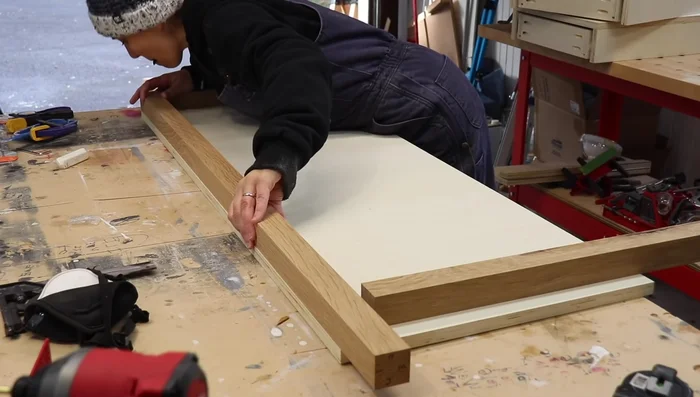
- Cut base pieces to length; use existing pieces to determine exact lengths without measuring.
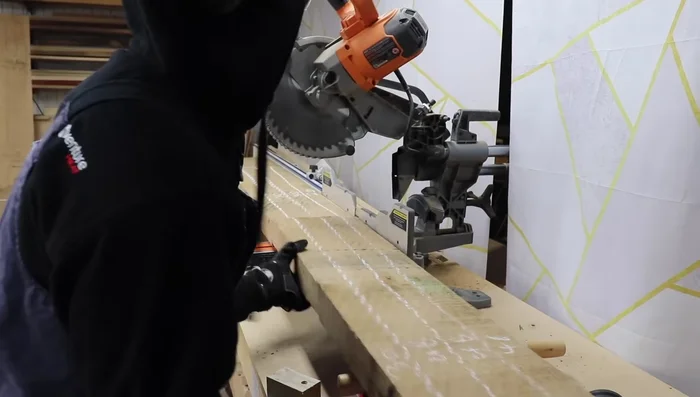
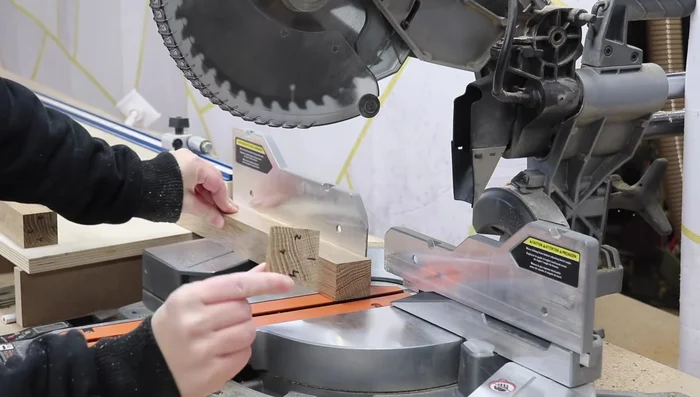
- Cut angled cuts for the legs and aprons using a miter saw.
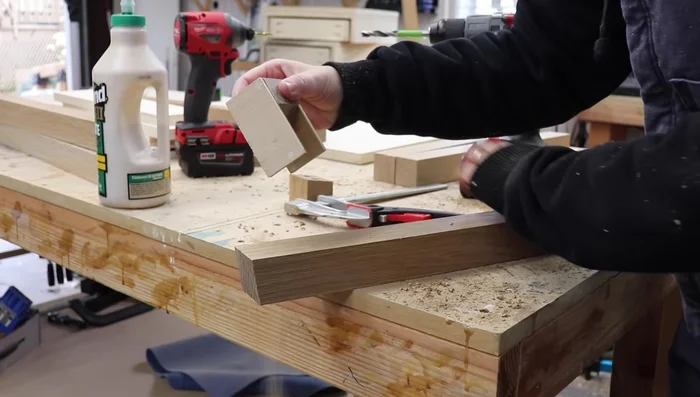
Base Construction - Join the base using dowels and a dowel jig for angled holes and a marking jig for straight holes.
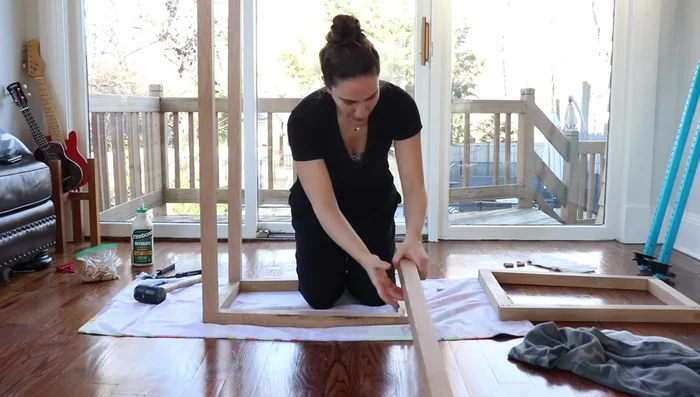
- Glue and clamp the base together, ensuring squareness.
- Attach long stretchers to the legs using a drilling guide for straight holes.
- Glue and clamp the stretchers to the base.
Base Construction Finishing & Assembly
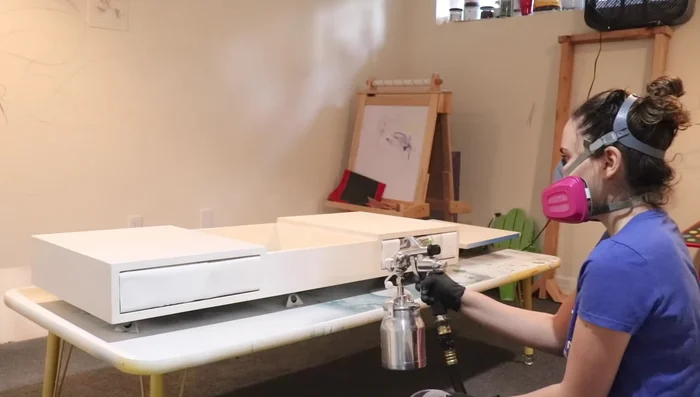
- Fill, prime, and paint the desktop.
- video encountered a problem with soft-close stays, suggesting torsion hinges as an alternative).
- Create recesses for hidden drawer pulls using a router bit.
- Install the drawer fronts.
Finishing & Assembly - Adjust the middle compartment for L-brackets using a router and chisel for flush mounting.
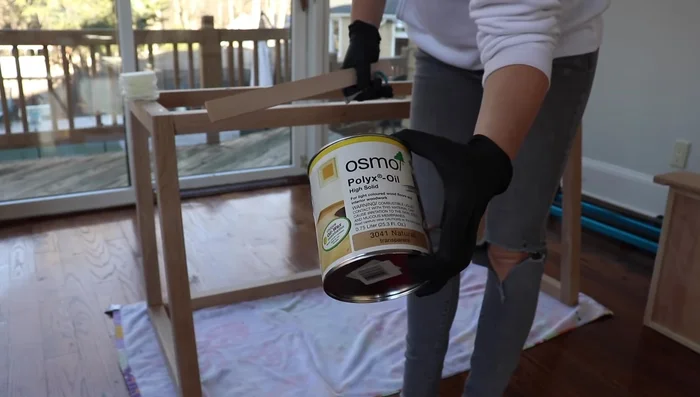
- Apply Osmo oil finish.
- Install mirrored acrylic to the vanity.
- Attach the desktop to the base using figure 8 tabletop fasteners.
Finishing & Assembly


Read more: Ultimate Guide to Harmonious Bedroom Furniture Arrangement
Tips
- Build upside down to hide screw holes.
- Use scrap pieces against stop blocks for precise drawer measurements.
- Use existing pieces to determine exact lengths without measuring.
- Utilize a marking jig for consistent hole placement.