Transform your outdoor space into a vibrant oasis with a striking, modern planter box! Whether you're a seasoned DIY enthusiast or a beginner just starting out, creating your own planter is a rewarding project that adds instant curb appeal and personality to any patio, balcony, or garden. Forget the mundane and embrace the opportunity to craft a truly unique statement piece, perfectly tailored to your aesthetic and planting needs. Imagine the satisfaction of nurturing your favorite plants in a beautifully designed container you built yourself.
This guide will walk you through each stage of the process, from selecting the right materials to the final finishing touches. Forget about expensive, mass-produced planters; let's build something truly special. Get ready to unleash your creativity and follow our detailed step-by-step instructions to construct a stunning, modern planter box you'll be proud to showcase.
Preparation and Safety Guidelines
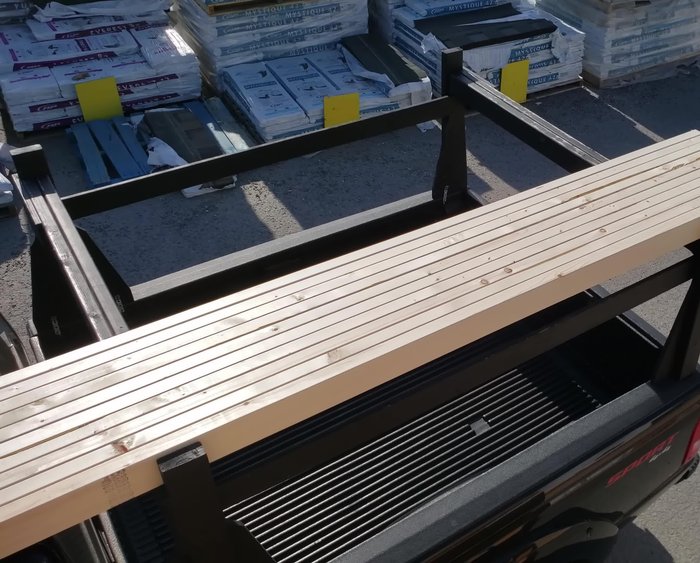
- 2x4 lumber
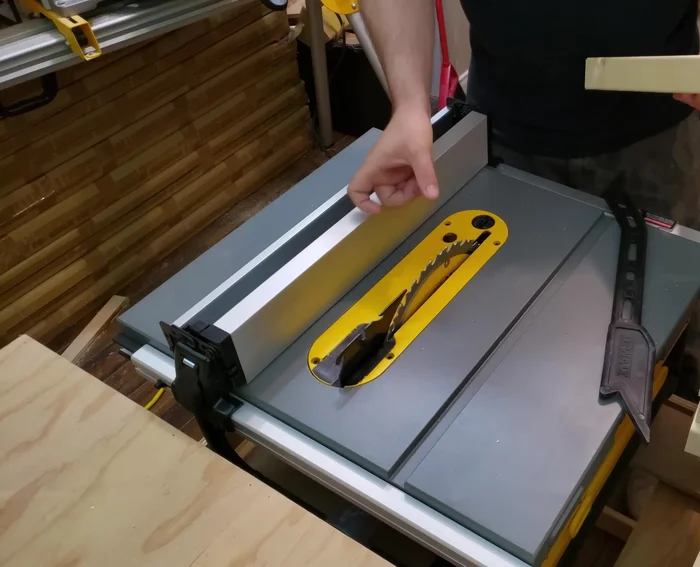
- Table saw
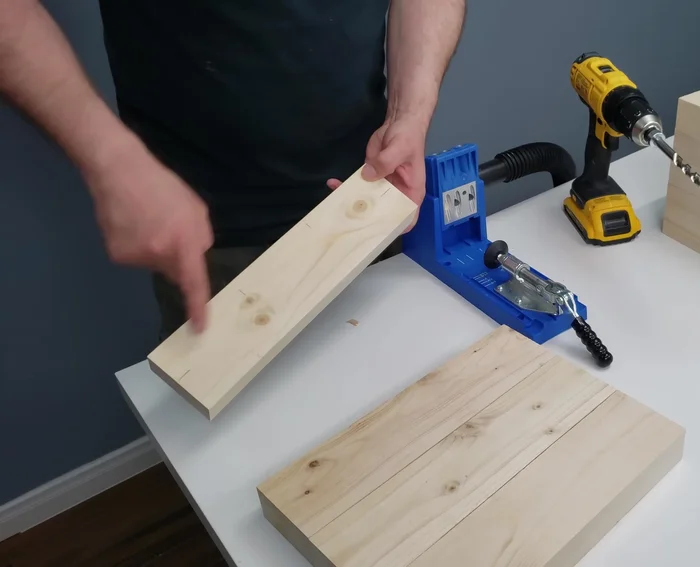
- Kreg Jig (pocket hole jig)
- Drill
- Wood screws (2.5 inch pocket hole screws)
- Clamps
- Exterior wood stain
- Plastic liner
- Staple gun
- Sandpaper (80 grit, 120 grit)
- Belt sander
- Orbital sander
- Palm sander
- Multi-tool
- Scrap wood
- Outdoor wood glue
- Pipe (5/8 inch diameter)
- Geotextile
- Always wear safety glasses when using power tools like saws and drills.
- Use appropriate gloves when handling wood, especially if using treated lumber. Some treatments can be irritating to the skin.
- Ensure the planter box is stable and won't tip over, especially if it's large or heavy when filled with soil and plants. Consider adding feet or anchoring it to a surface if necessary.
Step-by-Step Instructions
Prepare the Lumber
- 4 pieces at 12 inches and 4 pieces at 13.5 inches.
- Rip cut all pieces to 3 inches wide using a table saw for a clean, square edge.

Prepare the Lumber Create Pocket Holes
- Create pocket holes on the 12-inch pieces (bottom) and longer pieces (sides).
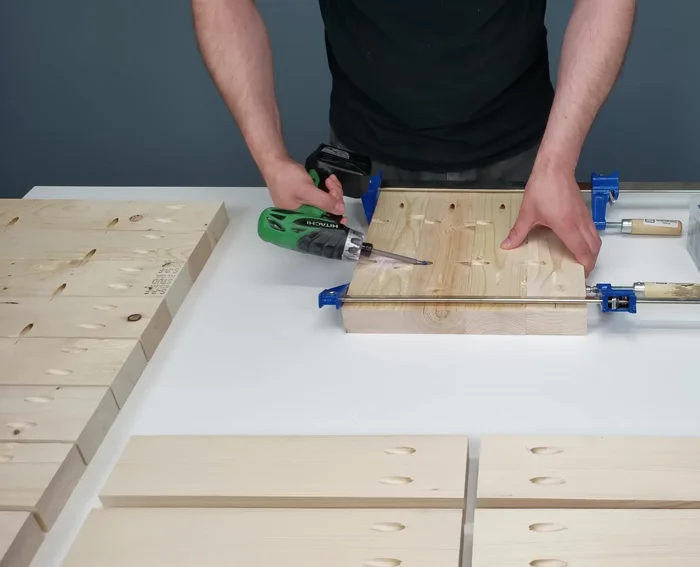
Create Pocket Holes Assemble the Base
- Assemble the bottom of the planter using pocket holes and screws.
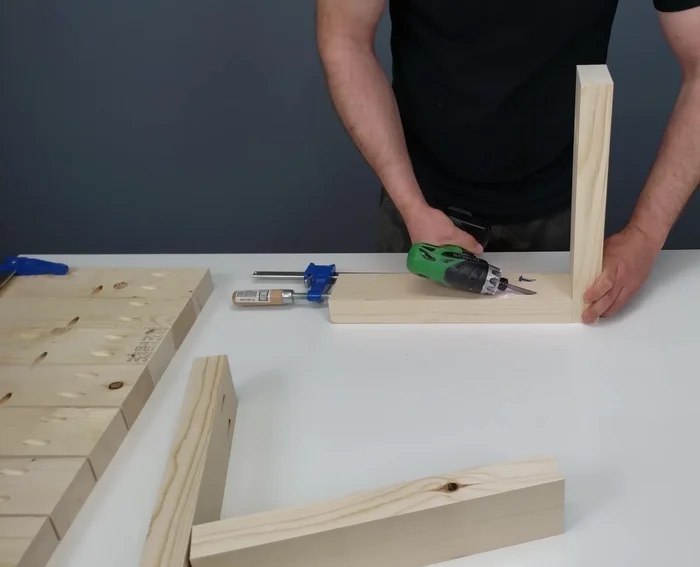
Assemble the Base Assemble the Sides
- Assemble the sides of the planter using pocket holes and screws. Note the symmetrical arrangement for the box style joint.
Assemble the Sides Assemble the Top
- Assemble the top of the planter, ensuring proper alignment of pocket holes.
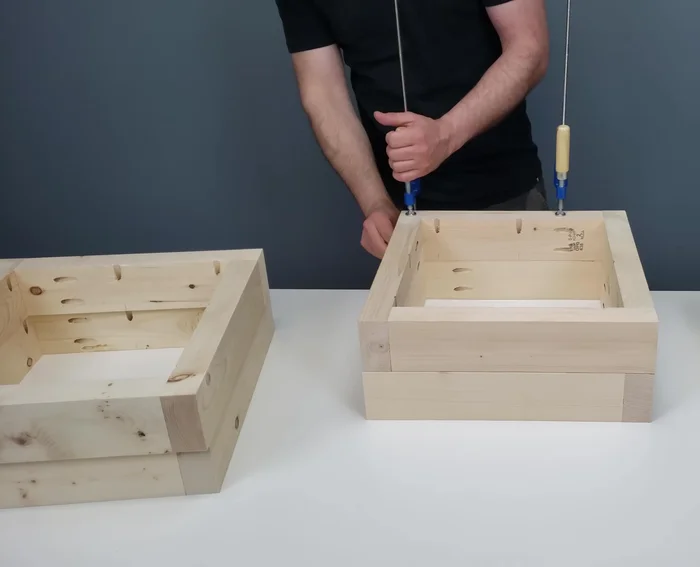
Assemble the Top Assemble the Planter Box
- Assemble the five parts together (upside down) using pocket holes and screws, clamping to ensure tight joints and prevent water trapping.
- Attach the bottom pieces and use scrap wood shims to ensure proper alignment during screwing.
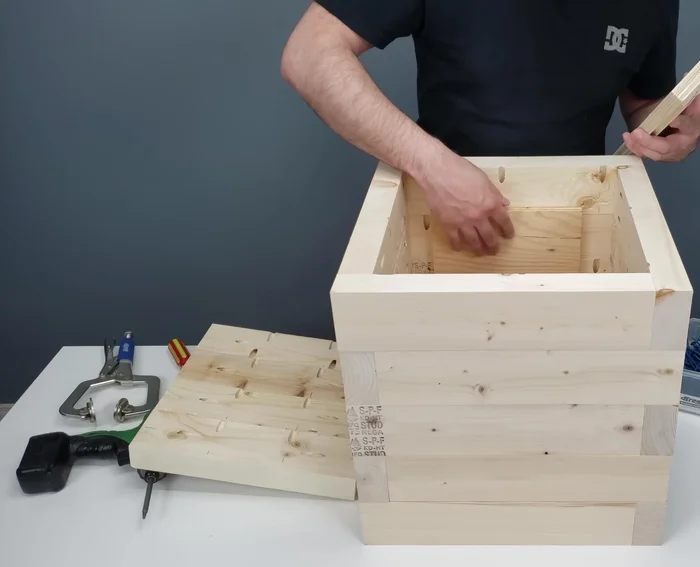
Assemble the Planter Box Add Legs and Finishing Touches
- Attach legs for elevation, using glue.
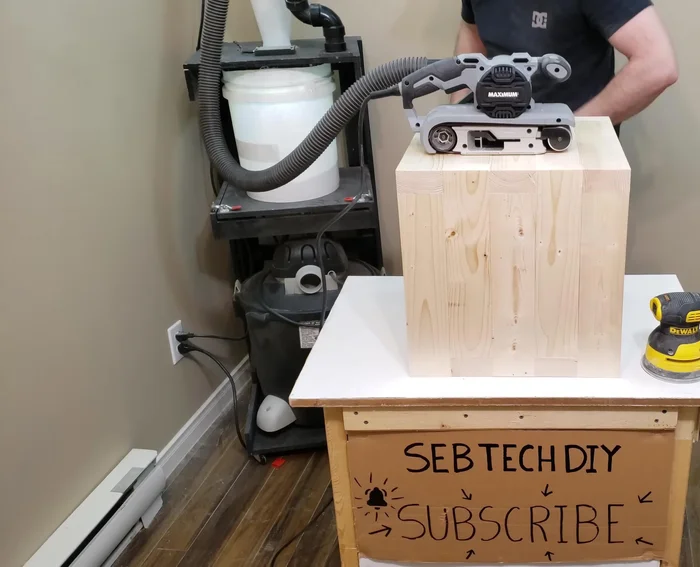
Add Legs and Finishing Touches Sand and Stain
- Sand all surfaces to create a smooth and flush finish, starting with a belt sander (80 grit), then orbital sander (80 grit), and finishing with an orbital sander (120 grit) and palm sander (120 grit).
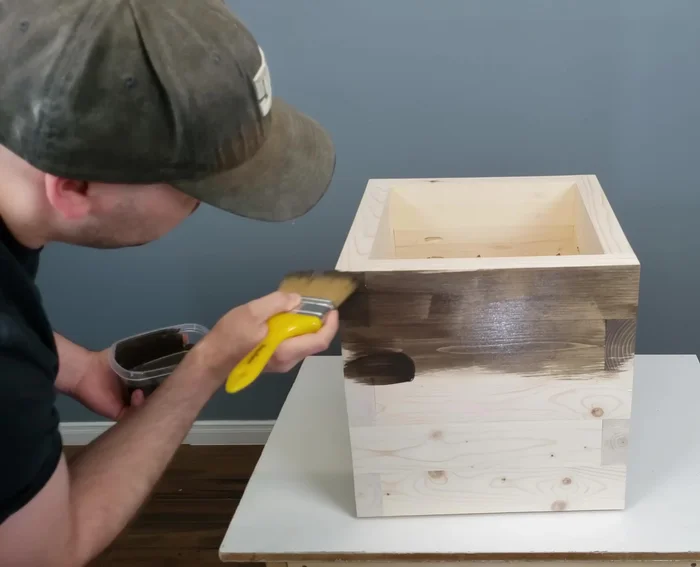
- Apply two coats of exterior wood stain.
Sand and Stain Install Liner and Drainage
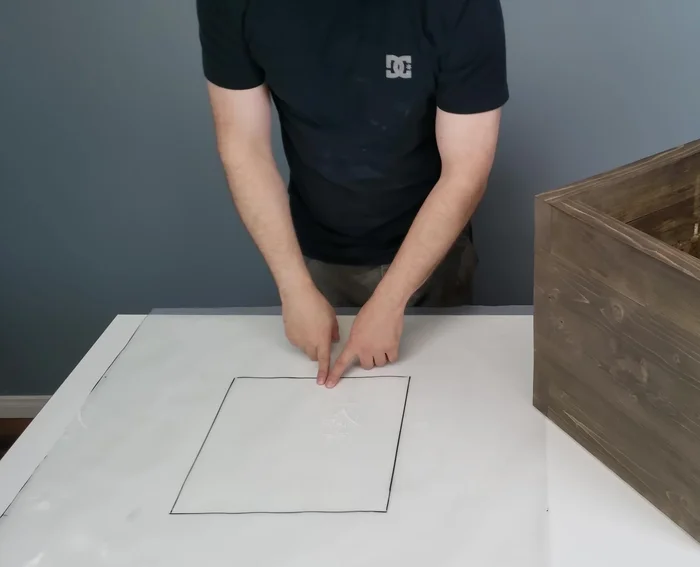
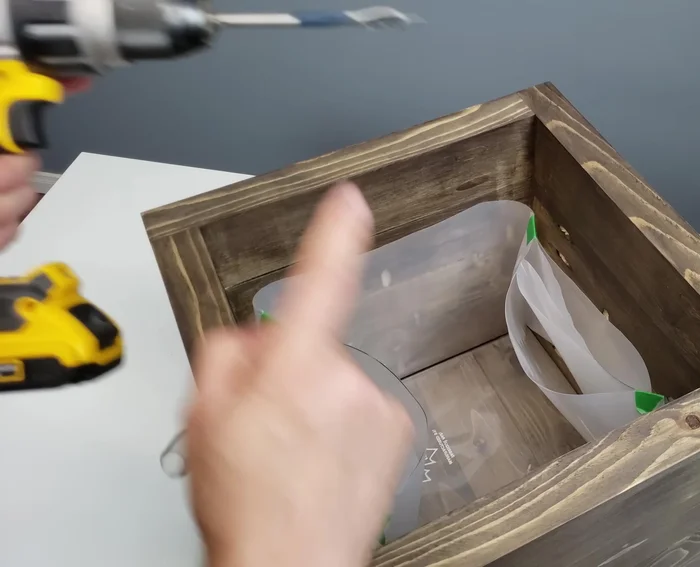
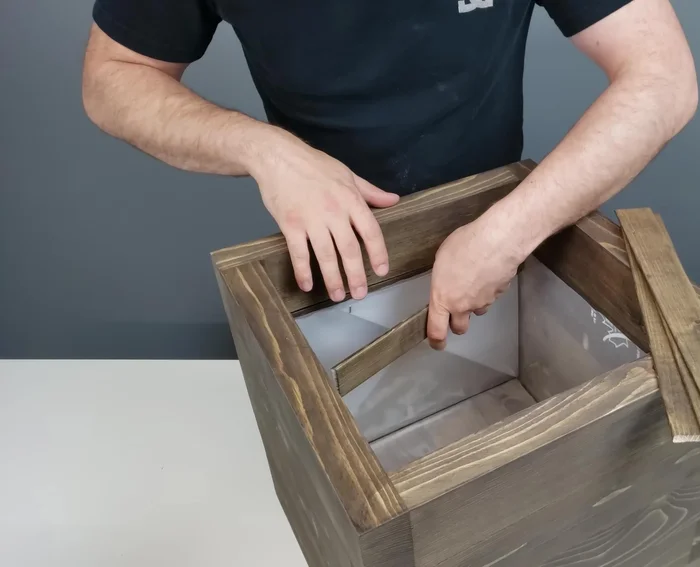
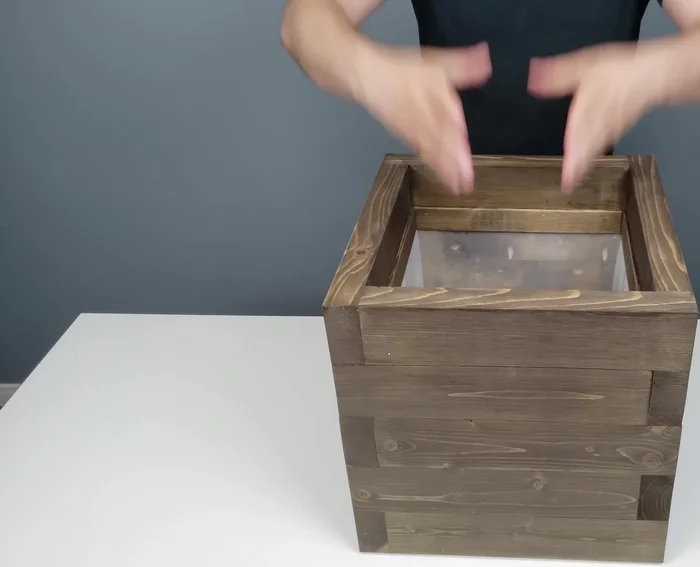
- Install the plastic liner, carefully shaping it before placing it inside.
- Drill a drainage hole, and install the pipe and geotextile to prevent soil clogging.
Install Liner and Drainage Add Trim
- Add inside trim using leftover lumber pieces to cover pocket holes and prevent water damage.
Add Trim Plant
- Plant your chosen plants.
Plant


Read more: Build a Sag-Proof Wood Fence Gate: The Ultimate DIY Guide
Tips
- Use a Kreg Jig for efficient and accurate pocket hole creation.
- Download plans from the Instructables link in the description for precise pocket hole placement.
- Clamp pieces together during assembly to ensure alignment and prevent movement.
- Assemble upside down to prevent water trapping.
- Sand thoroughly to create a perfectly flush finish between all pieces.