Imagine crisp autumn evenings, the scent of woodsmoke mingling with the cool night air, and the warm glow of flames illuminating laughter-filled faces. This is the magic an outdoor fireplace can bring to your backyard oasis. More than just a source of heat, an outdoor fireplace becomes a captivating focal point, a place for gatherings, and a beautiful addition to your landscape. It's a project that might seem daunting at first glance, but with careful planning and execution, building your own is entirely achievable, offering a unique sense of satisfaction and a lasting centerpiece for years to come.
This comprehensive guide will walk you through each stage of building a stunning outdoor fireplace, from initial design and material selection to the final finishing touches. Whether you're a seasoned DIY enthusiast or a beginner looking for a challenging project, we'll provide clear instructions and helpful tips to ensure you create a breathtaking fireplace that perfectly complements your outdoor space. Let's get started with the step-by-step process!
Preparation and Safety Guidelines
- Shovel
- Wheelbarrow
- Concrete Mixer (optional)
- Steel Mesh
- Concrete Blocks
- Red Bricks
- Fire Bricks
- Mortar
- Angle Grinder
- Brick Hammer
- Stone Veneer
- Grout
- Piping Bag
- Wire Brush
- Plywood
- 2x4 Studs
- Level
- Always check local building codes and obtain necessary permits before starting construction. Failure to do so can result in fines or legal issues.
- Maintain a minimum clearance distance between the fireplace and any combustible materials (wood, siding, etc.) as specified by building codes and manufacturer instructions. This is crucial to prevent fires.
- Never leave a burning fire unattended. Ensure adequate ventilation and have a fire extinguisher readily available.
Step-by-Step Instructions
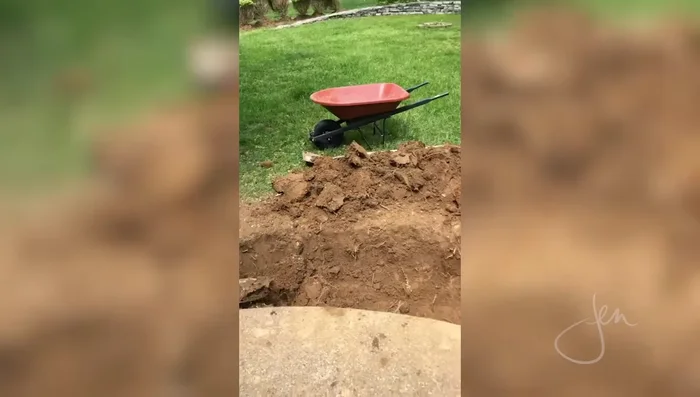
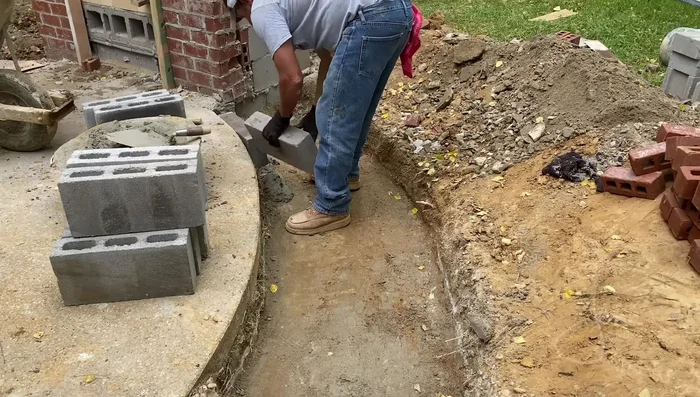
Site Preparation
- Dig up existing plants (boxwood bushes in this example) and check local building codes. Ensure no underground utility lines exist.

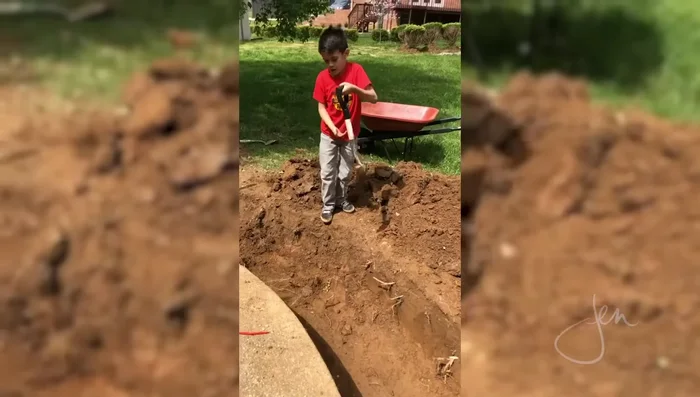
Site Preparation Foundation Construction
- Follow the patio curve, 18 inches deep (below frost line), and 32 inches wide. The firebox area should be slightly larger (approx. 44 inches front to back).
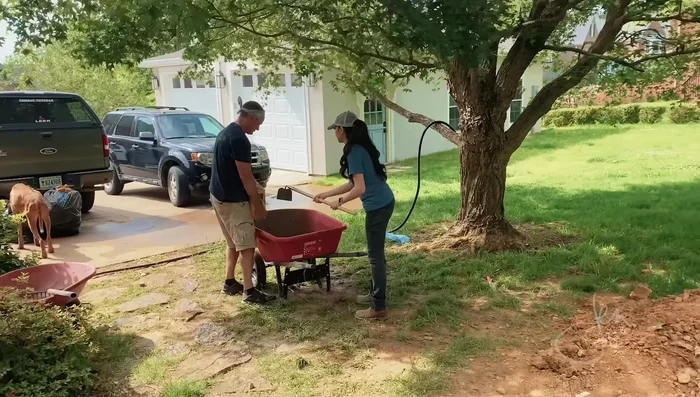
- Use a sufficient amount of concrete mix (54-80 pound bags in this case). Consider adding steel mesh reinforcement for extra strength.
Foundation Construction Firebox Installation
- A professional mason is highly recommended for this crucial step. The firebox needs precise construction to ensure proper smoke draw.
Structure Construction
- Use concrete blocks and red bricks to build the rest of the fireplace structure. An angle iron can be used to support the chimney until the mortar sets.
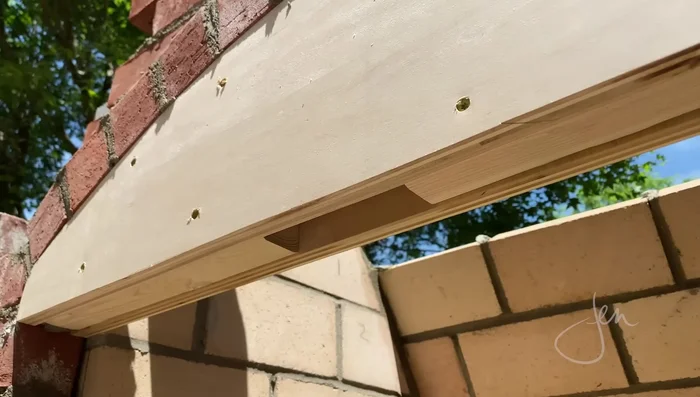
- Use a plywood and 2x4 template for accurate brick cutting and placement.
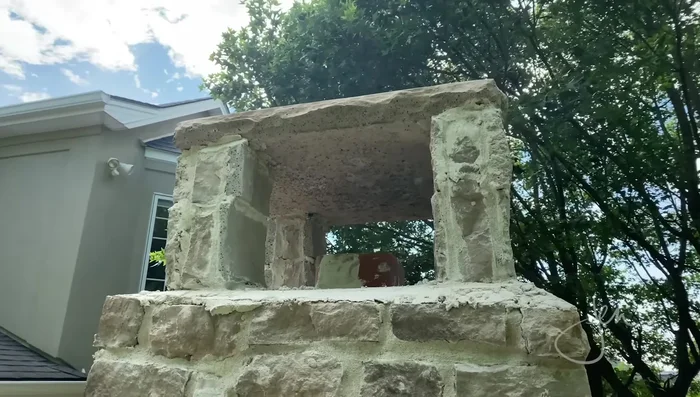
Structure Construction Chimney Construction
- Place the flue liner above the firebox and fill the surrounding space with blocks and bricks.
Chimney Construction Seating Construction
- Utilize lightweight concrete blocks to construct the seating area, three blocks high for the seat and adding a backrest.
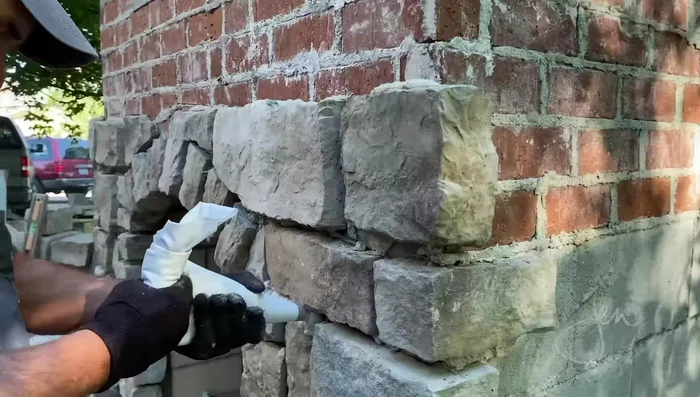
Seating Construction Stone Veneer Application
- Apply mortar to the brick structure, then back butter the stones and press them into place. Vary stone placement, size and color for a natural look.
Stone Veneer Application Finishing Touches
- Use mortar mixed a little wetter, piped into the joints, and overfilled. Allow to set and smooth with a wire brush.
- Place the capstone, which serves as a spark arrestor.
Finishing Touches


Read more: Build a Sag-Proof Wood Fence Gate: The Ultimate DIY Guide
Tips
- Get multiple quotes from contractors to compare pricing and choose the best option.
- Hiring a professional mason, especially for the firebox, is highly recommended to ensure proper functionality and safety.
- Check local building codes before starting the project.
- Use a suitable amount of concrete for the footing, ensuring it is at least 8 inches thick for this size.
- Adding steel mesh to the concrete footing increases strength.