Transforming your kitchen or bathroom with a stunning backsplash has never been easier, or more affordable! Forget costly contractors and messy grout – peel-and-stick backsplash tiles offer a fantastic DIY solution to update your space, adding personality and value to your home without breaking the bank. These versatile tiles come in a wide array of colors, patterns, and materials, allowing you to achieve the perfect look to complement your existing décor, whether you're aiming for a modern minimalist aesthetic or a rustic farmhouse charm.
This project is remarkably accessible for even the most novice DIY enthusiast, requiring minimal tools and experience. Ready to breathe new life into your kitchen or bathroom with minimal effort and maximum impact? Then let's dive into the step-by-step guide below and discover how simple it is to install your own beautiful, peel-and-stick backsplash.
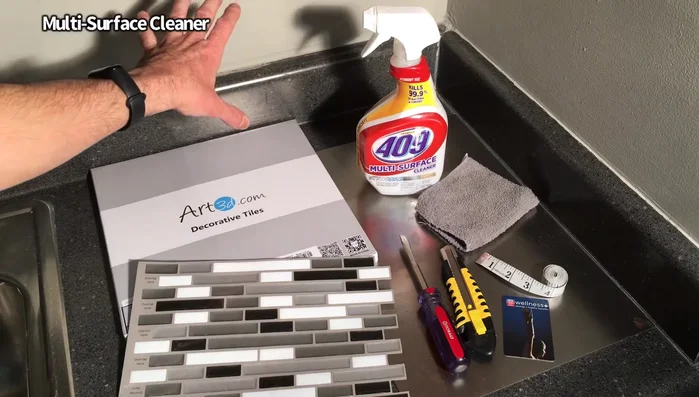
Preparation and Safety Guidelines
- Multi-surface cleaner
- Rag
- Screwdriver (flathead or Phillips)
- Cutting tool (blade)
- Straightedge (steel sheet, ruler, etc.)
- Applicator (credit card, plastic squeegee)
- Measuring tape
- Peel and stick tiles
- Always ensure the surface you're applying the tiles to is clean, dry, and free of grease or dust. Proper surface preparation is key for adhesion.
- Measure and plan your layout carefully before applying any tiles. Cutting tiles can be tricky, so plan for accurate cuts to minimize waste and ensure a professional finish.
- Work in a well-ventilated area, as some peel-and-stick tiles may emit a slight odor during and after installation. Wear gloves to protect your hands from potential adhesives.
Step-by-Step Instructions
Prepare the Wall
- Remove receptacle plates and clean imperfections.

Prepare the Wall Clean the Wall
- Spray multi-purpose cleaner and wipe down.
- Let the wall dry.
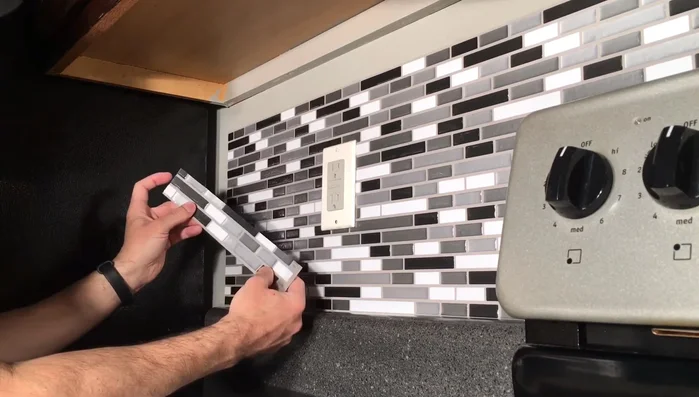
Install First Tile
- Measure and cut the first tile (for the edge/corner). Cut on the staggered side, not the flat side for proper overlap.
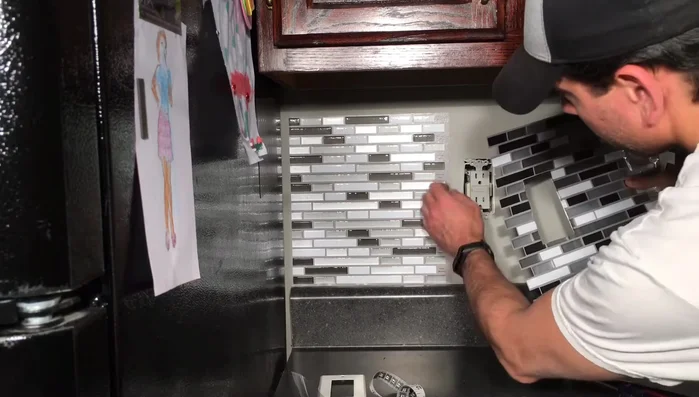
- Apply the first tile, using an applicator to smooth out air bubbles and ensure a firm bond.
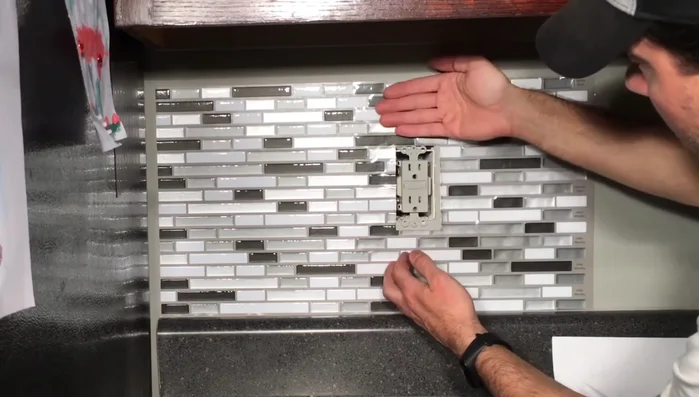
Install First Tile Cut Tiles for Outlets and Corners
- Create a template using the backer of a tile to accurately cut around outlets and corners.
- Repeat steps 6-8 for outlets, corners, and other areas requiring precise cuts. For outlets, it's easier to lay the tile and then cut down from the top, rather than attempting to cut a hole in advance.
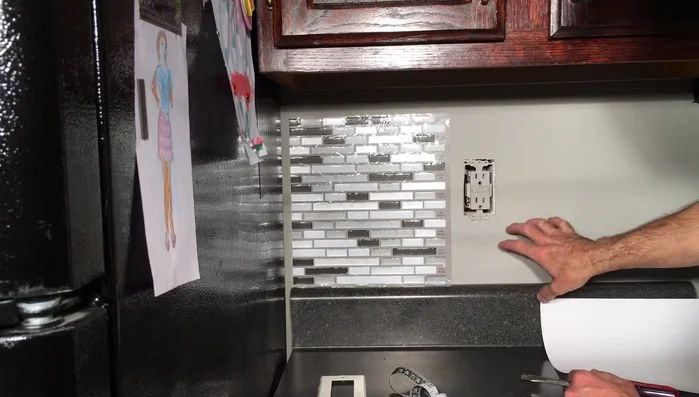
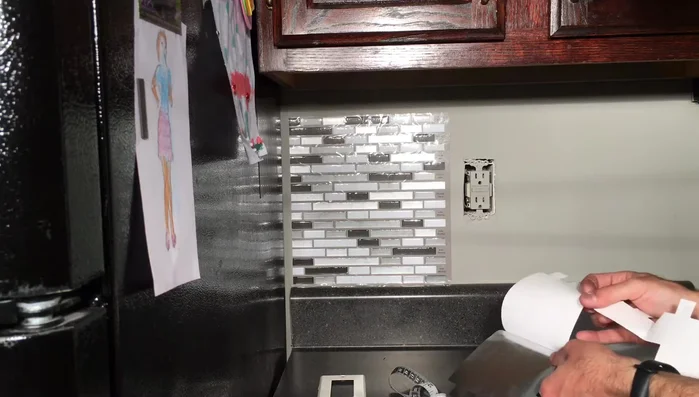
Cut Tiles for Outlets and Corners Apply Subsequent Tiles
- Apply subsequent tiles, peeling back the liner gradually and using an applicator to remove air bubbles.
- Remove the protective plastic film from the tiles after application.
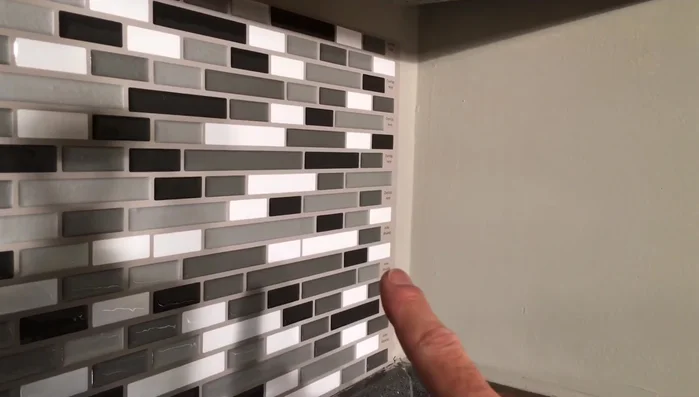
Apply Subsequent Tiles Install Corner Tiles
- For corners, create a template to ensure a seamless wraparound effect. Measure and cut tiles to fit the template precisely, accounting for wall imperfections.
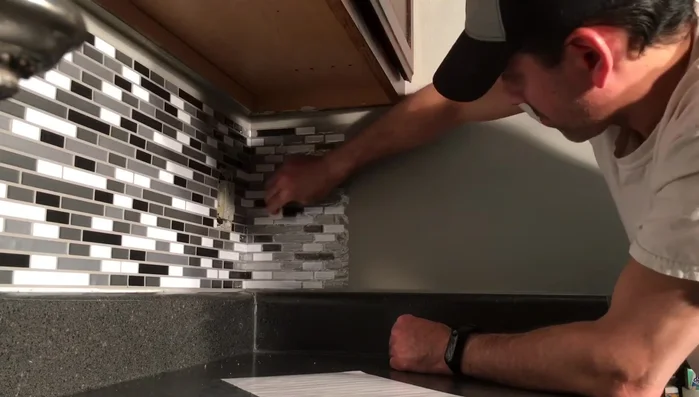
Install Corner Tiles Install Filler Strips
- Apply any necessary filler strips to cover gaps between tiles and cabinets or other surfaces.
Install Filler Strips Install Trim Pieces
- Install any additional trim pieces or corner pieces.
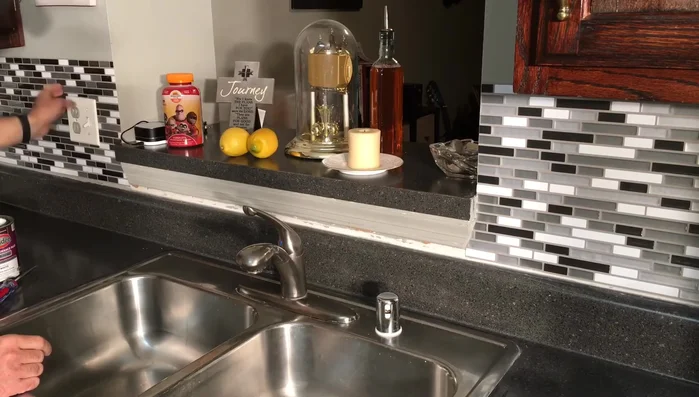
Install Trim Pieces Final Touches
- Replace receptacle plates.
Final Touches

Read more: DIY Pantry Door Spice Rack: Organize Your Spices in Minutes!
Tips
- Ensure the wall is clean and dry before applying tiles.
- Use an applicator to press out air bubbles and ensure a strong bond.
- Don't peel the entire backer off at once; peel gradually for better control.
- For precise cuts around outlets and corners, create templates.
- When cutting around outlets, cut from the top down instead of pre-cutting a hole.