Transforming a room's ambiance with a striking accent wall is easier than you think, thanks to the convenience of peel-and-stick wallpaper. This versatile and readily available option allows even novice DIYers to achieve a professional-looking finish without the mess and fuss of traditional wallpaper. Forget the paste, the soaking, and the agonizing alignment – peel-and-stick wallpaper offers a quick, clean, and remarkably effective way to inject personality and style into any space. Its temporary nature also means you can easily change your décor as your tastes evolve.
This guide provides a comprehensive, step-by-step approach to installing peel-and-stick wallpaper on your accent wall, ensuring a smooth and satisfying experience from start to finish. Whether you're a seasoned DIY enthusiast or tackling your first home improvement project, follow along as we detail each stage, from preparing the surface to achieving perfectly seamless edges, guaranteeing a stunning and effortlessly chic accent wall.
Preparation and Safety Guidelines
- Wallpaper (peel and stick)
- Paint
- Measuring Tape
- Scissors/Utility Knife
- Smoothing Tool
- Caulk
- Always test a small, inconspicuous area first to ensure the wallpaper adheres properly and doesn't damage your wall. Different paints and wall textures react differently.
- Work in well-ventilated areas to avoid inhaling excessive fumes, especially if using wallpaper with a strong odor.
- Ensure the wall surface is clean, dry, and smooth before application. Any bumps or imperfections will show through the wallpaper.
Step-by-Step Instructions
Planning and Selection
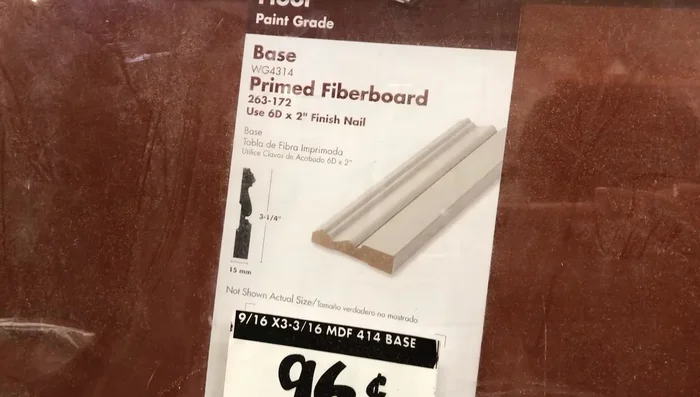
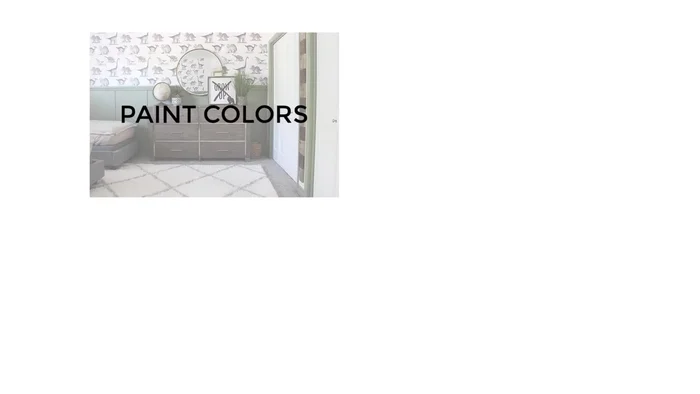
- Choose a paint color that complements your wallpaper. Consider the color family (stay within the same tones) and how colors shift as you move across a paint color chart.
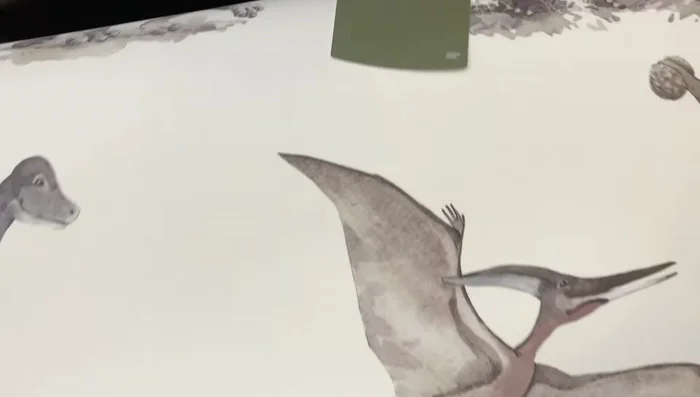
- Opt for peel-and-stick wallpaper for easier installation. Consider the repeat pattern; smaller repeats are easier to match and minimize waste. Choose a wallpaper with a background color matching the wall paint to hide any gaps.

Planning and Selection Wall Preparation
- Ensure the wall is clean and prepped for wallpaper application.
Wall Preparation Wallpaper Application
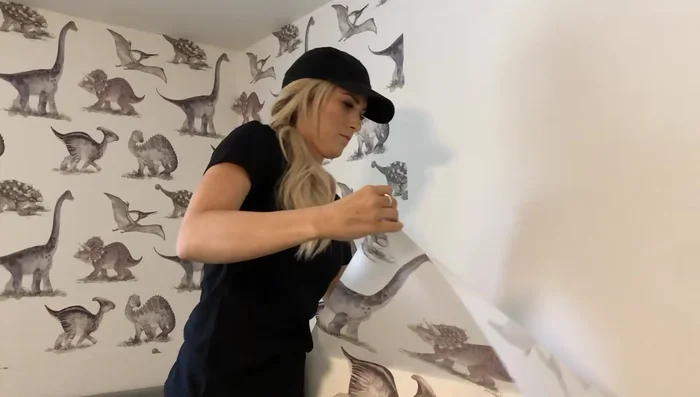
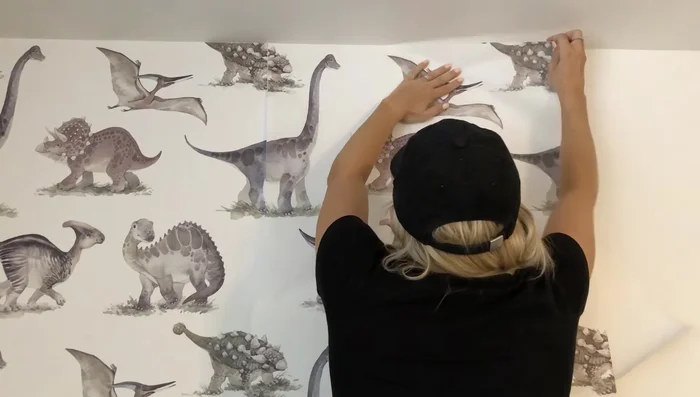
- Start in a corner. Peel back a portion of the wallpaper backing and align the edges carefully. Smooth out any air bubbles or wrinkles as you go. Use a smoothing tool and work from the center outward.
Wallpaper Application Trimming and Finishing
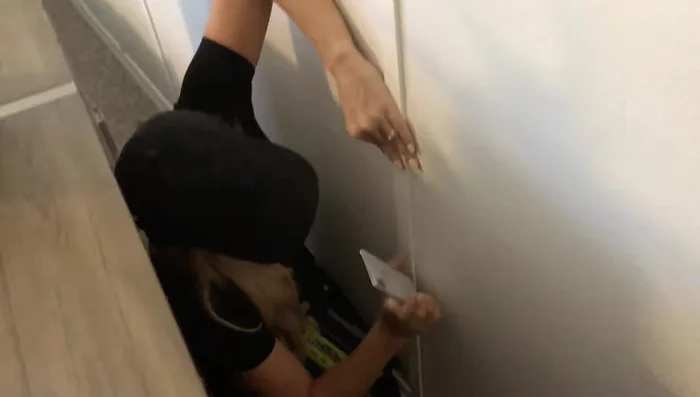
- Trim excess wallpaper along the edges, ceiling, and baseboards, being careful to create neat lines.
- Fill any small gaps with caulk for a seamless finish.
- Add any additional trim work (e.g., chair rail or vertical strips) to complete the project.
Trimming and Finishing

Read more: Build a Giant Toy Box: DIY Playroom Organization
Tips
- For accent walls, consider painting the bottom portion and applying wallpaper only to the top section.
- Always smooth out air bubbles toward the outer edges.