Relocating a bathroom pipe is a common home improvement project that can significantly enhance bathroom layout and functionality. Whether you're aiming for a more efficient space, upgrading your fixtures, or simply addressing a poorly placed pipe, understanding the process is key. Unlike rigid copper pipes, PEX piping offers significant advantages in terms of flexibility and ease of installation, making it a popular choice for DIY enthusiasts and experienced plumbers alike. This makes rerouting or adding pipe significantly less complex, requiring fewer specialized tools and techniques.
This guide will walk you through the step-by-step process of relocating a bathroom pipe using PEX piping. We'll cover everything from planning and preparation to the final connections, ensuring a successful and leak-free installation. Let's dive into the detailed instructions to transform your bathroom plumbing.
Preparation and Safety Guidelines
- Endoscope
- Stud finder
- Reciprocating saw
- Adjustable wrench
- Plumber's tape
- PEX pipe
- PEX crimp ring
- PEX crimper
- Half-inch elbow
- Three-quarter inch male adapter
- Dresser coupling or compression coupling (alternative)
- Always turn off the water supply to the affected area before starting any work. Failure to do so can lead to flooding and significant property damage.
- Wear appropriate safety gear, including safety glasses, gloves, and potentially a dust mask, to protect yourself from potential hazards like debris, chemicals, and sharp pipe edges.
- If you are unsure about any aspect of the process, consult a licensed plumber. Incorrectly installing plumbing can lead to leaks, water damage, and health risks.
Step-by-Step Instructions
Planning and Preparation
- Inspect the pipe's path using an endoscope to identify access points and potential obstacles.
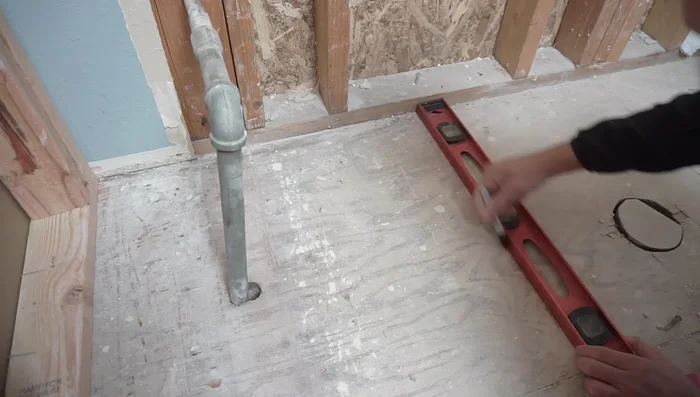
- Locate the floor joists using a stud finder to determine the best placement for the new pipe route, ensuring it avoids structural compromises.

Planning and Preparation Cutting and Disconnecting the Old Pipe
- Carefully cut the existing galvanized pipe, choosing the most suitable tool (reciprocating saw, jigsaw, or oscillating tool) for the job. The video uses a reciprocating saw.
- Disconnect the existing pipe fitting. In this case, a T-connector was found, which simplified the process.
Cutting and Disconnecting the Old Pipe Installing the Adapter
- Install a three-quarter inch male adapter to the remaining galvanized pipe, using plumber's tape to ensure a watertight seal.
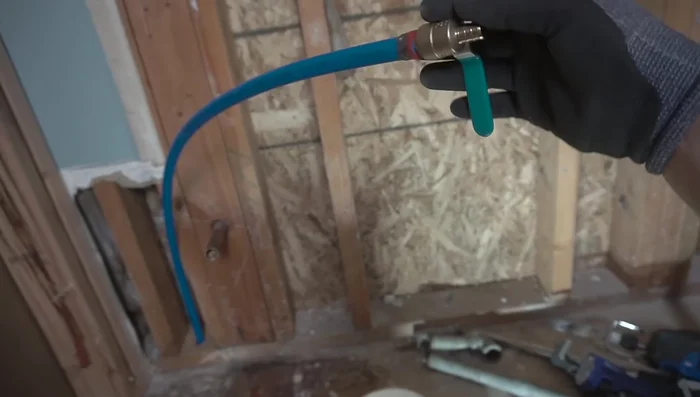
Installing the Adapter Routing and Connecting the PEX Pipe
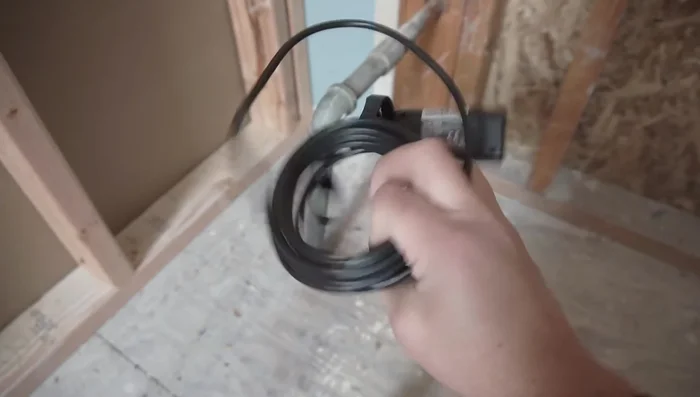
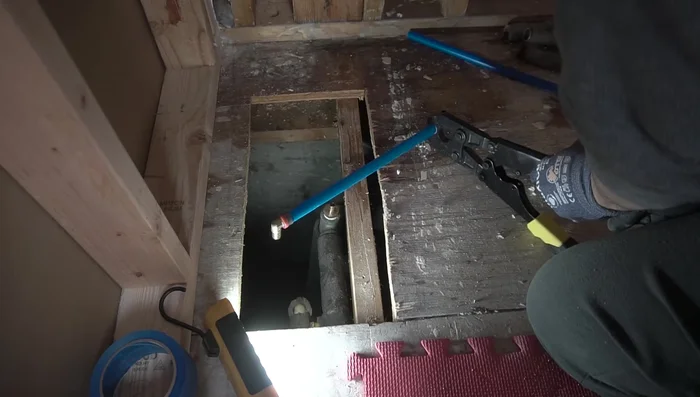
- Route the PEX pipe from the adapter through a hole to the desired location (underneath the floor and up the wall).
- Crimp the PEX fittings (elbows) onto the pipe securely using a PEX crimper.
- Connect the PEX pipe to the three-quarter inch male adapter, ensuring a tight fit.
Routing and Connecting the PEX Pipe Leak Testing and Restoration
- Test the connection for leaks before permanently closing up the wall.
- Restore the subfloor and wall covering.
Leak Testing and Restoration


Read more: Miniature Spider Welding Tutorial: Crafting a Tiny Metal Arachnid
Tips
- Use an endoscope to visualize the pipe's route before cutting.
- Locate floor joists to prevent structural damage and ensure secure fastening of the new pipe.
- Crimp PEX fittings before threading to simplify the process.
- Always check for leaks after connecting and turning the water back on.