Is your child's playroom feeling more "blah" than "brilliant"? Does it resemble a chaotic storage unit more than a stimulating learning environment? Many parents find themselves facing a playroom that's fallen short of its potential – a space that could be buzzing with creativity and fun, but instead feels dull and disorganized. The good news is that transforming a boring playroom into a vibrant, educational haven is easier than you think! With a little imagination and planning, you can create a space where your child thrives, learns, and loves to play. We understand the struggle, and that's why we're here to help.
Forget the overwhelming feeling of tackling a complete overhaul. This guide will take you through a simple, step-by-step process to breathe new life into your child’s playroom, turning it from a source of parental frustration into a joyful and enriching space. Get ready to unleash your inner designer and transform your child's playroom from drab to fab, one exciting step at a time!
Preparation and Safety Guidelines
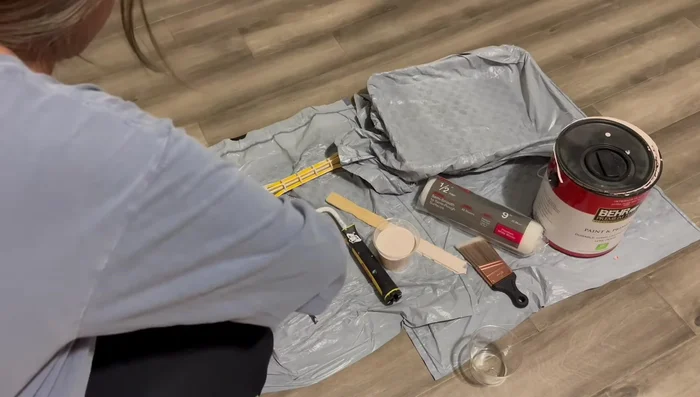
- Paint (Rust-Oleum chalk paint, blush pink, metallic brass, clear top coat, Sherwin-Williams snowbound, Sherwin-Williams agreeable gray)
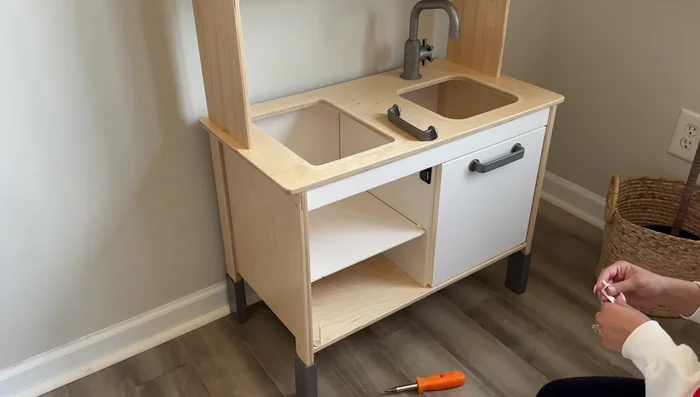
- Ikea Kitchen
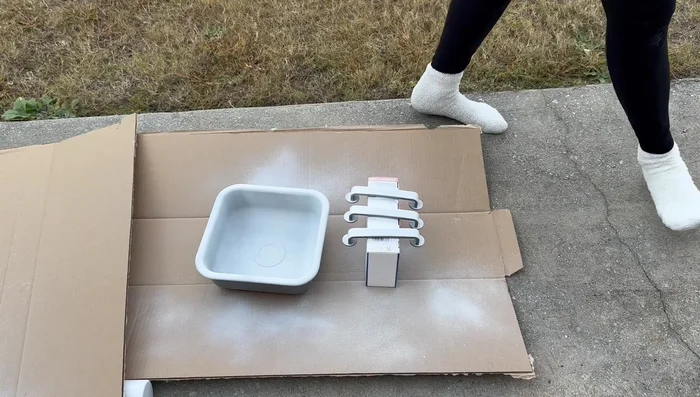
- Plywood
- Paintbrushes
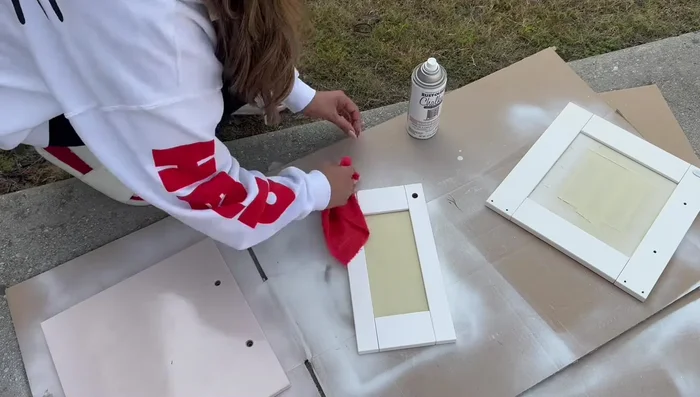
- Spray paint
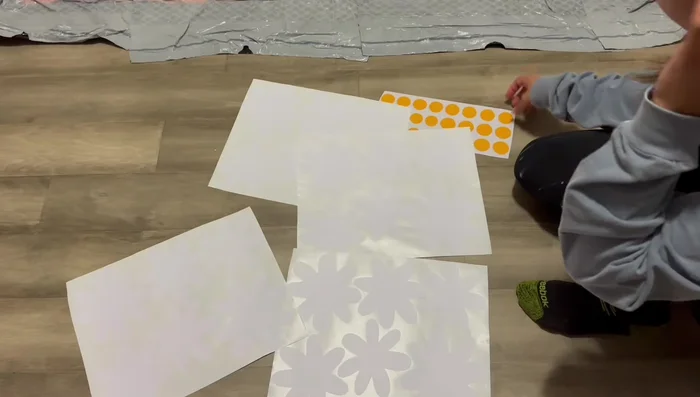
- Wall decals
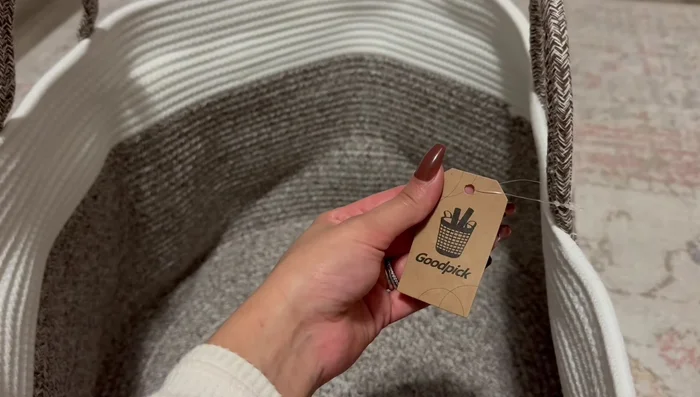
- Baskets (Good Pick)
- Bookshelves (Target)
- Rug
- Tape
- Eyeshadow brush
- Prioritize safety! Secure all furniture to walls to prevent tipping. Remove small choking hazards and ensure electrical cords are out of reach.
- Choose age-appropriate toys and activities. Always supervise young children in the playroom.
- Regularly inspect the playroom for potential hazards and maintain good ventilation to prevent dust build-up and stuffy air.
Step-by-Step Instructions
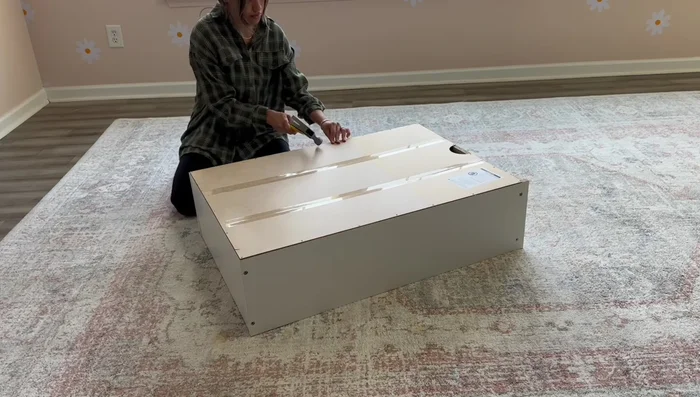
Prepare the Ikea Kitchen
- Painting the Ikea Kitchen
- Priming Ikea kitchen parts (due to shiny finish)
- Painting kitchen doors with blush pink chalk paint
- Painting gray parts (hardware) with metallic brass paint

Prepare the Ikea Kitchen - Sealing with clear top coat
Prepare the Ikea Kitchen Paint the Walls
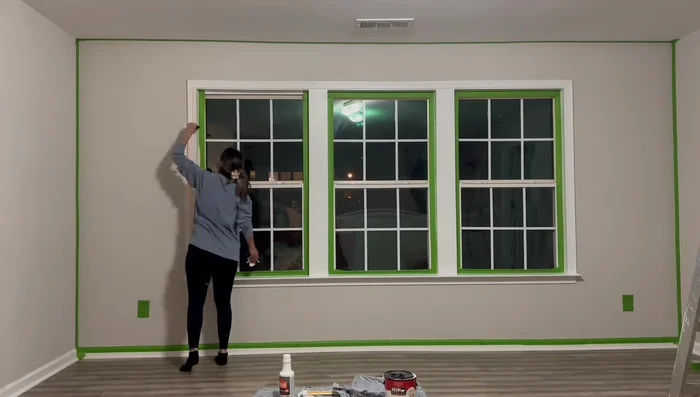
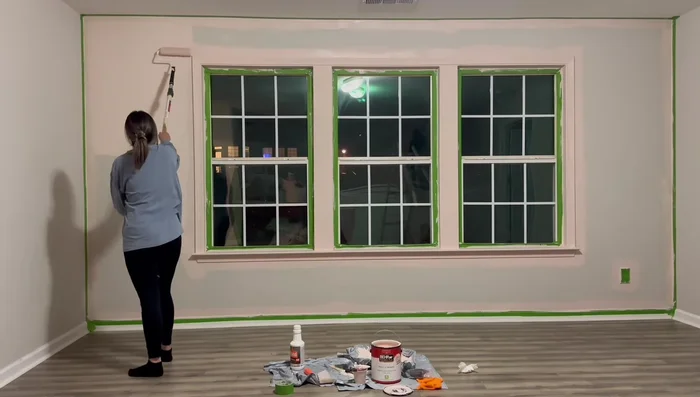
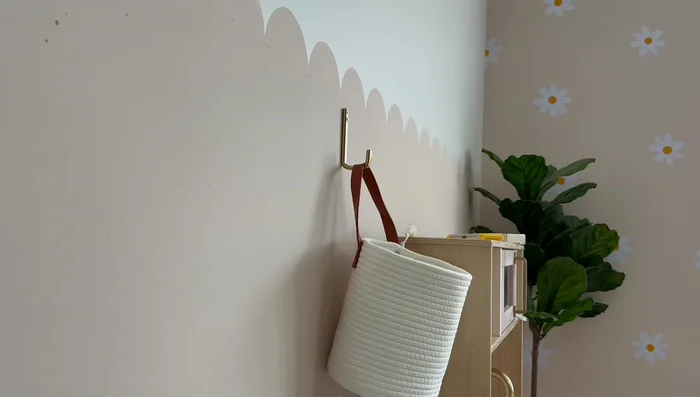
- Painting accent wall
- Painting window trim same color as accent wall
- Painting remaining walls with Sherwin-Williams snowbound (white)
- Creating scallop detail on accent wall using a lid as a template and hand-painting with an eyeshadow brush
Paint the Walls Paint Furniture
- Painting bookshelves
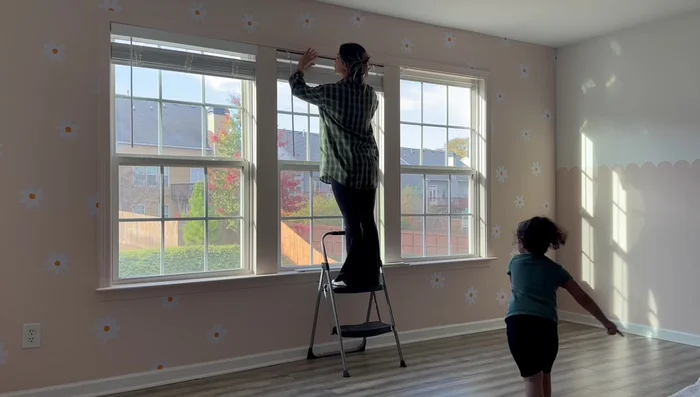
Paint Furniture Install Fixtures
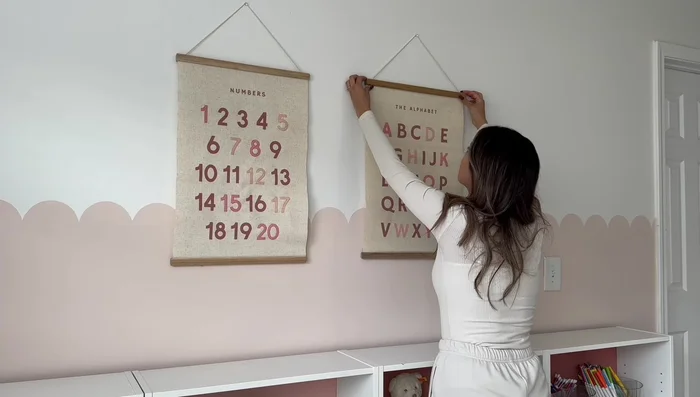
- Adding wall decals
- Installing blinds
Install Fixtures Create Backsplash
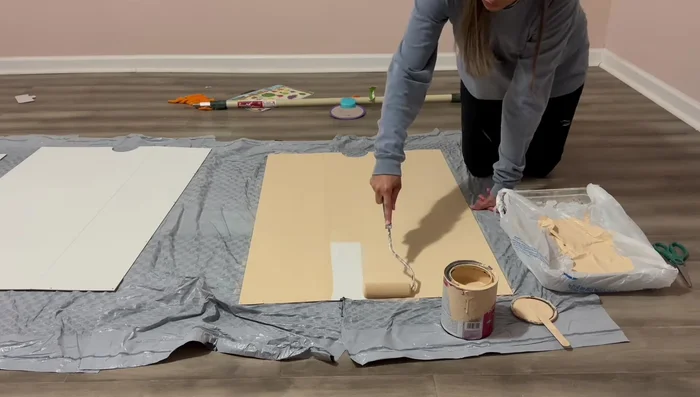
- Creating custom backsplash for Ikea kitchen using plywood, blush pink spray paint, and decals
Add Flooring and Decor
- Adding rug
Add Flooring and Decor Organize and Decorate
- Organizing toys and items using Good Pick baskets
- Adding finishing touches (items from Target and Amazon)
Organize and Decorate

Read more: Build a Giant Toy Box: DIY Playroom Organization
Tips
- Use spray paint for the play kitchen for an easy and smooth finish.
- Consider using what you have to reduce costs.
- Amazon wall decals are a cost-effective alternative to wallpaper.
- Plan for storage to keep the play area organized.