Removing nails, whether from construction projects or home repairs, is often a laborious and time-consuming task. Traditional methods, like using a claw hammer or pry bar, can be inefficient, risky, and even damaging to the surrounding material. The struggle to remove stubborn nails, especially those deeply embedded in hard wood, often leads to frustration and wasted time. Fortunately, there's a faster, safer, and more efficient alternative: the pneumatic nail remover. This powerful tool significantly reduces the effort required, minimizing the risk of injury and material damage.
This article will guide you through a step-by-step process demonstrating how to effectively utilize a pneumatic nail remover. We'll cover everything from selecting the right tool and attachments to safely operating the machine and handling various nail types and situations, ensuring you achieve swift and clean nail removal every time. Prepare to discover the advantages of this revolutionary tool and significantly streamline your next project.
Preparation and Safety Guidelines
- Pneumatic Nail Remover (Air Locker)
- Compressor
- Safety Glasses
- Pliers or Nail Puller
- Jigsaw
- Ruler
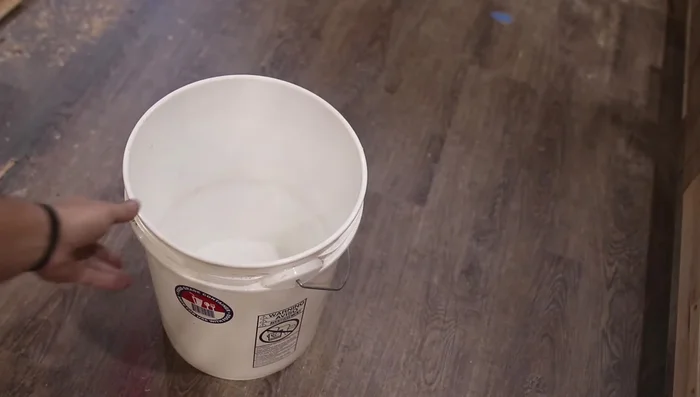
- Bucket
- Piece of Wood (MDF, Plywood, etc.)
- Always wear appropriate safety glasses to protect your eyes from flying debris.
- Ensure the pneumatic nail remover is properly secured and the air pressure is set according to the manufacturer's instructions. Using excessive pressure can damage the wood or cause injury.
- Never point the pneumatic nail remover at yourself or others. Maintain a safe distance from the work area during operation.
Step-by-Step Instructions
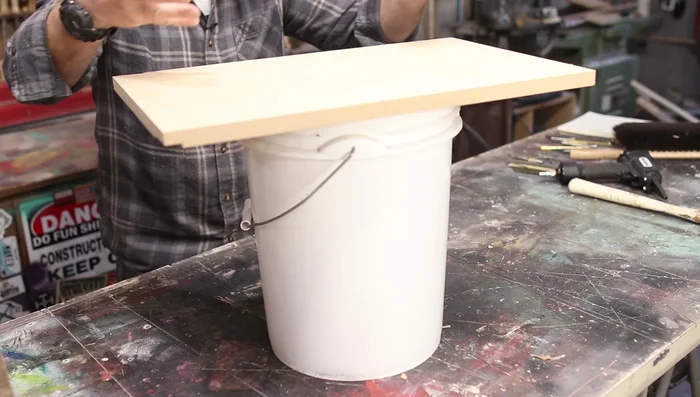
Prepare the Nail Catcher
- Create a simple catcher using a bucket and a piece of wood with a slit cut into it. This prevents nails from flying across the room.

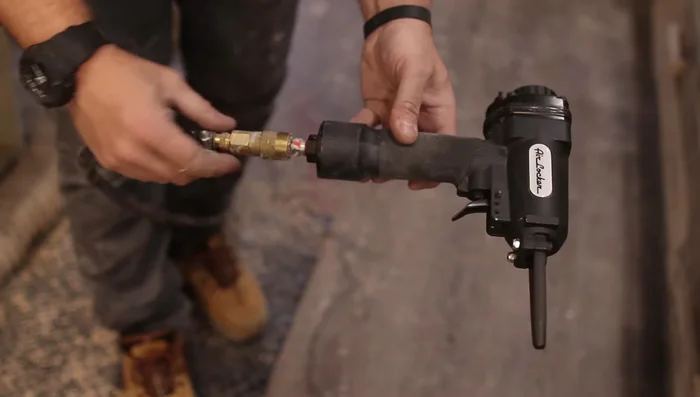
Prepare the Nail Catcher Set up the Pneumatic Nail Remover
- Connect the Pneumatic Nail Remover to your air compressor.
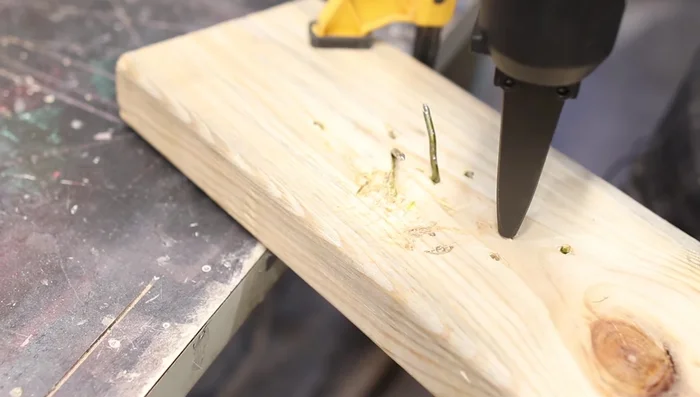
Set up the Pneumatic Nail Remover Position and Remove Straight Nails
- Position the wood piece over the bucket's slit, aligning it with the nail you want to remove.
- Wear safety glasses, place the nail remover on the nail, and squeeze the trigger. The pneumatic nail remover will drive the nail through the wood.
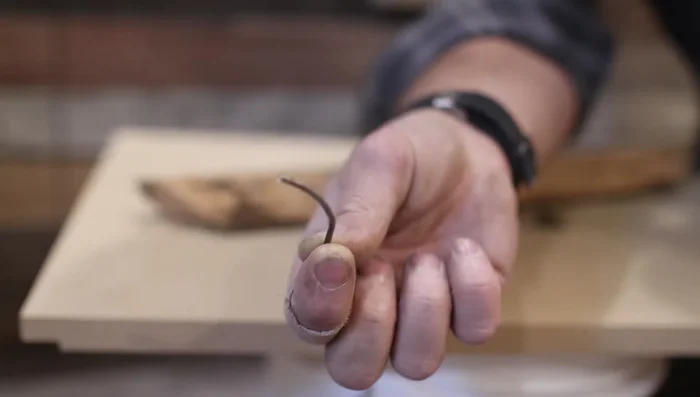
- If necessary, use pliers or a nail puller to remove any remaining nail fragments.
Position and Remove Straight Nails Remove Bent Nails
- If necessary, use pliers or a nail puller to remove any remaining nail fragments.
- For bent nails, position the nail remover at an angle to straighten and remove the nail.
Remove Bent Nails
Read more: Miniature Spider Welding Tutorial: Crafting a Tiny Metal Arachnid
Tips
- Always wear safety glasses when using a pneumatic nail remover.
- Adjust air compressor pressure as needed for different nail sizes and wood types. Start at 100 PSI and increase if necessary.
- Even if a nail is completely flush with the surface, the pneumatic nail remover can still work to get it started, making removal much easier.