Give your garden a charming, eco-friendly upgrade with this delightful DIY birdbath project! We're transforming discarded household items into a beautiful and functional addition to your outdoor space, proving that creativity and sustainability can go hand-in-hand. Using just an old clock base and a drum lid, we'll create a unique birdbath that’s both aesthetically pleasing and kind to the environment. This project is perfect for those looking to add a touch of personality to their garden whilst reducing waste and embracing upcycling. Forget expensive store-bought options; let’s discover how easy it is to create something beautiful from items destined for the bin.
This step-by-step guide will walk you through the simple process of crafting this recycled birdbath, from preparing the materials to the final touches. We'll cover everything you need to know, including choosing the right materials, essential tools, and simple techniques to ensure a successful and aesthetically pleasing result. Get ready to transform trash into treasure and welcome feathered friends to your garden with this rewarding upcycling project!
Preparation and Safety Guidelines
- Old Bronco (for parts)
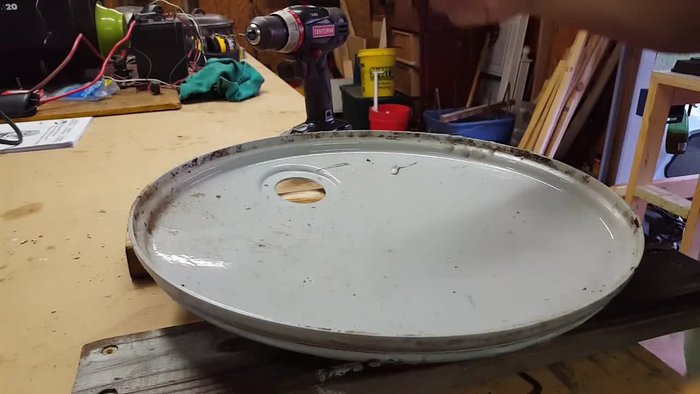
- 30-gallon drum lid
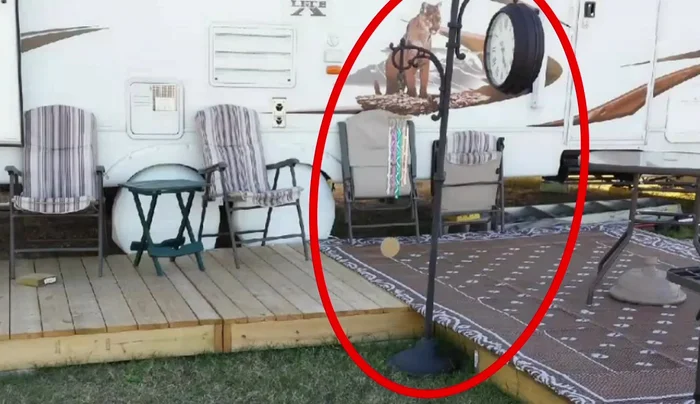
- Shepherd's hook clock base
- Drill
- Wire wheel
- Paint
- Screws
- Sandpaper
- Half-inch drill bit
- Cork or caulking
- Always ensure the clock base and drum lid are thoroughly cleaned and free of any harmful chemicals or residues before use. Residue could be toxic to birds.
- Secure the drum lid to the clock base firmly to prevent tipping or accidental injury to birds. Use strong adhesive and consider additional support if needed.
- Place the birdbath in a location accessible to birds but safe from predators and away from direct sunlight to prevent overheating the water.
Step-by-Step Instructions
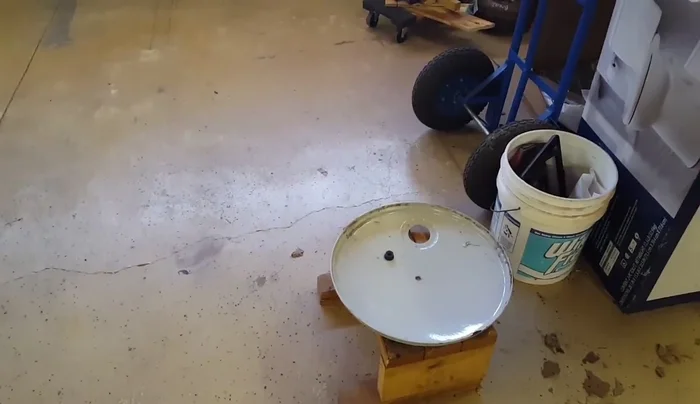
Gather Materials
- Use an old 30-gallon drum lid and the base of a broken Shepherd's hook clock.

Gather Materials Prepare the Clock Base
- Groove down the top of the clock base to fit the drum lid. Weld a small plate to plug the hole where the clock was attached.
Prepare the Clock Base Prepare the Drum Lid
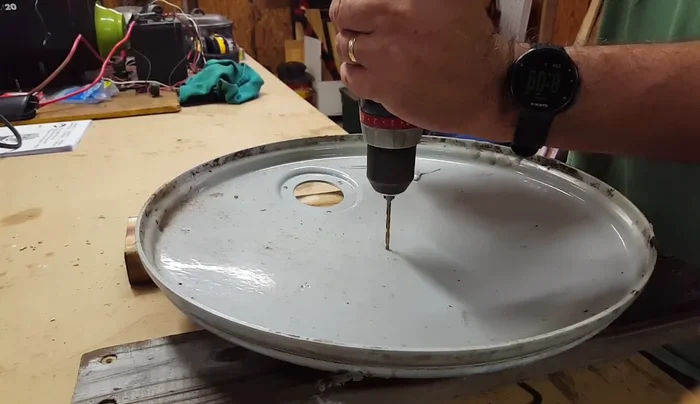
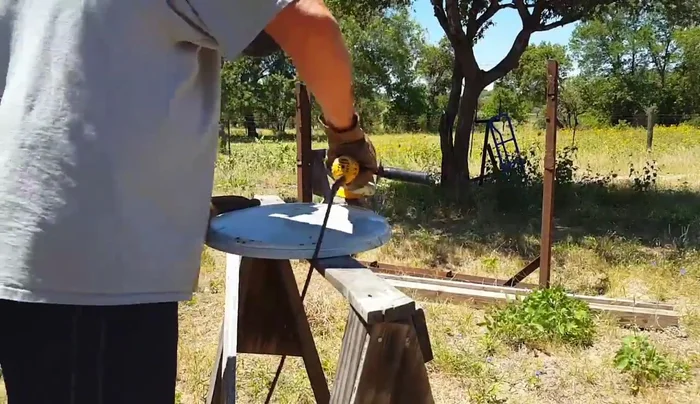
- Drill a hole in the center of the drum lid, then sand it down.
Prepare the Drum Lid Create the Stopper
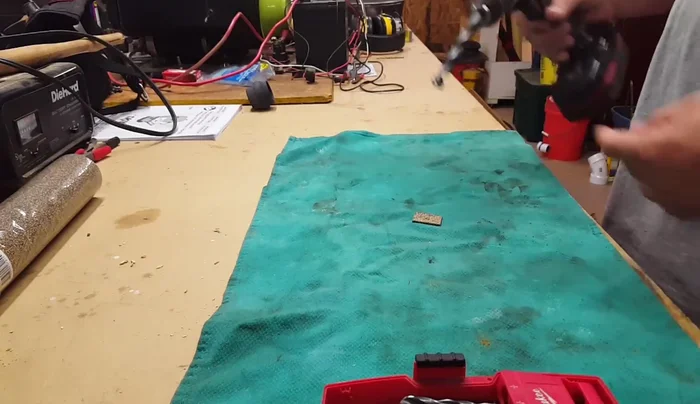
- Cut a piece of material (e.g., rubber) to create a stopper for the bottom of the birdbath, and drill a half-inch hole in it.
Create the Stopper Sanding
- Sand the drum lid and the stopper.
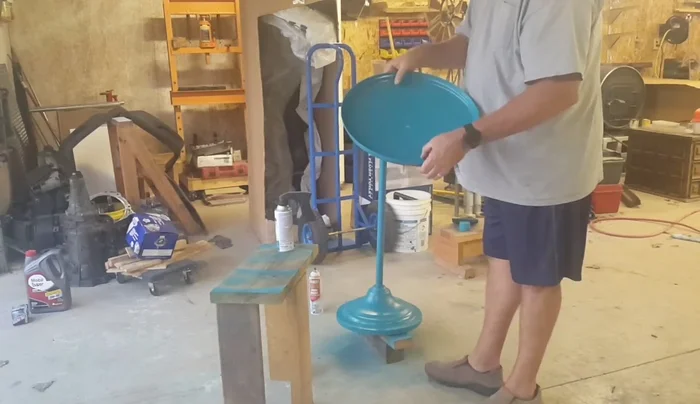
Sanding Assemble the Birdbath
- Attach the drum lid to the clock base using screws.
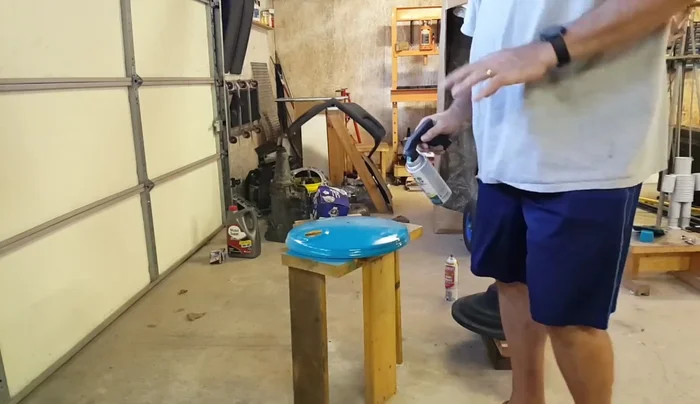
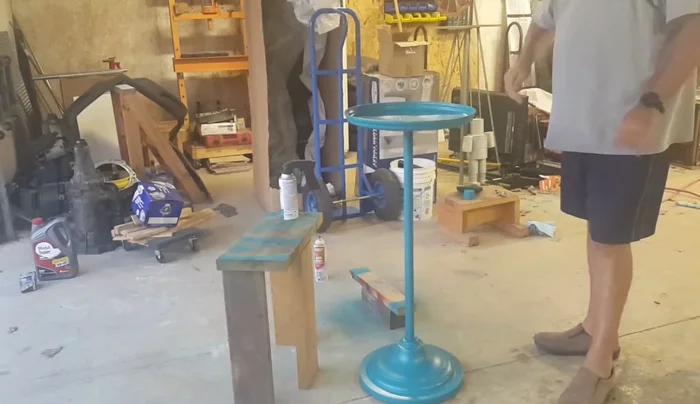
Assemble the Birdbath Paint the Birdbath
- Paint the birdbath. Apply multiple thin coats instead of one thick coat.
Paint the Birdbath Let it Dry
- Allow the paint to dry completely before handling.
Let it Dry Final Touches
- Hand-tighten the lid onto the base to avoid scratching. Optionally, add caulking for a watertight seal.
Final Touches
Read more: Miniature Spider Welding Tutorial: Crafting a Tiny Metal Arachnid
Tips
- Use multiple thin coats of paint for better coverage and to prevent peeling.
- Hand-tightening screws allows for easier removal if needed.
- Use cork or caulking under the lid to create a watertight seal.