Step back in time and rediscover the charm of a bygone era with our guide to a retro kitchen makeover! Forget sterile modernism; let's embrace the warmth and character of vintage kitchens, infused with a touch of modern practicality. Think cheerful pastel colors, gleaming chrome accents, and the comforting clink of vintage glassware. This isn't about slavishly recreating the past, but rather about capturing that unique, nostalgic spirit and blending it seamlessly with your contemporary lifestyle. We'll show you how to breathe new life into your space without breaking the bank.
This retro revival centers around the ingenious upcycling of everyday items, transforming ordinary jars into stunning storage solutions and functional décor. From repurposing old spice tins to creating unique utensil holders, we'll unlock the potential hidden within your existing possessions. Ready to transform your kitchen into a stylish and functional haven of vintage charm? Let's dive into our step-by-step guide to achieving the retro kitchen of your dreams.
Preparation and Safety Guidelines
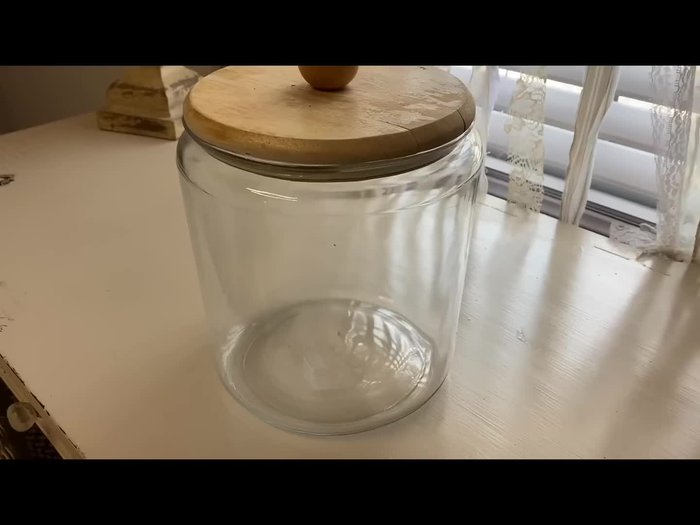
- Jars
- Clay
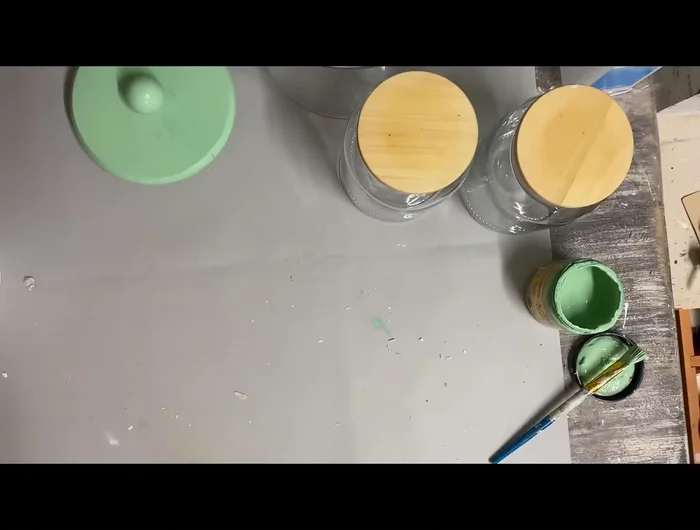
- Paint (Mint Julep, Brown Glaze, Buttercream)
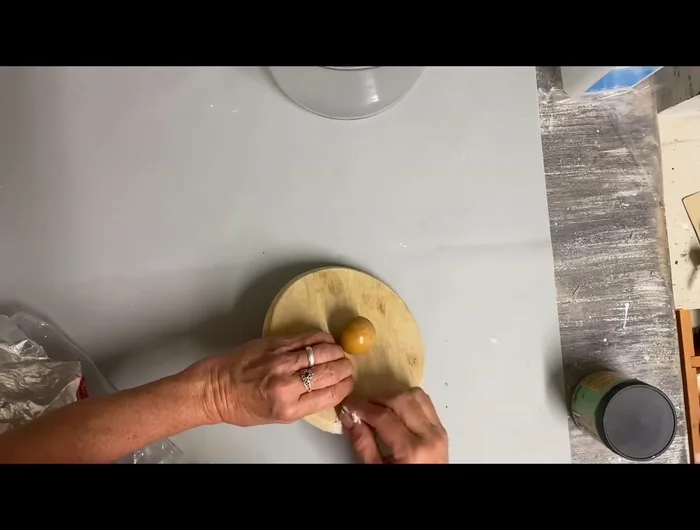
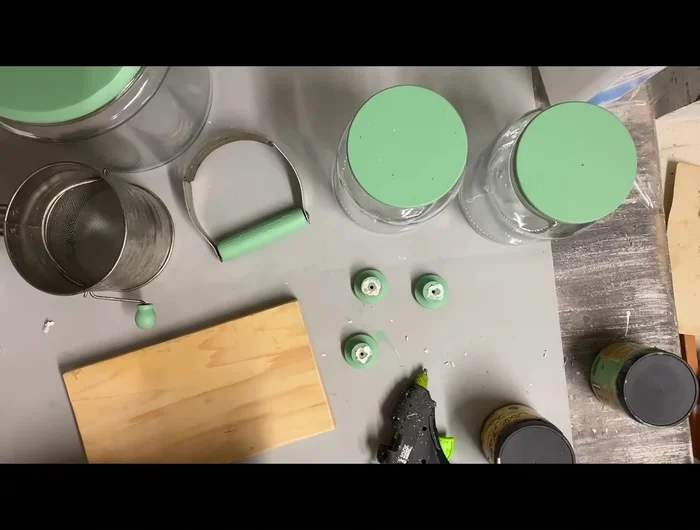
- Drawer pulls
- 1x6 wood
- Brown wax
- Sandpaper
- Hot glue
- Tight Bond glue
- Grain sack stripes
- Decoupage supplies (napkins, Mod Podge)
- Various small kitchen tools
- Hang tags
- Always thoroughly clean and sanitize any upcycled jars before using them for food storage or display. Remove any existing labels and residue completely.
- Inspect jars carefully for cracks or chips before using them. Discard any damaged jars to avoid breakage and potential injury.
- If using jars for food storage, ensure they are properly sealed to prevent spoilage and maintain freshness. Avoid using jars with compromised lids.
Step-by-Step Instructions
Jar Preparation
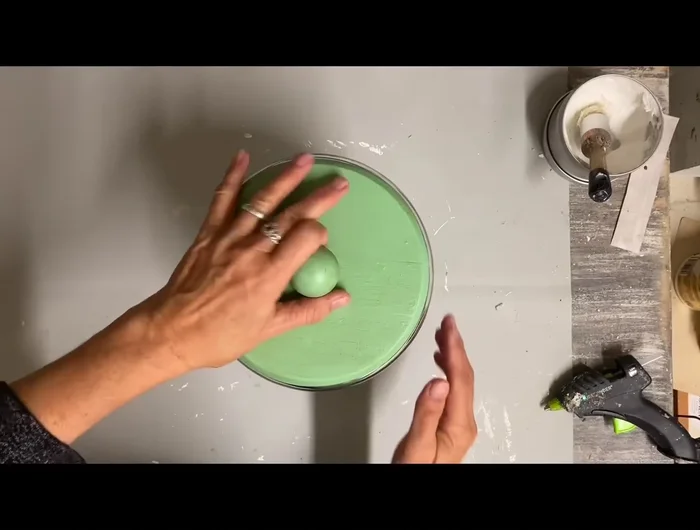
- Fill cracks in one jar lid with clay. Attempt to remove rubber seals from lids (if possible).

Jar Preparation Painting Jar Lids
- Apply two coats of Mint Julep paint to all lids, including the insides.
Painting Jar Lids Riser Construction
- Cut and sand a 1x6 wood piece to desired length. Attach drawer pulls as feet using Tight Bond and hot glue for a secure hold.
Riser Construction Riser Finishing
- Once the riser is dry, apply brown glaze (Van Dyke brown) to the wood and drawer pulls for a vintage look.
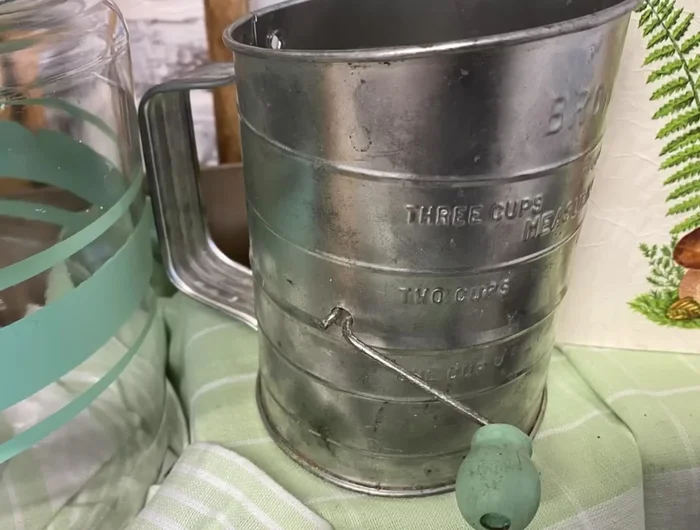
Riser Finishing Jar Decoration
- Create stripes on jars using tape as a stencil and paint. Apply two coats, adding a top coat to the paint for sealing.
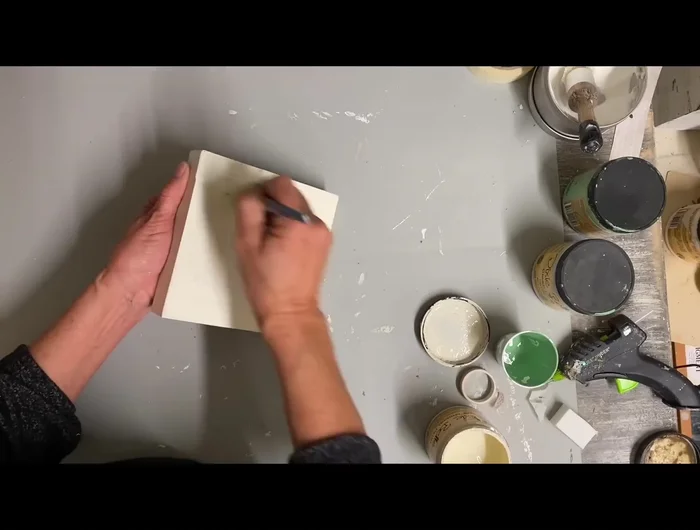
Jar Decoration Shelf Sitter Creation
- Paint a small sign with buttercream color. Decoupage a mushroom napkin onto the sign. Distress edges with additional paint for a vintage look.
Shelf Sitter Creation Final Assembly and Display
- Paint additional small kitchen tools and incorporate the upcycled jars, riser, and shelf sitter into your kitchen vignette.
Final Assembly and Display
Read more: DIY Pantry Door Spice Rack: Organize Your Spices in Minutes!
Tips
- Fill cracks in jar lids with clay before painting to hide imperfections.
- Mix top coat with paint for a self-sealing finish, avoiding the need for separate sealing.
- When decoupaging with napkins, remove all layers except the printed one to prevent separation.
- Use a light touch when Mod Podging napkins to prevent tearing.