Tired of cluttered countertops and overflowing drawers? A rustic pot rack isn't just a practical solution for storing your cookware; it's a charming addition to any kitchen, adding warmth and character to your cooking space. Imagine the satisfying clink of your pots and pans hanging neatly, showcasing your favorite pieces while freeing up valuable counter space. The rustic aesthetic brings a touch of farmhouse charm, perfectly complementing both modern and traditional kitchen designs. This timeless storage solution is surprisingly easy to create yourself, saving you money and allowing for complete customization.
This step-by-step guide will walk you through the process of building your own DIY rustic pot rack from start to finish, providing clear instructions and helpful tips to ensure a successful project. Whether you're a seasoned DIY enthusiast or a complete beginner, you'll find this project manageable and incredibly rewarding. Let's get started!
Preparation and Safety Guidelines
- Wood
- Screws
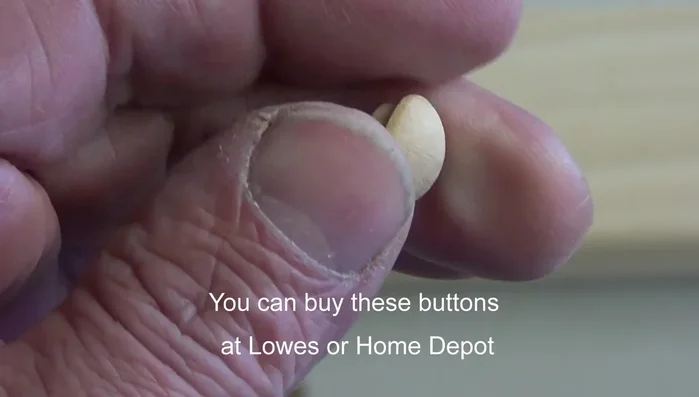
- Buttons
- Center Punch
- Drill
- Sandpaper
- Clamps
- Stain
- Chain
- Screw Eyes
- Always use appropriate safety glasses and work gloves when using power tools and handling sharp objects like screws and nails.
- Ensure proper ventilation when working with stains, paints, and varnishes. Use in a well-ventilated area or wear a respirator.
- Securely fasten the pot rack to a sturdy wall stud to prevent the rack from falling and causing injury or damage.
Step-by-Step Instructions
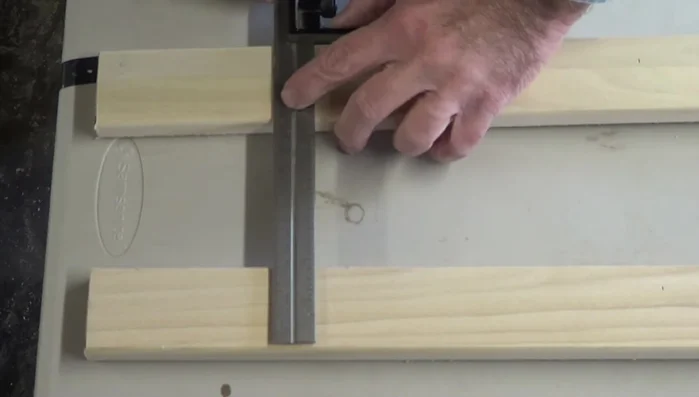
Prepare the Wood
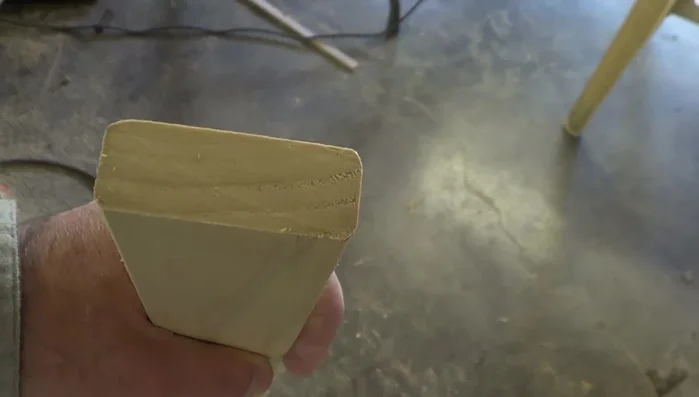
- Round off the corners for an aesthetically pleasing look.
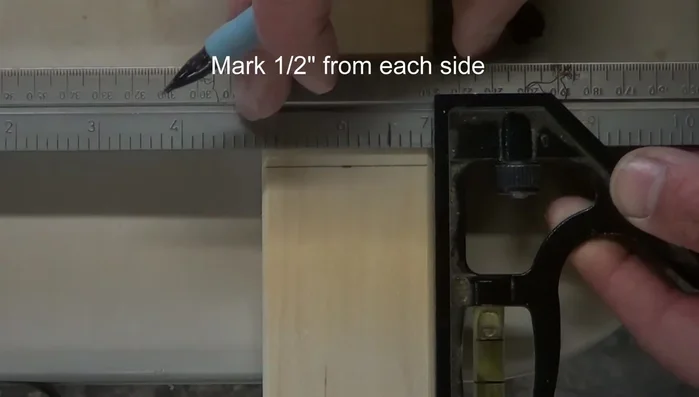
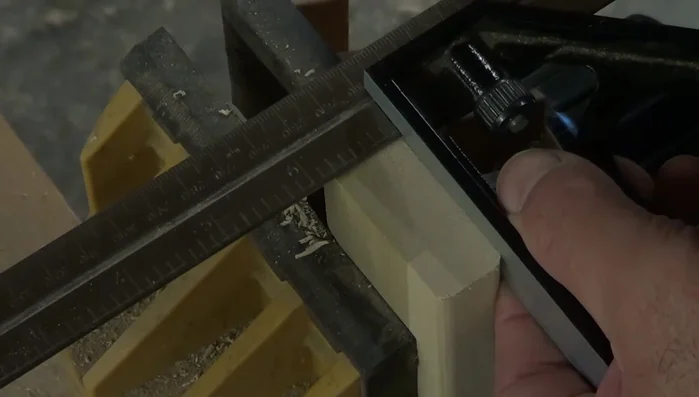
- Create lines across each corner using a square and mark them.
- Make two marks, half an inch apart, on each of the eight lines.

Prepare the Wood Drill Pilot Holes
- Drill 3/8 inch wide holes, 3/16 inch deep, at the center punch marks for the side rails.
- Drill pilot holes at the marked positions using the center punch method to prevent wood splitting.
Drill Pilot Holes Assemble the Rack
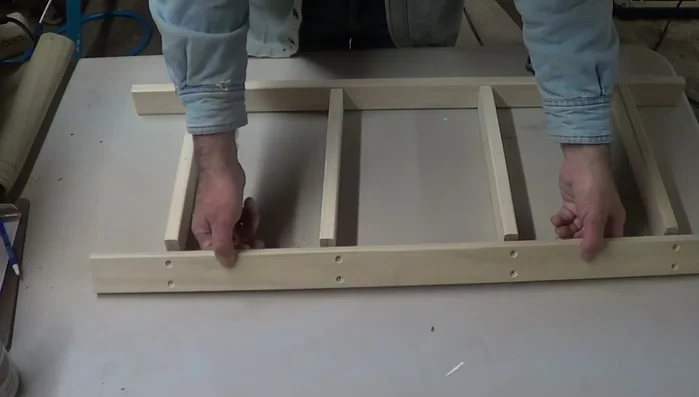
- Screw the side pieces to the back piece, applying glue for extra strength. Use clamps to ensure a tight fit.
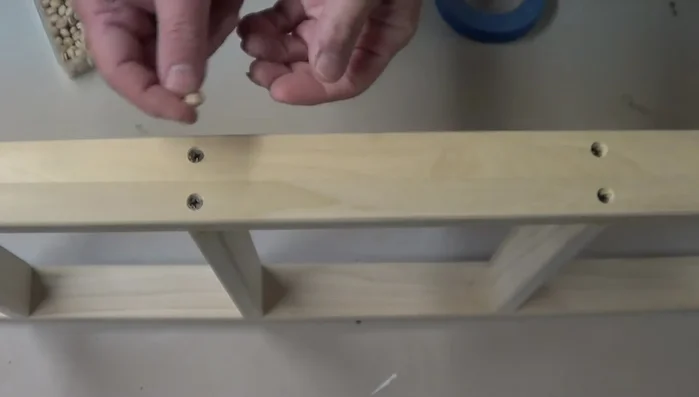
Assemble the Rack Install Hardware
- Place buttons into their corresponding holes and secure them.
- Attach screw eyes at the top of the rack.
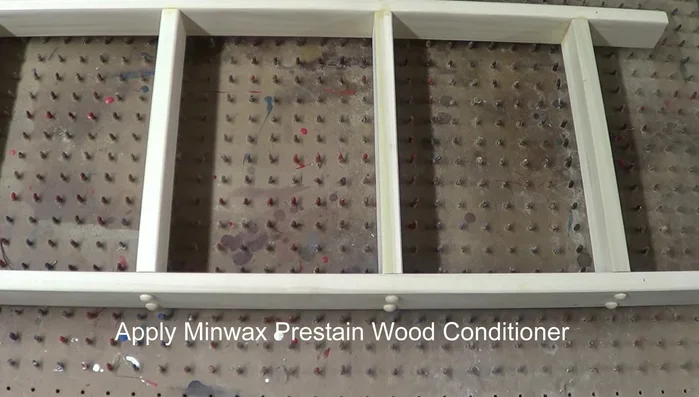
Install Hardware Finish the Rack
- Apply stain to give the desired rustic finish.
Measure and Mark Back Piece
- Measure 3.5 inches from one side of the back piece and mark it. Flip it over and measure 13 inches from the first mark.
Measure and Mark Back Piece

Read more: DIY Pantry Door Spice Rack: Organize Your Spices in Minutes!
Tips
- Rounding off corners improves the overall look.
- Use clamps to ensure tight assembly and prevent wood splitting.
- Center punching before drilling prevents wood from splitting.
- Choose screw length appropriately for the wood thickness.