Unleash your inner artist and transform discarded metal into a unique and eye-catching canine companion! This tutorial will guide you through the rewarding process of creating a personalized dog sculpture using scrap metal and the art of welding. Whether you're a seasoned welder or a curious beginner, this project offers a fantastic opportunity to recycle, create, and express your creativity in a tangible way. You'll learn to shape and manipulate metal, mastering fundamental welding techniques while crafting a truly one-of-a-kind piece of art.
Forget mass-produced decorations; this project allows for complete personalization. From playful pups to majestic hounds, the design possibilities are endless, limited only by your imagination and the scrap metal you collect. Prepare to get your hands dirty and your welding torch hot, as we delve into the step-by-step process of bringing your metal dog to life.
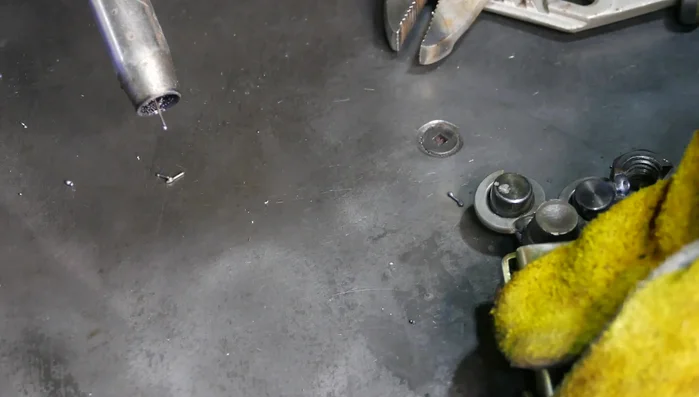
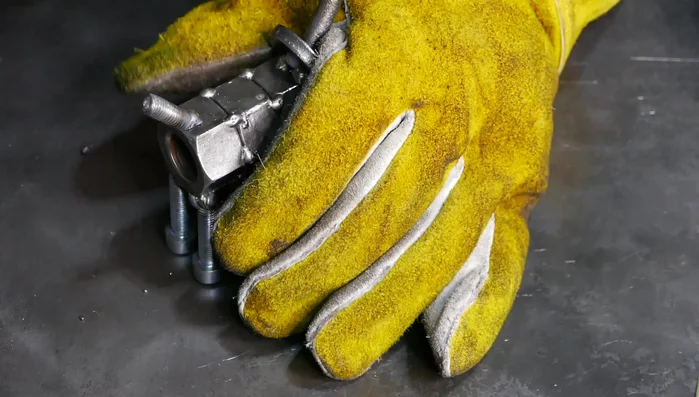
Preparation and Safety Guidelines
- Welding machine
- Three large nuts
- One big bolt
- Four smaller bolts
- One bolt for neck
- One bolt for tail
- Two large locking washers
- Two small cylinders
- One large washer
- One nut (cut in half)
- Magnets (optional)
- Wear appropriate safety gear: This includes a welding helmet with a shade appropriate for your welding process, welding gloves, long sleeves, and closed-toe shoes. Eye protection is crucial to prevent serious injury.
- Ensure adequate ventilation: Welding produces fumes that can be harmful. Work in a well-ventilated area or use a respirator.
- Handle scrap metal carefully: Sharp edges and potential contaminants on scrap metal can cause cuts or infections. Wear gloves and use caution when handling the materials.
Step-by-Step Instructions
Constructing the Body
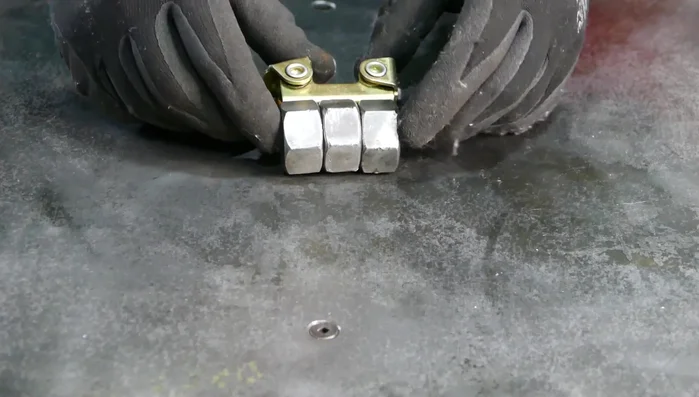
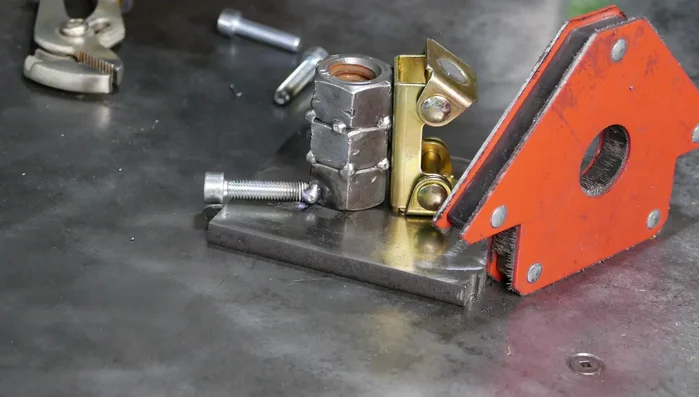
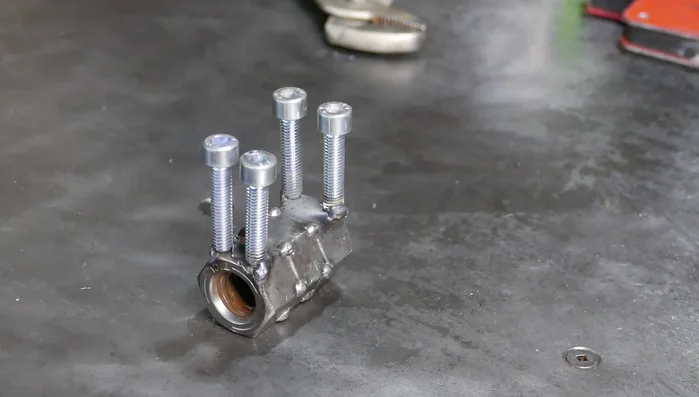
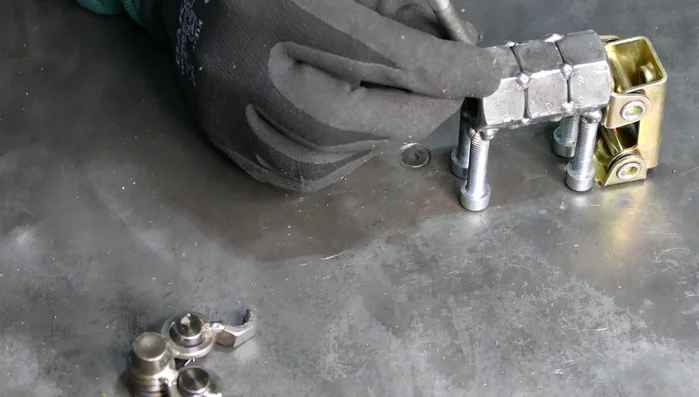
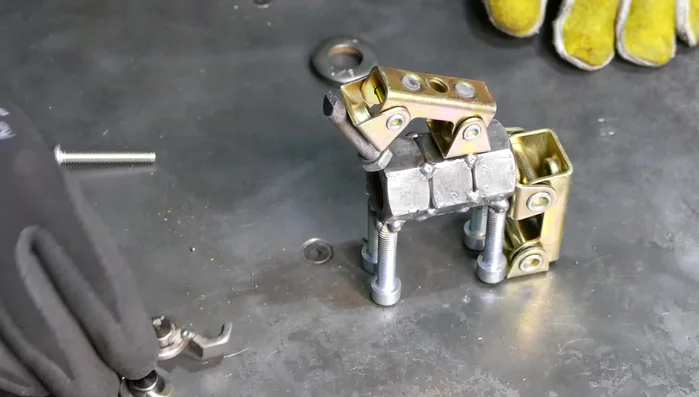
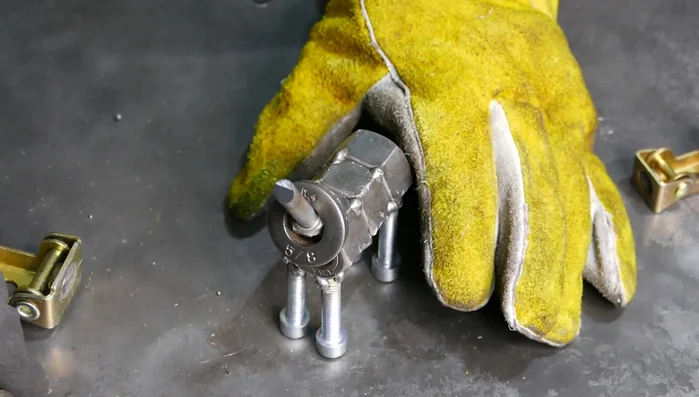
- Weld three large nuts together to form the dog's body.
- Weld four smaller bolts to the body as legs.
- Flip the body and weld the legs more securely for durability.

Constructing the Body Creating the Head
- Create the head using two locking washers for the eyes.
- Weld half a nut to each side of the head as ears.
Creating the Head Assembling the Dog
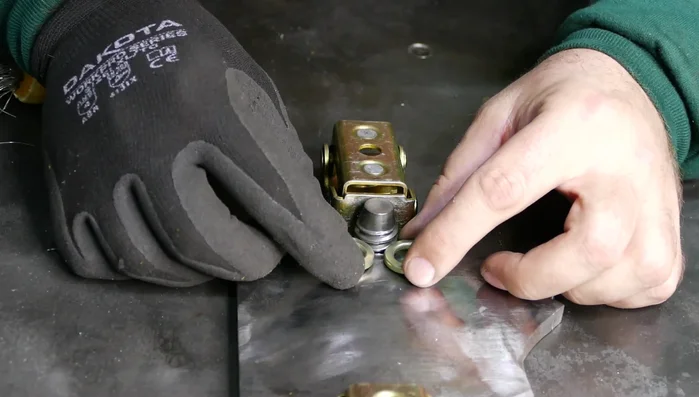
- Weld the neck bolt to the body.
- Weld the head to the neck.
- Weld the large washer collar to the neck.
- Weld the tail bolt to the body.
Assembling the Dog
Read more: Miniature Spider Welding Tutorial: Crafting a Tiny Metal Arachnid
Tips
- Use magnets to hold pieces in place while welding for easier manipulation.
- Consider adding a pedestal for better stability.