Electrical short circuits are a common household hazard that can lead to anything from a blown fuse to a devastating fire. Understanding how to identify and safely repair a short circuit is crucial for every homeowner, not only to prevent damage to your appliances and wiring, but also to protect yourself and your family from potential harm. A short circuit occurs when electricity takes an unintended path, bypassing the intended circuit and causing an overload. This often manifests as flickering lights, tripped breakers, a burning smell, or even sparks. Ignoring these warning signs is dangerous and can lead to severe consequences.
Identifying the source of the short circuit can be tricky, requiring careful observation and a methodical approach. However, with the right knowledge and safety precautions, many short circuits can be repaired relatively easily. This guide will walk you through a step-by-step process to help you safely locate and fix the problem. Let's delve into the practical steps involved in repairing a short circuit.
Preparation and Safety Guidelines
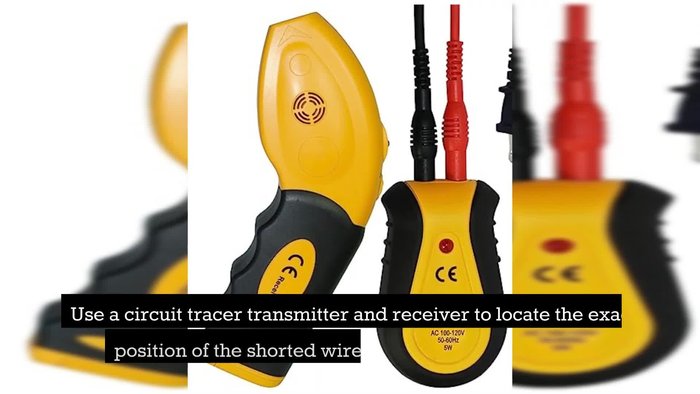
- Circuit tracer transmitter and receiver
- Flexible wire
- Butt connectors
- Heat shrink tubing
- Higher gauge wire (optional)
- Always turn off the power source completely before attempting any repairs. This includes flipping circuit breakers or unplugging the device from the outlet.
- If you are not comfortable working with electricity, call a qualified electrician. Attempting repairs without proper knowledge can lead to serious injury or further damage.
- Never touch exposed wires or electrical components while the power is on. Even a small amount of current can be lethal.
Step-by-Step Instructions
Identify the Problem
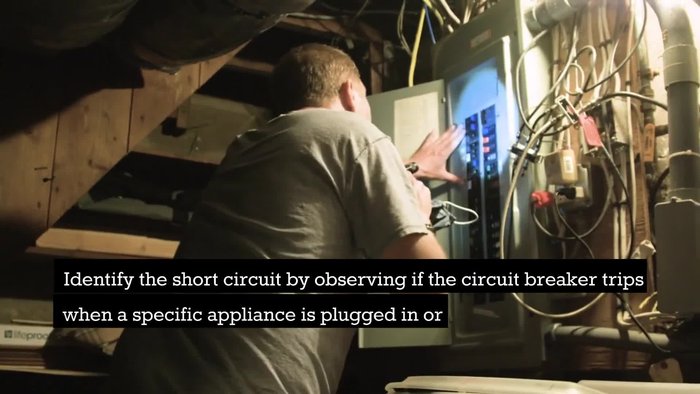
- Identify the short circuit by observing if the circuit breaker trips when a specific appliance is plugged in or if it trips even without any appliance connected.

Identify the Problem Locate the Short Circuit
- Use a circuit tracer to locate the exact position of the shorted wire.
Locate the Short Circuit Safety First: Power Down
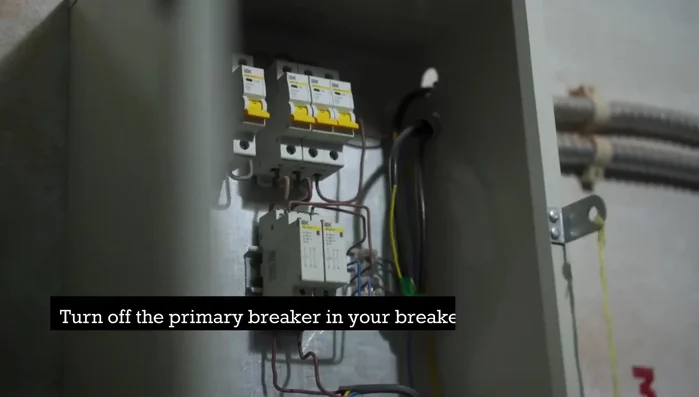
- Turn off the primary breaker in your breaker panel.
Safety First: Power Down Remove the Damaged Wire
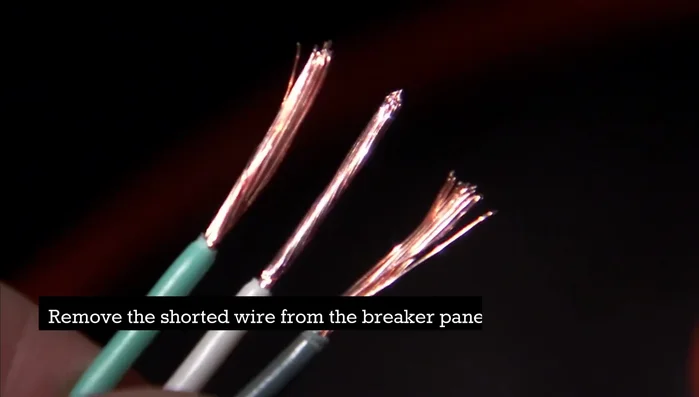
- Remove the shorted wire from the breaker panel and outlet using a flexible wire to aid in reinstallation.
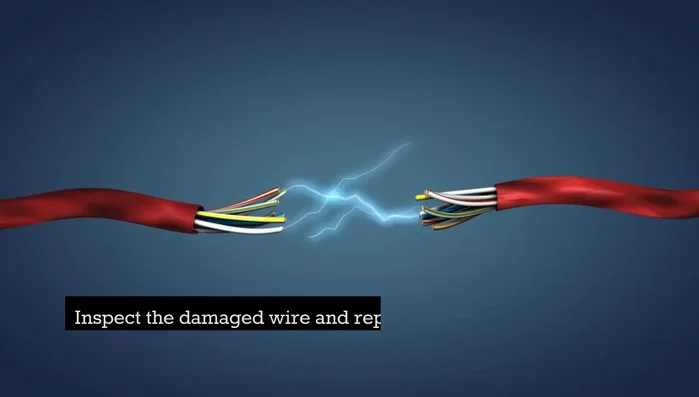
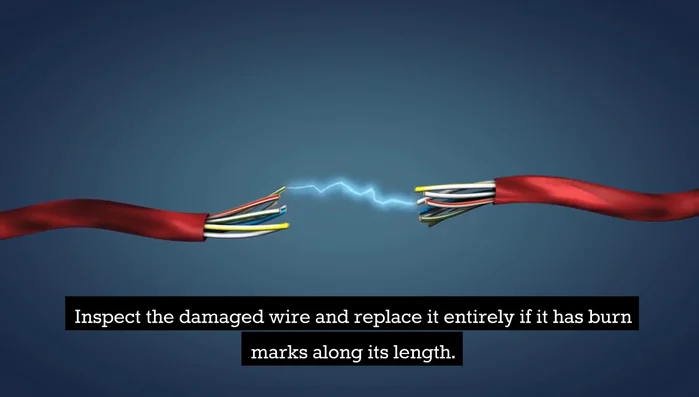
Remove the Damaged Wire Assess and Replace Wire
- Inspect the damaged wire and replace it entirely if it has burn marks.
- Consider using a higher gauge wire if necessary.
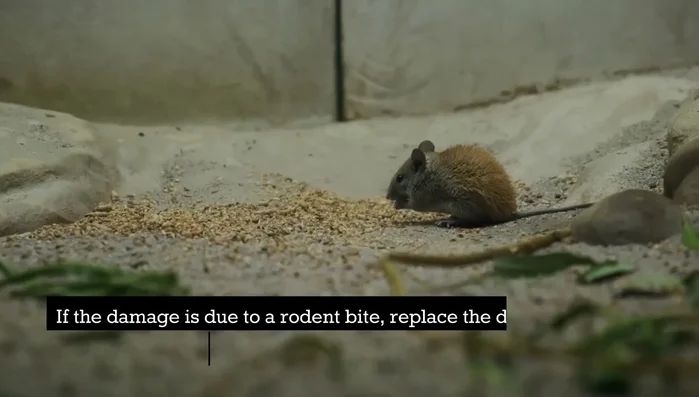
- If rodent damage, replace the damaged section and add additional protection.
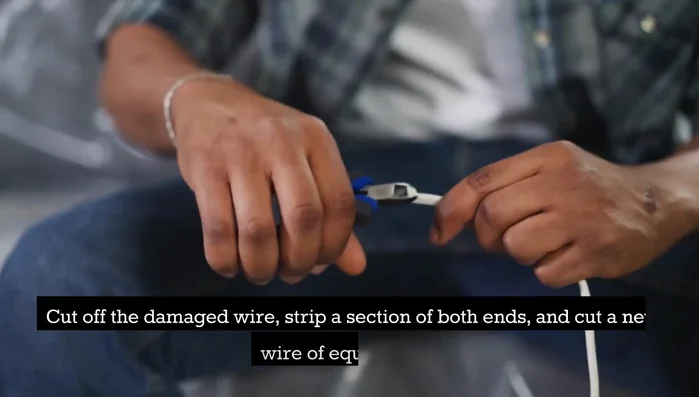
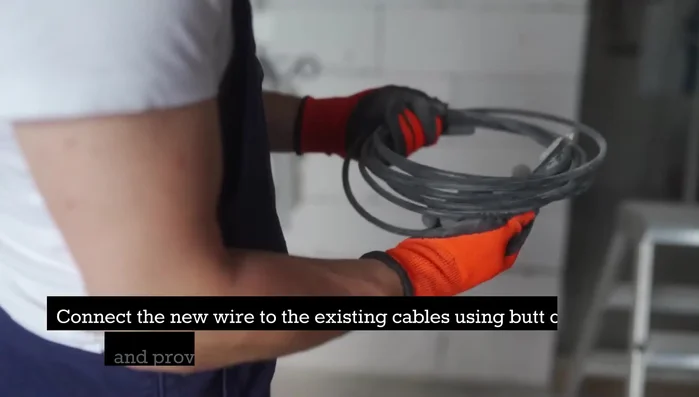
Assess and Replace Wire Repair the Wire
- Cut off the damaged wire, strip a section of both ends, and cut a new wire of equal length.
- Connect the new wire to the existing cables using butt connectors and provide extra protection with heat shrink tubing.
Repair the Wire Reinstall and Test
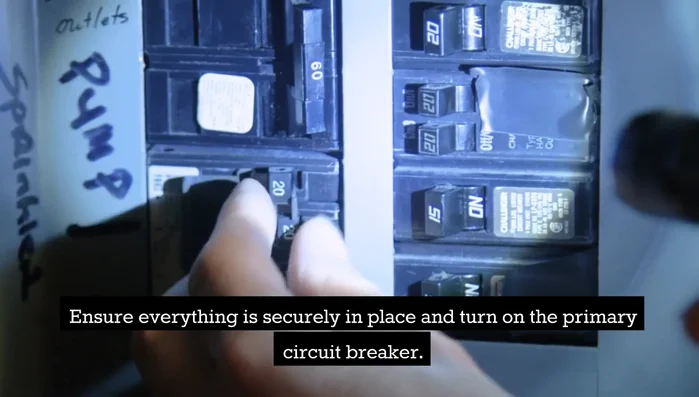
- Reinstall the repaired wire by attaching the flexible wire to the breaker side and connecting it to the circuit breaker.
- Ensure everything is securely in place and turn on the primary circuit breaker.
Reinstall and Test

Read more: Installing an Outdoor GFCI Receptacle: A Step-by-Step Guide
Tips
- Exercise caution and consult a professional electrician if unsure.