Building a split-level deck adds visual interest and functionality to any outdoor space, but achieving perfectly straight lines and even spacing requires meticulous planning and precise calculations. Uneven steps or haphazardly placed supports not only look unprofessional but can also compromise the structural integrity of your deck. Many DIYers struggle with accurately determining the necessary cuts and measurements for a multi-level design, leading to frustrating errors and wasted materials. This guide offers a solution by providing a detailed mathematical approach to constructing a stunning, structurally sound split-level deck.
This article focuses on a precise calculation method to ensure your split-level deck boasts perfectly straight lines and consistently spaced steps, risers, and supports. We'll guide you through a step-by-step process, using clear formulas and diagrams to demonstrate how to accurately determine the necessary measurements for every component of your deck, from the foundational supports to the final deck boards. Prepare to build a deck that is both aesthetically pleasing and structurally robust.
Preparation and Safety Guidelines
- Jackhammer
- Drill
- Screws
- Timber Joists (H3 & H4)
- Decking Boards
- Chalk Line
- Measuring Tape
- Timber Wedges
- Always consult local building codes and obtain necessary permits before starting construction. Regulations vary by location and failing to comply can lead to fines or legal issues.
- Use pressure-treated lumber or a comparable decay-resistant material for all structural components to ensure longevity and prevent rot. Properly seal all exposed wood to further extend its lifespan.
- Ensure the deck is adequately supported. Use properly sized and spaced joists and beams, and always check for level throughout the construction process. Improper support can lead to structural failure.
Step-by-Step Instructions
Site Preparation and Foundation
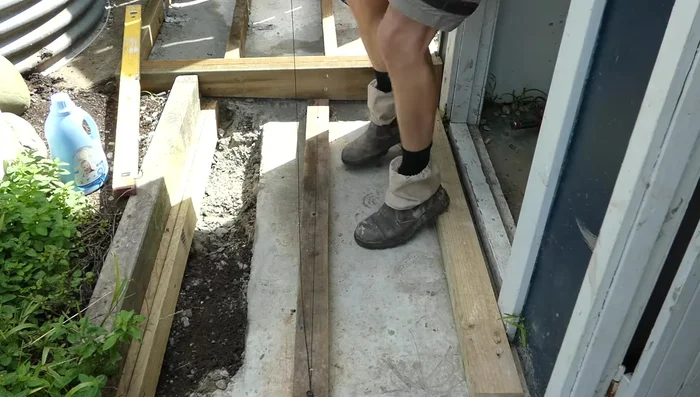
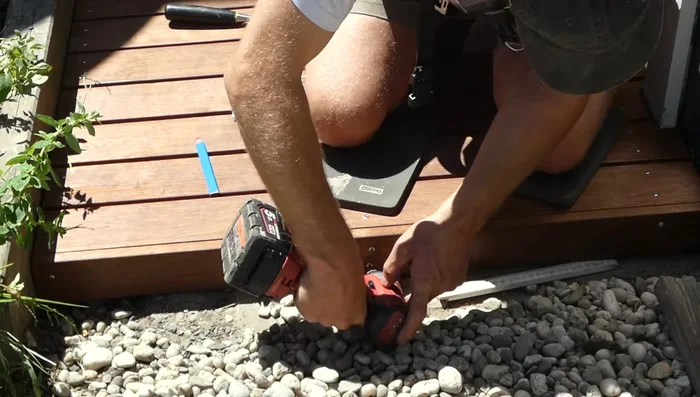
- Demolish existing platform.
- Determine deck height; ensure it's above the water tank slab and aligns with the door tread.
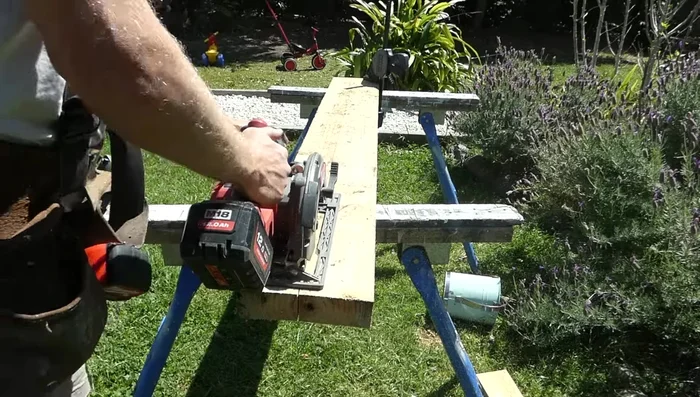
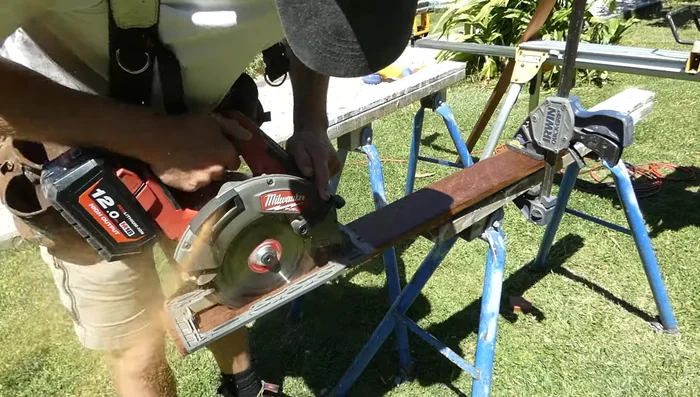
- Build the timber frame, scribing and ripping joists to fit the sloping concrete slab.
- Install two timber joists to the existing concrete walkway and one to the retaining edge for the lower deck.

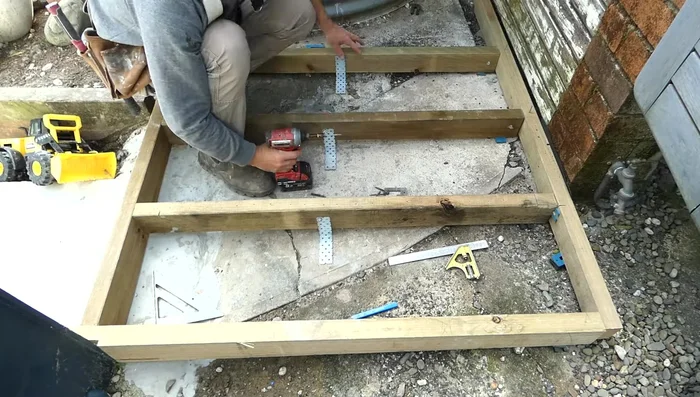
Site Preparation and Foundation Framing the Upper Deck
- Add a right-angle bracket to the center joist for extra support.
Framing the Upper Deck Deck Board Installation (Upper Deck)
- Run a chalk line down the center of each joist to guide screw lines.
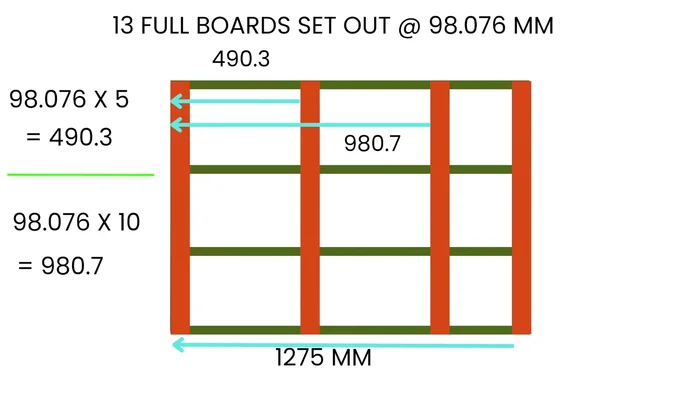
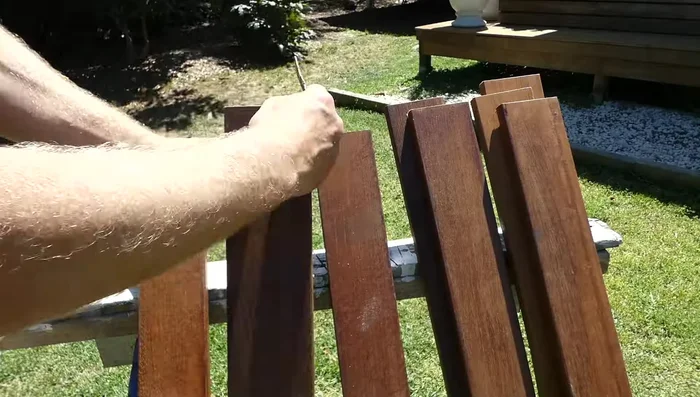
- Install the first and last deck boards, ensuring they are square and parallel.
- Divide the total width by the number of boards plus spaces. (In this example, 1275mm width / 13 units = 98mm per unit, including 8mm spacing).
- Install every fifth board (or more frequently for larger decks) using the chalk line as a guide.
Deck Board Installation (Upper Deck) - Cut and place the remaining decking boards, using timber wedges to maintain even spacing.
Deck Board Installation (Upper Deck) Framing and Deck Board Installation (Lower Deck)
- Repeat steps 6-10 for the lower deck.
Framing and Deck Board Installation (Lower Deck) Finishing and Transitions
- Add a face board to transition between the two decks.
- Add a final face board to transition from pebbles to the lower deck.
Finishing and Transitions Weathering and Finishing Touches
- Allow the decking to weather for a couple of weeks before oiling.
Weathering and Finishing Touches


Read more: Build a Sag-Proof Wood Fence Gate: The Ultimate DIY Guide
Tips
- Do the set out at the beginning and install every fifth board straight at the start of the project.
- Preparation is key – make sure everything is square, straight, and parallel.