Halloween's just around the corner, and this year, ditch the predictable pumpkins and embrace a hauntingly unique decoration: a creepy steampunk tin man birdhouse. Imagine a miniature, rusted automaton perched amongst your fall foliage, its gears whirring with an eerie silence, a testament to gothic artistry and DIY ingenuity. This isn't your grandma's birdhouse; we're talking repurposed metal, intricate details, and a touch of unsettling charm that will perfectly capture the spirit of the season. Think mismatched bolts, flickering LED eyes, and a distinctly unsettling aesthetic that'll make your neighbors do a double-take.
This DIY project blends the whimsical with the macabre, creating a truly unforgettable Halloween centerpiece. We’ll transform ordinary materials into an extraordinary, creepy steampunk creation that's sure to be a conversation starter (and maybe a few frightened gasps!). Ready to bring this haunting vision to life? Let's dive into the step-by-step process and craft your very own Creepy Steampunk Tin Man Birdhouse.
Preparation and Safety Guidelines
- Birdhouse
- Doll pieces
- Spigot
- Drawer pull/gate latch
- Dowels
- 5-minute epoxy
- Tape
- Rivets
- Devcon
- Gears
- Black paint
- Fiberglass resin
- Mica powder
- Rust paint
- Airbrush
- Paprika
- Clear coat
- Sharp tools will be used. Always exercise caution and wear appropriate safety gear, including safety glasses and gloves, to prevent injuries.
- Work in a well-ventilated area. Some paints and finishes can release fumes. Ensure proper ventilation to avoid inhaling harmful chemicals.
- Use caution when working with hot glue and soldering irons. Allow ample time for materials to cool before handling to prevent burns.
Step-by-Step Instructions
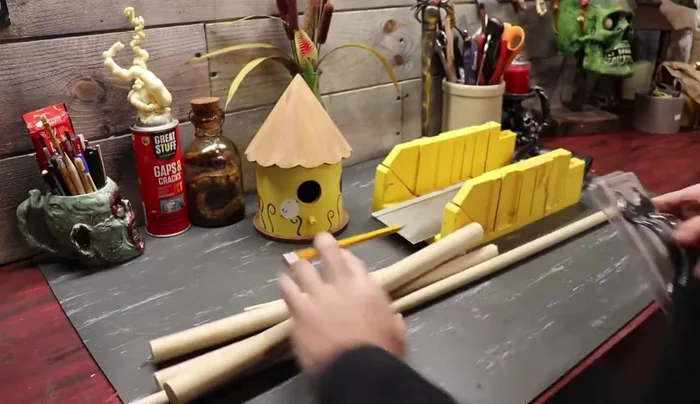
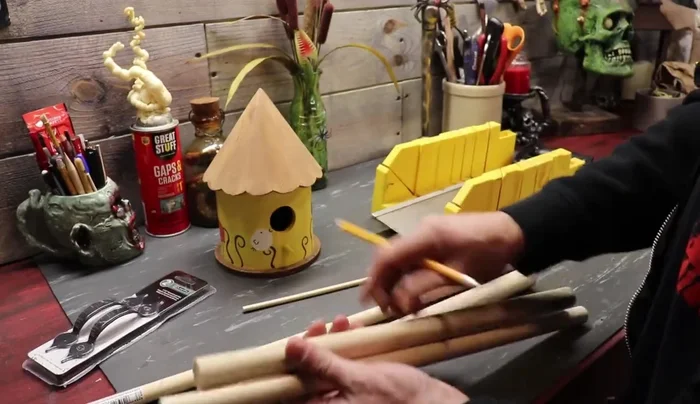
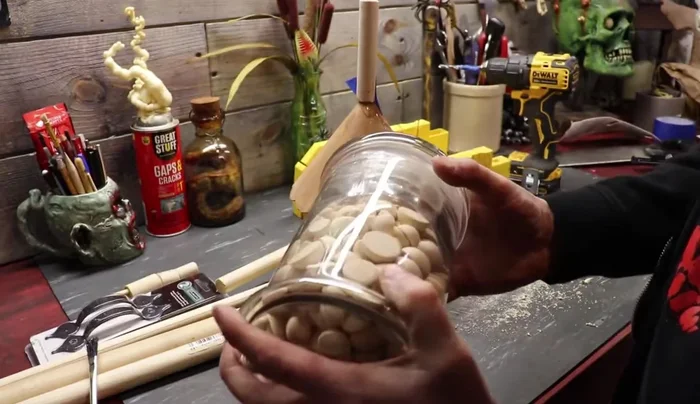
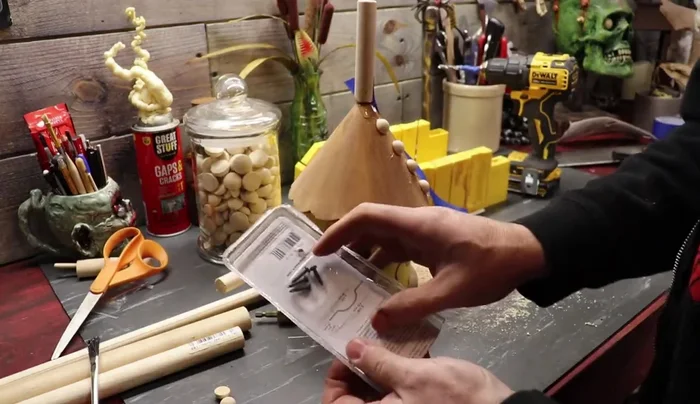
Gather Materials
- Gather leftover doll pieces, a spigot, a drawer pull or gate latch, dowels, and other small parts.

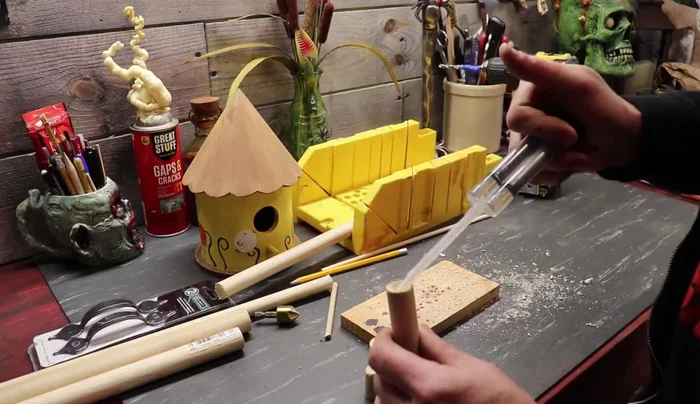
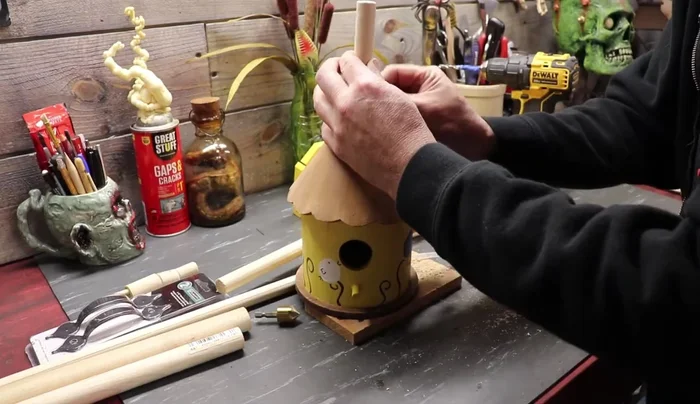
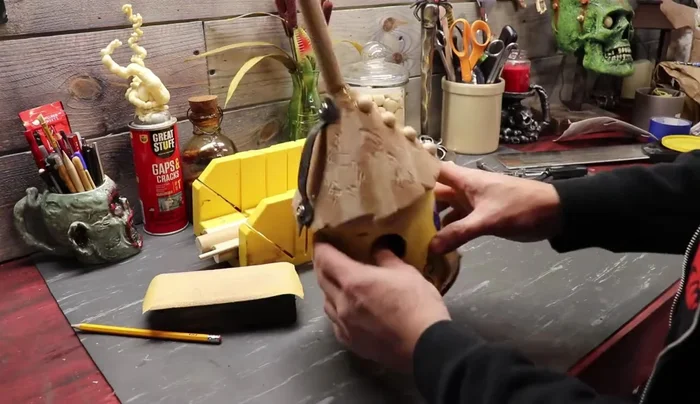
Gather Materials Construct the Head
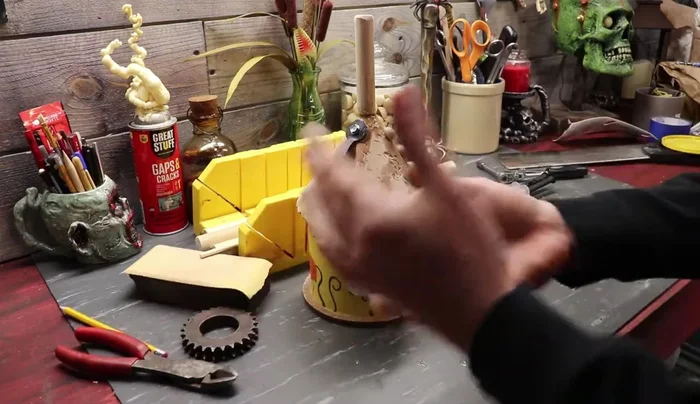
- Cut a spout and three segmented pieces for the nose. Assemble these using epoxy.
- Glue the spout to the birdhouse's opening. Glue on the nose pieces.
- Use tape and devcon to create a seam around the funnel top.
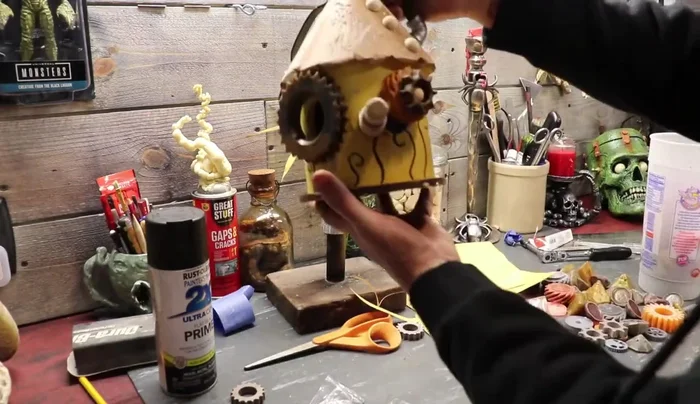
Construct the Head Add Facial Features
- Epoxy glue a large gear as one eye and assemble a smaller eye using smaller gears.
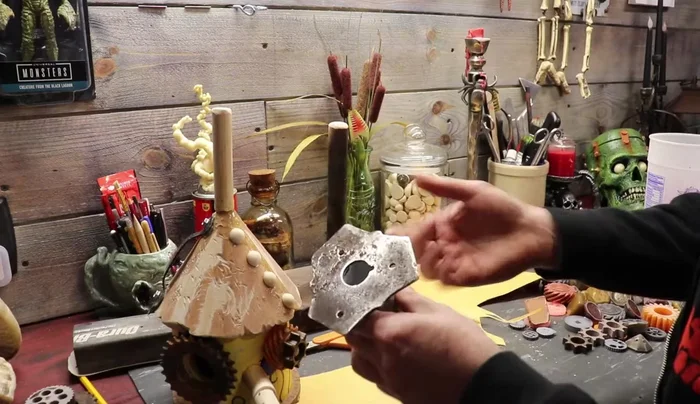
- Cut a mouth shape from a 5-gallon bucket. Attach teeth and gears.
Add Facial Features Create the Neck
- Using an old weed eater blade, create a neck stand. Attach gears as vertebrae.
Create the Neck Assemble the Body
- Glue small half-dome rivets along the sides of the birdhouse.
- Drill holes and attach the drawer pull/gate latch as a handle.
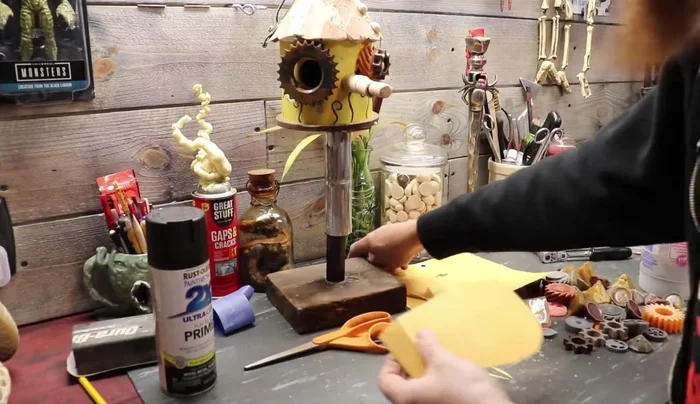
Assemble the Body Refine the Birdhouse
- Sand the roof and add grooves and cracks for a weathered look.
- Add a gauge and other small details.
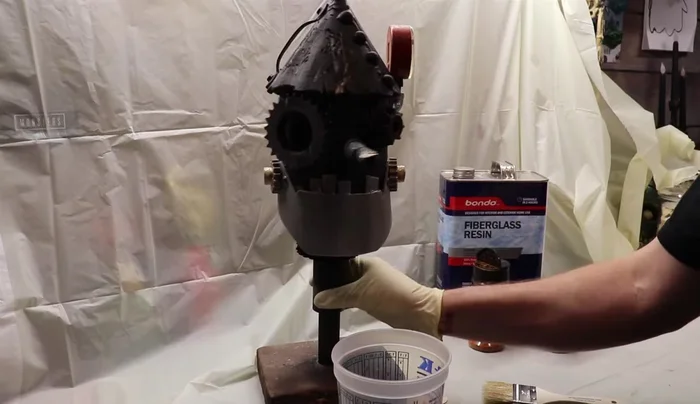
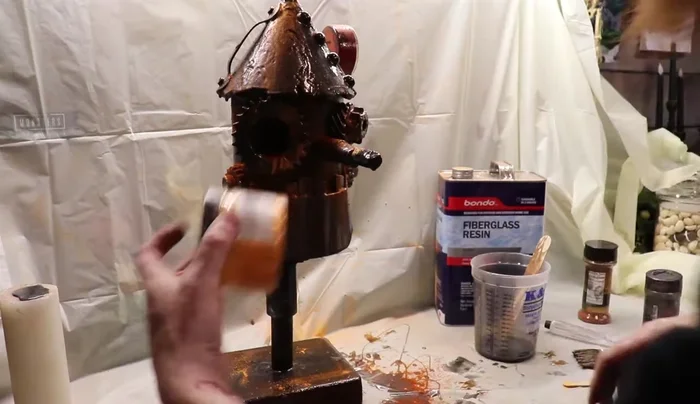
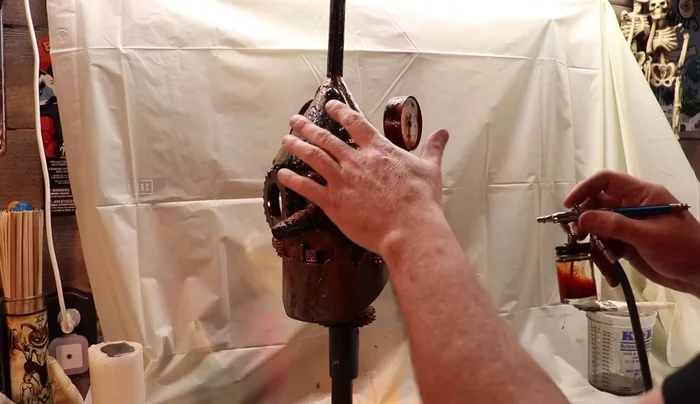
Refine the Birdhouse Protect and Weather the Birdhouse
- Coat the entire birdhouse with fiberglass resin to waterproof it.
- Sprinkle paprika for rust texture, and then airbrush with rust-colored paint for detail.
- Apply a clear coat to seal the birdhouse and protect it from the elements.
Protect and Weather the Birdhouse
Read more: Miniature Spider Welding Tutorial: Crafting a Tiny Metal Arachnid
Tips
- Use a variety of materials and textures to create a unique and creepy look.
- Don't be afraid to experiment and make mistakes—it adds to the character!
- Use peg structures for strength and durability.
- Use different shades of rust to add depth and dimension.