Do you own a cherished vintage Pedigree Cindy doll, or a similar collectible doll from the golden age of playthings? These delightful dolls, with their charming outfits and expressive faces, often deserve more than just careful storage. Giving them a personalized touch can enhance their appeal and create a unique keepsake. One simple yet effective way to celebrate your doll’s vintage charm is by crafting custom graphic t-shirts. These miniature garments are surprisingly easy to make, adding a playful and stylish update to their wardrobes. Forget expensive, hard-to-find vintage clothing; let's create something unique and perfectly sized.
This guide provides a straightforward step-by-step process for making adorable miniature t-shirts for your vintage dolls, focusing on techniques that even beginners can easily master, resulting in charming additions to your doll’s collection. Let's dive into the world of miniature fashion design and create some truly special outfits!
Preparation and Safety Guidelines
- sewing machine
- sewing supplies (scissors, pins, thread)
- child's shirt (or fabric)
- sewing pattern (downloadable PDF)
- Always supervise young children during the crafting process to prevent choking hazards from small parts (e.g., buttons, beads).
- Use fabric-safe dyes and paints specifically designed for clothing to avoid damaging the doll's clothing or causing allergic reactions.
- Test your chosen materials and methods on a scrap piece of similar fabric before applying them to the doll's shirt to ensure compatibility and avoid unintended results.
Step-by-Step Instructions
Prepare the Pattern
- Download and print the free PDF sewing pattern from Shellywood.com. It's available in US letter and A4 sizes.
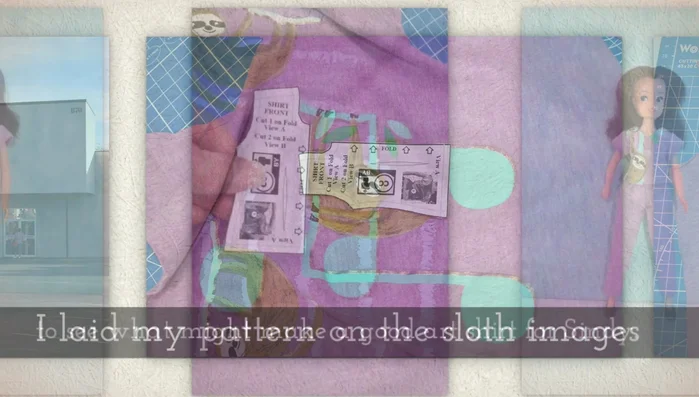
- Cut out the pattern pieces from a child's shirt (or your chosen fabric). Place the pattern pieces strategically to utilize the design on the shirt.

Prepare the Pattern Assemble the Front and Back
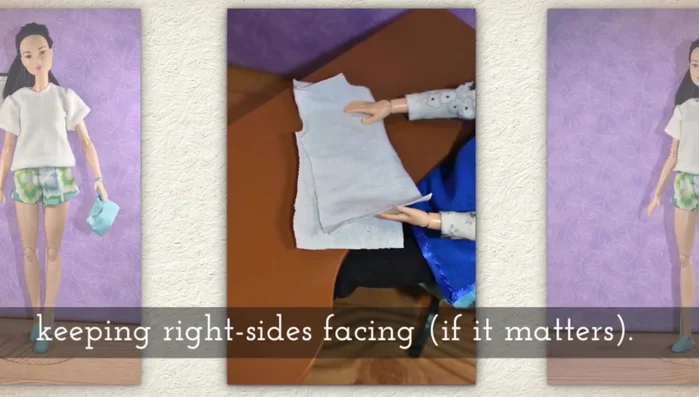
- Sew the front pieces together along the neckline with right sides facing. Clip and invert the seam.
- Sew the back pieces together along the neckline and bottom, with right sides facing. Clip and invert the seams.
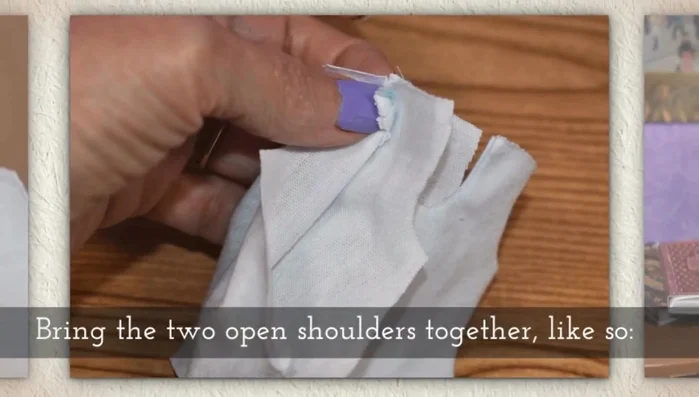
- Attach the front and back pieces at the shoulders, right sides facing. Clip the seam and invert.
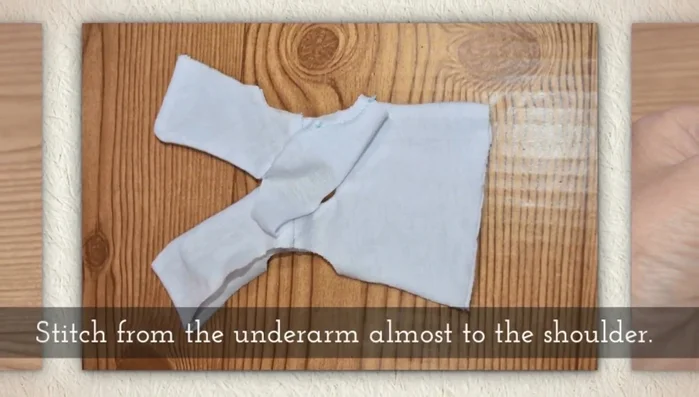
Assemble the Front and Back Attach Sleeves
- Attach the sleeves to the underarms, stitching from the underarm almost to the shoulder. Leave a small gap at the shoulder seam, gather the sleeve at the shoulder and attach to the main bodice.
Attach Sleeves Finish Sleeves and Hem
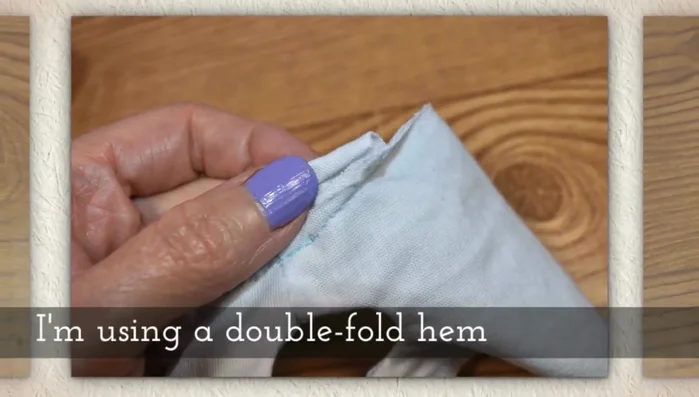
- Hem the bottom of the sleeves using a double or single fold hem.
- Fold the shirt at the shoulder seam and stitch from the sleeve hem to the underarm, then from the underarm to 1cm shy of the hem. Repeat on both sides.
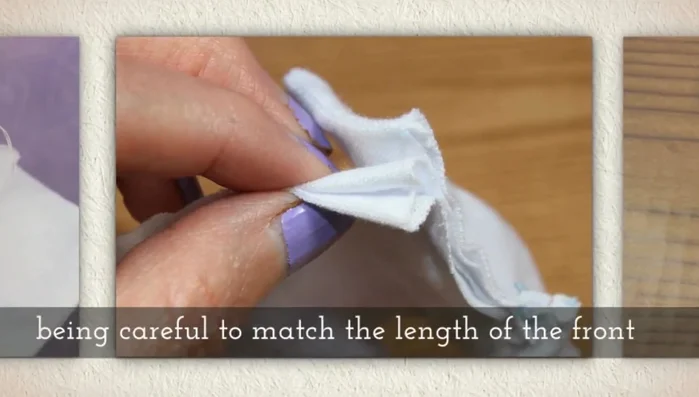
Finish Sleeves and Hem Finish the Bottom Hem
- Fold the raw edges of the front inside, matching the length with the back. Whip stitch along the bottom of the shirt's front.
Finish the Bottom Hem Add Closure
- Sew a few snaps down the back.

Read more: DIY Blender from a Broken Beyblade Launcher!
Tips
- Clipping the seams before inverting makes it easier to get a neat finish.
- Using a matching thread color for the bottom hem will make it less noticeable.