The holidays are a whirlwind of festive cheer, but also a breeding ground for textile waste. This year, let's flip the script and embrace sustainable crafting! This tutorial will guide you through the delightful process of transforming a cherished (or thrifted!) Christmas cardigan into an adorable, one-of-a-kind baby romper. Forget mass-produced, fleeting fashions; let's create a unique and eco-friendly garment that's bursting with festive charm and holds a touch of sentimental value. Imagine the cozy warmth of that old cardigan now adorning your little one in a completely new and stylish way.
This upcycled Christmas cardigan baby romper is the perfect project for seasoned crafters and enthusiastic beginners alike. It's a fantastic way to use uploved holiday clothing while creating a truly special gift or keepsake. The festive colours and textures of the original cardigan will add a unique, personalized touch to your creation. Ready to get started? Let’s dive into the step-by-step instructions to create this charming, sustainable romper!
Preparation and Safety Guidelines
- Old Christmas cardigan
- Pattern master (or pre-made pattern)
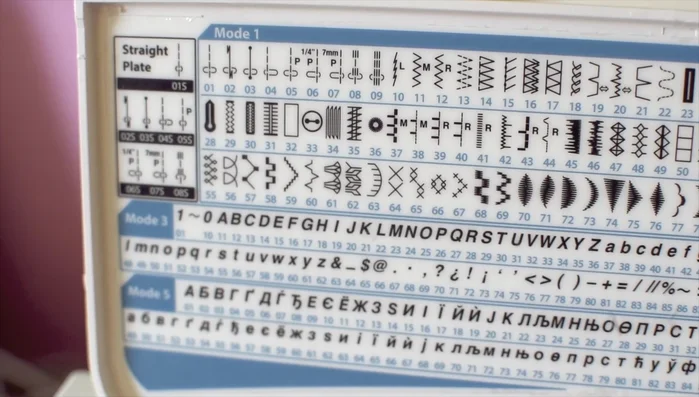
- Sewing machine with stretch stitch capability
- Walking foot (recommended for thick fabric)
- Pins
- Scissors
- Always supervise young children around loose buttons or small embellishments that could pose a choking hazard. Securely sew or glue any loose elements before allowing the baby to wear the romper.
- Use only non-toxic, baby-safe fabrics, paints, and adhesives. Avoid using harsh chemicals or materials that could irritate the baby's delicate skin. Pre-wash any upcycled fabric before use.
- Ensure all seams are securely stitched to prevent unraveling and potential strangulation risks. Double-check stitching, especially around the neck and armholes.
Step-by-Step Instructions
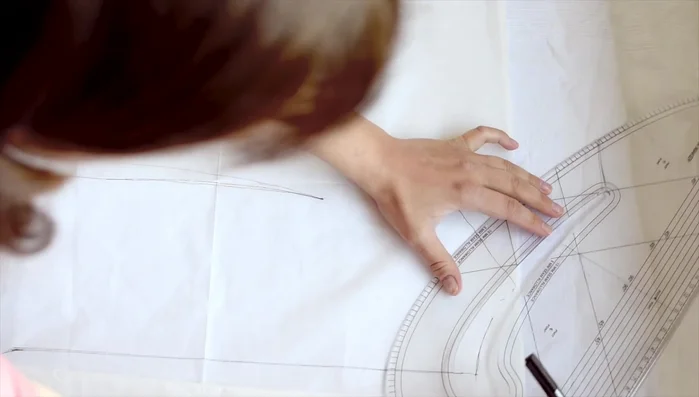
Create the Pattern
- Create a pattern. You can use a comfortable outfit as a template and adjust it using a pattern master, adding seam allowance.

Create the Pattern Cut the Front Pieces
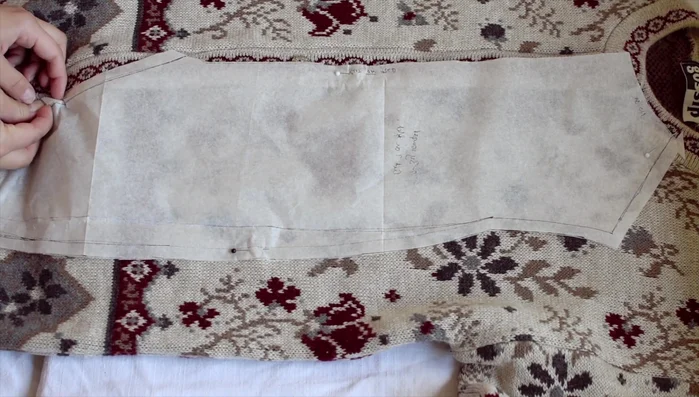
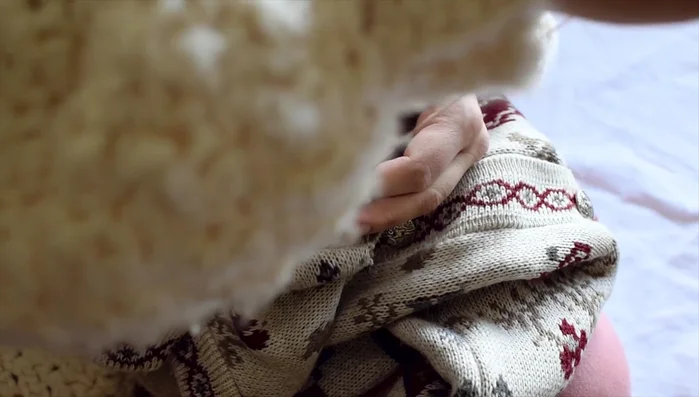
- Pin the pattern to the front of the cardigan. Because of the thickness and buttons, pin the pattern to one side, cut, then flip and use the cut piece as a template for the other side.
Cut the Front Pieces Create the Back Piece
- Use the front piece to create the back piece, making the back slightly wider for extra room. Consider adding extra fabric between the legs for nappies.
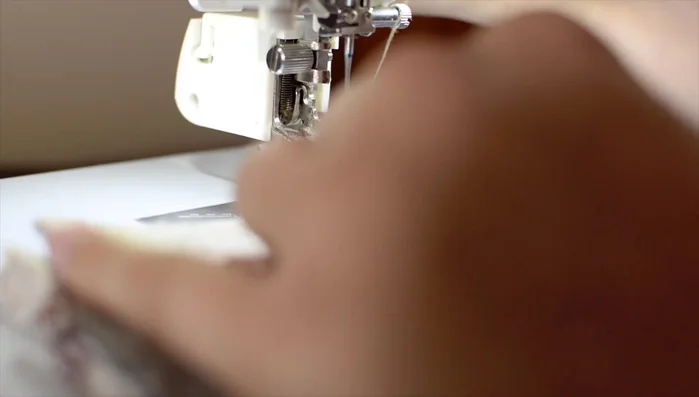
Create the Back Piece Sew the Shoulders
- Sew the shoulder seams using a stretch stitch (or a simple zigzag stitch) to maintain fabric elasticity.
Sew the Shoulders Sew the Sides
- Sew the side seams.
Sew the Sides Finish the Armholes
- Finish the armholes with an overcast stitch for decoration (optional, you could add sleeves).
Finish the Armholes

Read more: DIY Blender from a Broken Beyblade Launcher!
Tips
- Use a walking foot for sewing thick fabrics like a cardigan to help the fabric move smoothly through the machine.
- Adding extra fabric between the legs is recommended if the romper is intended for a baby still wearing nappies.
- A stretch stitch is crucial for stretchy fabrics to maintain their elasticity.