Climbing plants, with their vibrant blooms and lush foliage, can dramatically enhance any garden. However, to truly showcase their beauty and encourage healthy growth, a robust and well-designed trellis is essential. A flimsy structure will not only fail to support the weight of mature plants but can also damage delicate stems and hinder their overall development. Investing time in building a sturdy trellis is an investment in the long-term health and aesthetic appeal of your climbing plants, offering a beautiful framework that will last for years. Consider it an architectural addition to your garden, a testament to both practical skill and horticultural passion.
This article provides a comprehensive, step-by-step guide to constructing a trellis that will withstand the test of time and the weight of even the most vigorous climbers. From selecting the right materials to mastering the crucial assembly techniques, we'll equip you with the knowledge and confidence to build a trellis that will become a stunning focal point in your garden. Let's get started!
Preparation and Safety Guidelines
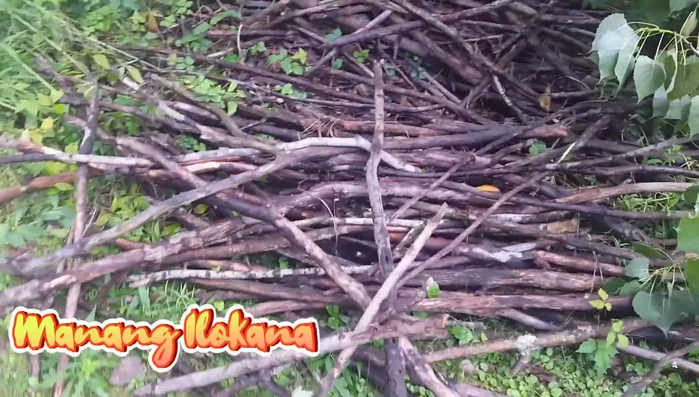
- sticks
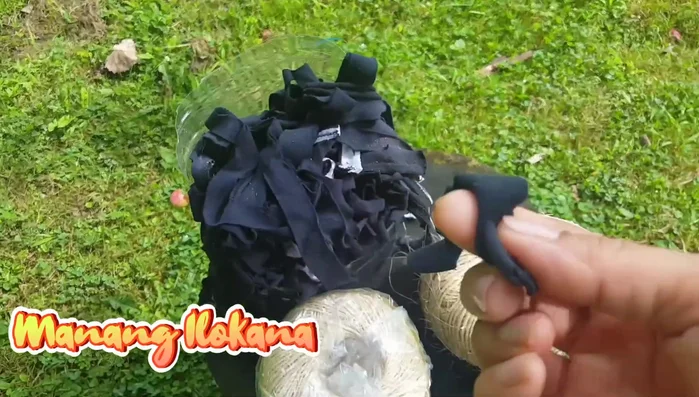
- twine
- t-shirt strips
- scissors
- Always wear safety glasses and gloves when using tools like saws, drills, and hammers. Debris can easily cause eye injuries, and sharp edges can cut your hands.
- Ensure the trellis is securely anchored to the ground or a sturdy structure. A poorly anchored trellis can topple over, especially in windy conditions or when supporting heavy plants.
- Use pressure-treated lumber or other rot-resistant materials for outdoor trellises to extend their lifespan and prevent premature decay.
Step-by-Step Instructions
Gather Materials
- sticks, twine, t-shirt strips cut into strips, and scissors.

Gather Materials Install Main Support Sticks
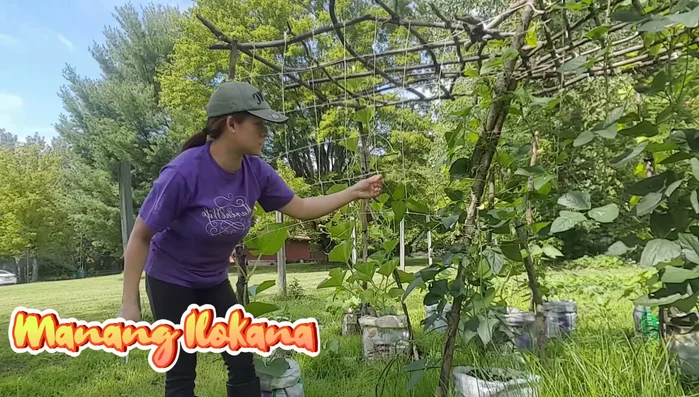
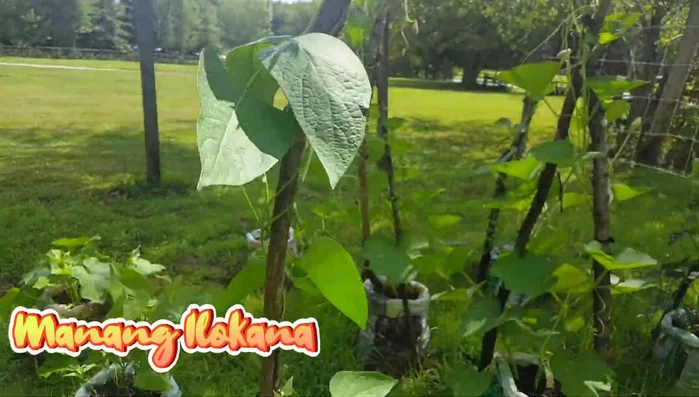
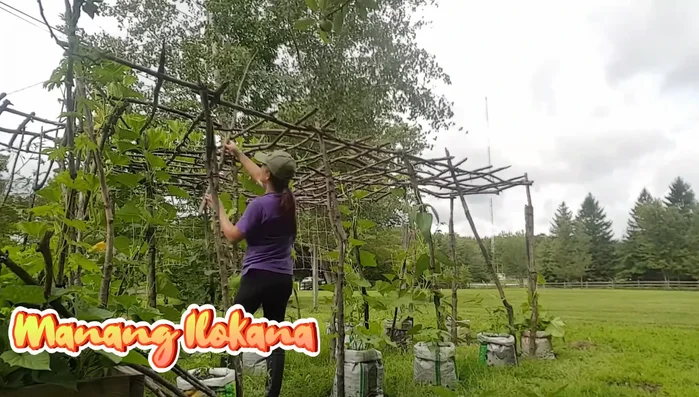
- Plant the main support sticks into the ground around your plants. Ensure they are firmly planted.
Install Main Support Sticks Create Horizontal Grid
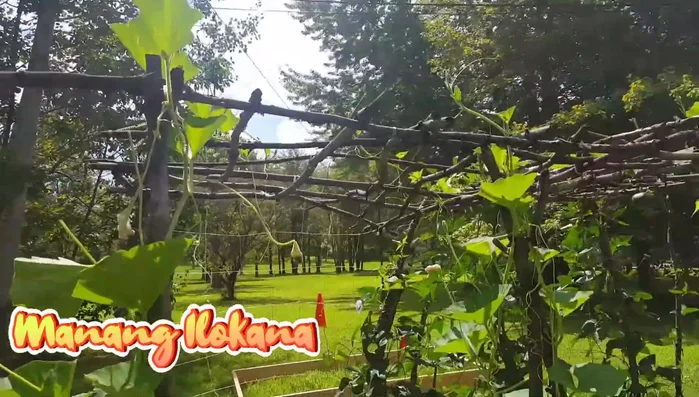
- Attach twine horizontally to the main support sticks, creating a grid-like structure. This is done by wrapping and tying the twine around the sticks.
Create Horizontal Grid Add Vertical Support
- Add vertical twine strands, tying them to both the horizontal twine and the support sticks. This provides additional support for the climbing plants.
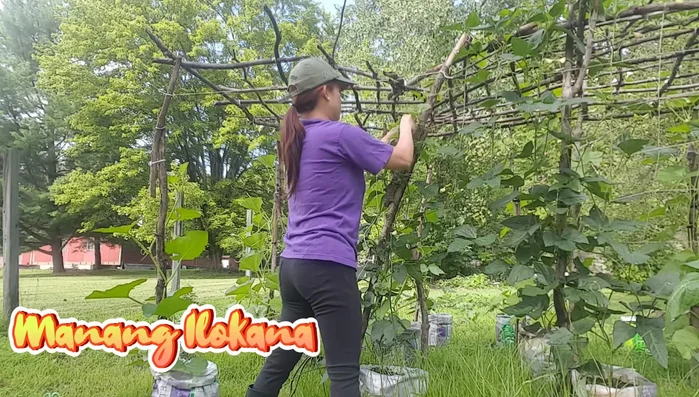
Add Vertical Support Guide Climbing Plants
- Gently guide the climbing plants (beans, squash etc.) to grow along the twine and up the trellis.
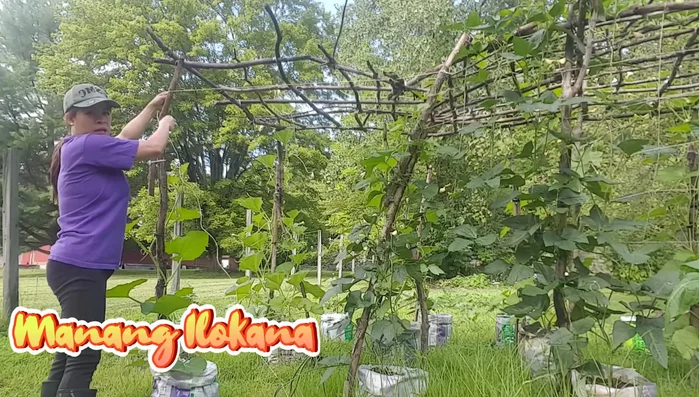
Guide Climbing Plants Reinforce with Additional Sticks
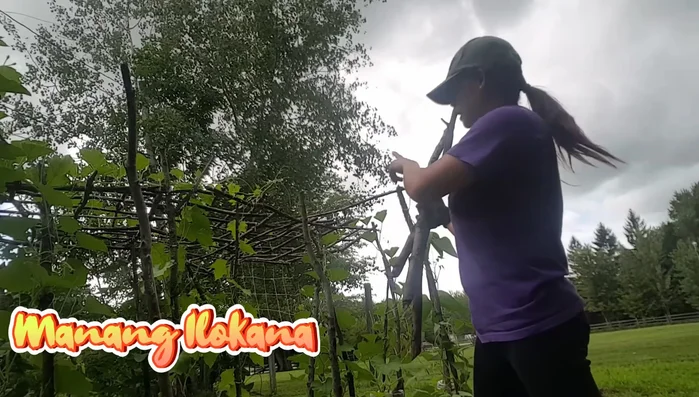
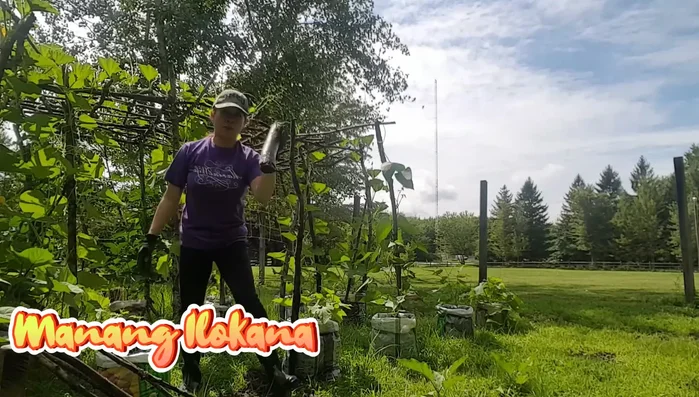
- Add additional support sticks to reinforce the trellis structure, especially at the top.
- Tie shorter sticks to the top of the trellis using t-shirt strips to create a more complete structure.
- Add more vertical support sticks to further strengthen the top of the trellis.
- Tie up the additional vertical supports to complete the trellis structure.
Reinforce with Additional Sticks Secure the Base
- Secure the trellis by adding soil around the base of the support sticks to create stability.
Secure the Base
Read more: Build a Sag-Proof Wood Fence Gate: The Ultimate DIY Guide
Tips
- Use sturdy sticks that can withstand the weight of the plants.
- Plant sticks firmly in the ground for stability.
- T-shirt strips are a great alternative to twine for tying, offering stretch and durability.
- Add extra soil around the base to increase stability and resistance to wind.