Escape the everyday and create your own tranquil oasis with this surprisingly simple DIY twin-size porch swing bed! Imagine lazy afternoons spent swaying gently, a cool drink in hand, surrounded by the sights and sounds of nature. This project is perfect for those looking to add a touch of charming rustic elegance to their outdoor space without breaking the bank or requiring extensive woodworking skills. Forget expensive pre-made options; we'll show you how to build your dream porch swing bed for a fraction of the cost, using readily available materials and straightforward techniques.
This project is designed to be completed in a single day, making it a satisfying and achievable weekend project. We'll guide you through each step, from gathering the necessary supplies to hanging your finished swing, ensuring you'll be relaxing in your new creation sooner than you think. Ready to get started? Let's dive into the detailed step-by-step instructions!
Preparation and Safety Guidelines
- 1x4x8 boards
- 1x6x8 board
- 2x4x10 boards
- 2x6x8 boards
- 3/4 inch plywood (optional)
- 2 7/8 inch timber screws (or regular screws)
- Exterior grade pocket hole screws (or 4 inch wood screws)
- Wood glue
- Brad nails
- Outdoor stain and sealant
- Rope kit
- 3/4 inch Forstner bit (or spade bit)
- Drill
- Eye screws
- Clips
- Always use pressure-treated lumber for outdoor use to prevent rot and ensure longevity. Regularly inspect for any signs of decay or damage.
- Securely fasten all hardware and connections. A poorly constructed swing bed can be dangerous. Ensure the hanging chains or ropes have a high weight capacity and are properly rated.
- Before use, thoroughly test the swing bed's stability and strength. Have someone of similar weight sit on it to check for swaying or instability before allowing children or adults to use it.
Step-by-Step Instructions
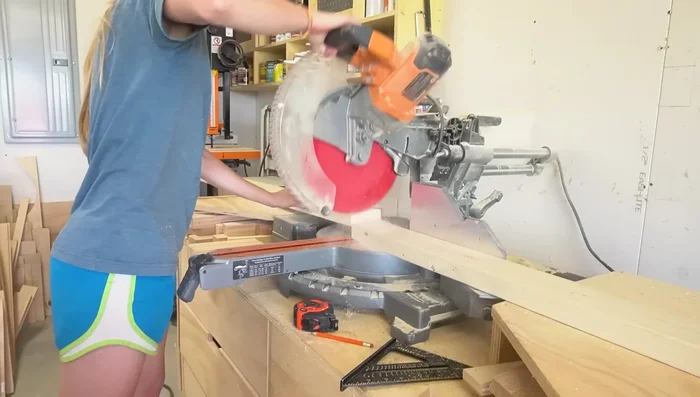
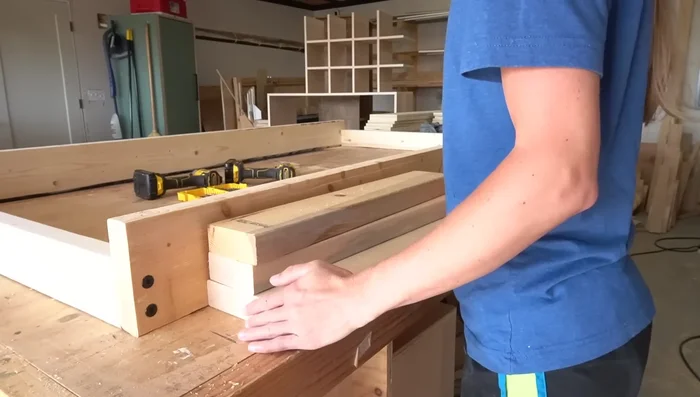
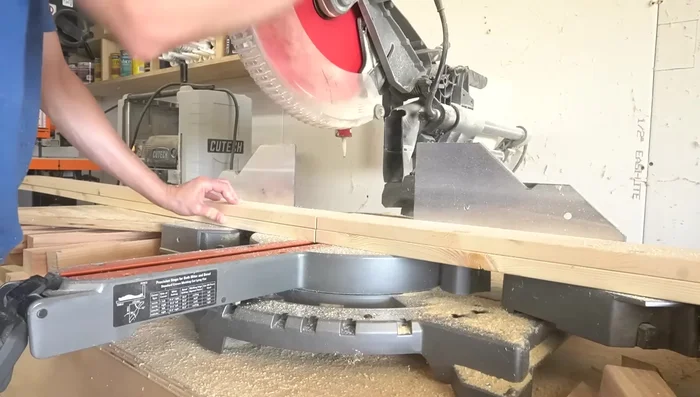
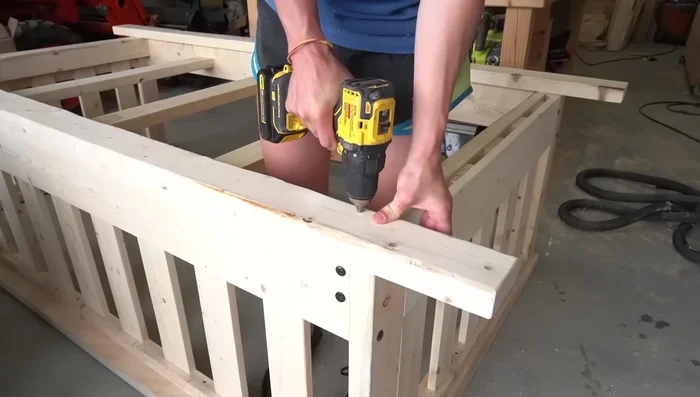
Construct the Seat Frame
- Build the seat frame using 2x6s for the front and back, and 2x4s for the sides. Secure with screws.
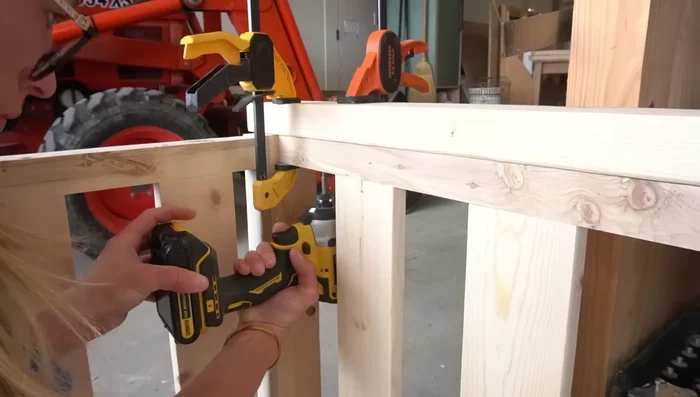
- Add 2x4s at each corner of the seat frame, securing with screws.
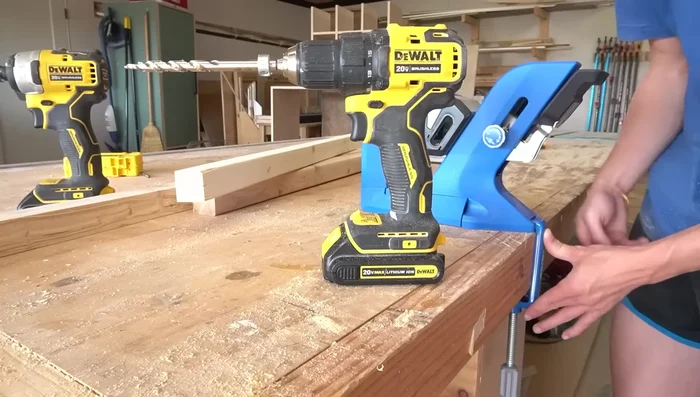
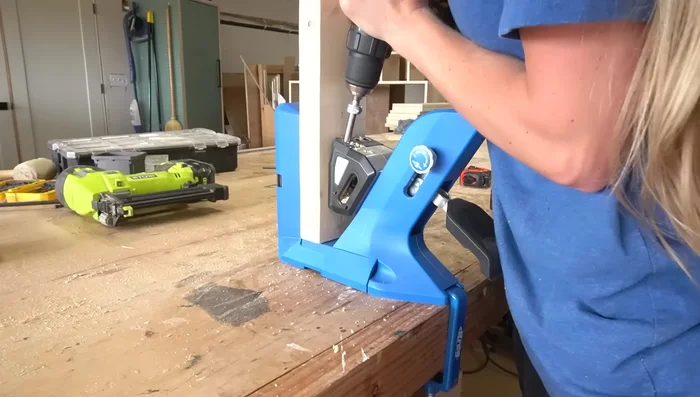
- Attach 2x2s between the 2x4s using pocket holes and pocket hole screws (or alternative methods as described in the video).
- Add bottom supports (2x4s) using pocket holes and screws (or alternative methods).

Construct the Seat Frame Add Seating Slats and Armrests
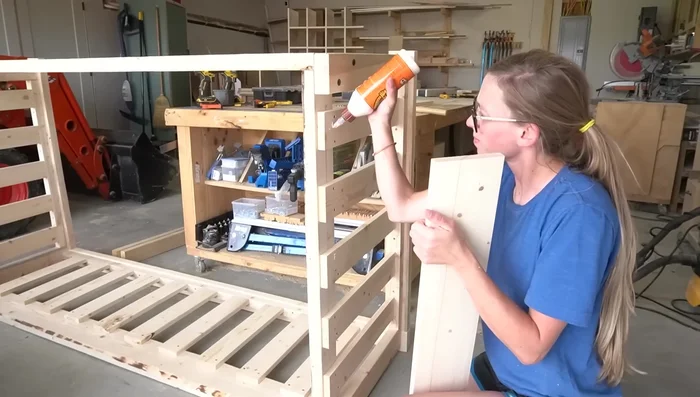
- Add slats (1x4 boards) to the frame. Attach them with screws through the top, which will be covered later.
- Attach 2x4s along the top edge to serve as armrests and cover screw heads.
- Trim the sides with 1x6 boards to match the thickness of the front and hide screw heads.
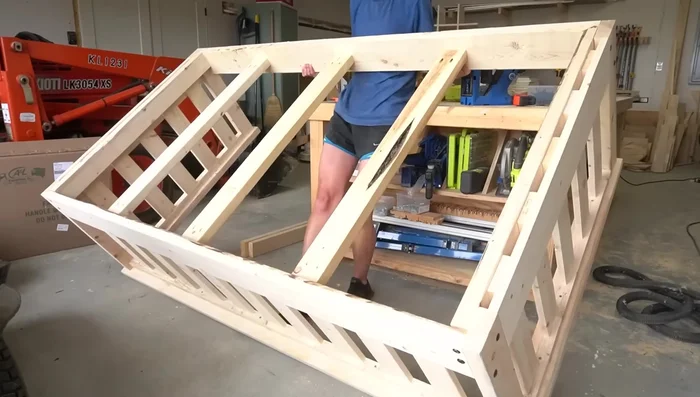
Add Seating Slats and Armrests Reinforce the Bottom
- Add plywood to the bottom for extra support (optional, depending on mattress type).
Reinforce the Bottom Attach Rope Runners
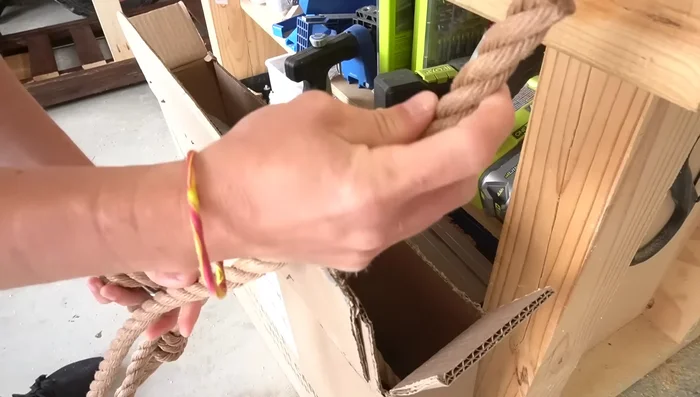
- Attach the rope runners (2x4 boards) to the bottom, overhanging each side. Secure with screws from the underside.
- Drill holes through the bottom 2x4s to attach the ropes. Use a 3/4 inch Forstner bit for clean holes.
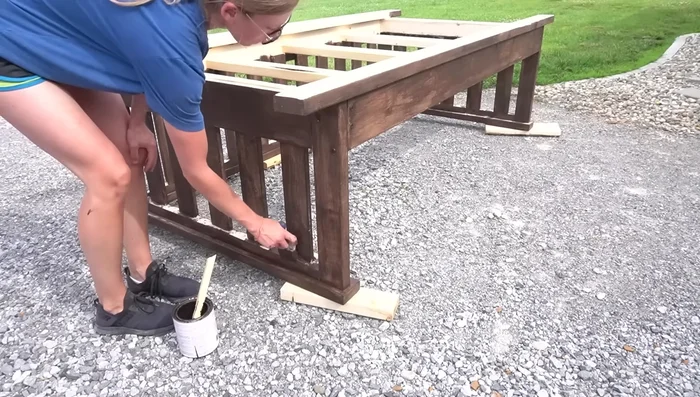
Attach Rope Runners Finish and Hang
- Apply stain and sealant to protect the wood.
- Hang the swing using the rope kit, adjusting rope length as needed.
Finish and Hang
Read more: Build a Sag-Proof Wood Fence Gate: The Ultimate DIY Guide
Tips
- Use untreated pine spruce if the swing is protected from the elements. Otherwise, opt for treated cedar, redwood, or another weather-resistant wood.
- If you don't have a table saw, pre-cut 2x2s can be purchased from a store.
- Pre-drill holes before screwing to prevent wood splitting.
- Consider adding plywood for extra support if using a thin foam mattress.
- Use a Forstner bit for cleaner holes when attaching the ropes.