We're often told to recycle, but what if we could do more than just toss aluminum cans into the blue bin? This project transforms discarded aluminum cans into something beautiful and functional: a charming, upcycled wind chime. Forget the landfill; let's embrace the creative power of repurposing and turn trash into a treasure that will add a unique and personalized touch to your home or garden. Imagine the gentle tinkling of a wind chime created entirely from materials destined for the trash – a testament to sustainable living and resourceful creativity.
This satisfying DIY project is perfect for those looking for a fun and eco-friendly craft. Using readily available materials and simple techniques, you can create a stunning wind chime that is as beautiful as it is environmentally conscious. Ready to transform your trash into treasure? Let's dive into the step-by-step instructions below to learn how to make your very own aluminum can wind chime.
Preparation and Safety Guidelines
- Scissors
- Envelope
- Newspaper
- 2-inch hole punch (Fiskers recommended)
- Scoreboard
- Large-eye needle
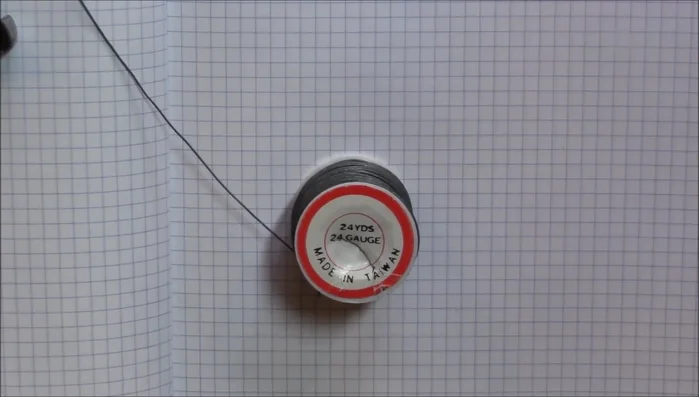
- 24-gauge wire
- Sharpie marker
- Eyelet setter (or drill)
- Alcohol inks (optional)
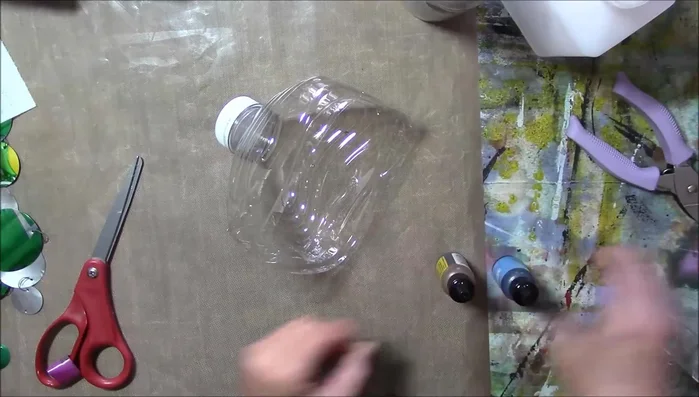
- Gallon-size water bottle
- Swivel hook
- Beads (optional)
- Bells (optional)
- Always supervise children during crafting. Sharp edges from cutting the cans can cause injury.
- Wear safety glasses when cutting and shaping the aluminum. Small pieces of metal can fly off.
- Thoroughly wash and rinse all cans before beginning to remove any food residue or chemicals.
Step-by-Step Instructions
Preparation and Storage
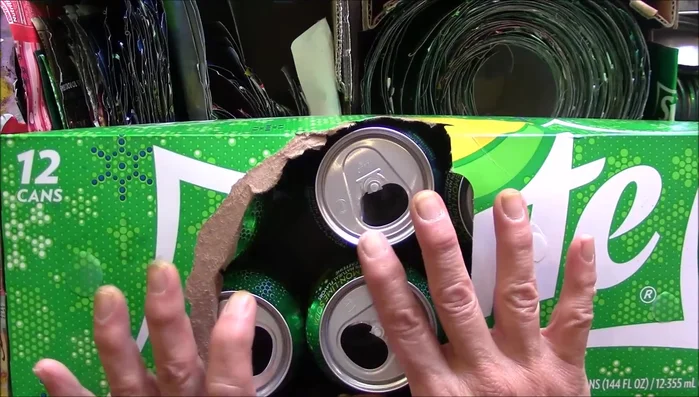
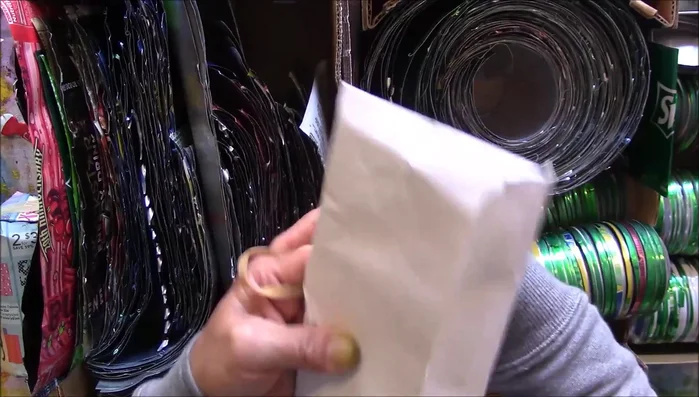
- Rinse aluminum cans thoroughly before storing.
- Store rinsed cans in an envelope to prevent cutting yourself and keep them straight.

Preparation and Storage Cutting and Punching Aluminum
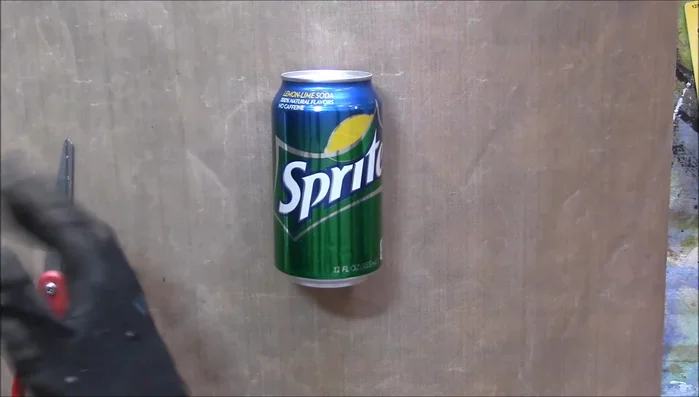
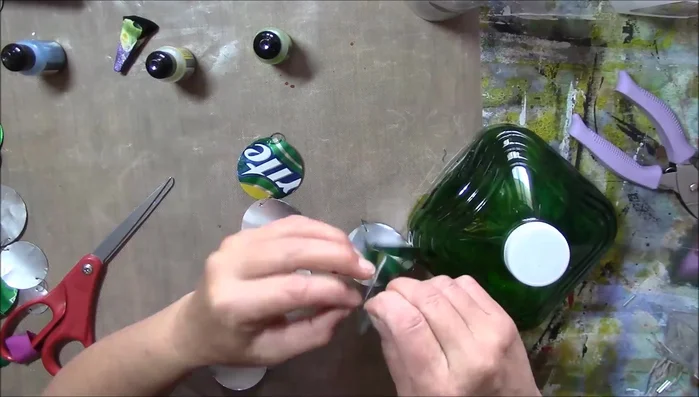
- Safely cut the cans using scissors, starting with a small poke and then cutting along the seam, about a quarter-inch from the edge, avoiding the rounded parts.
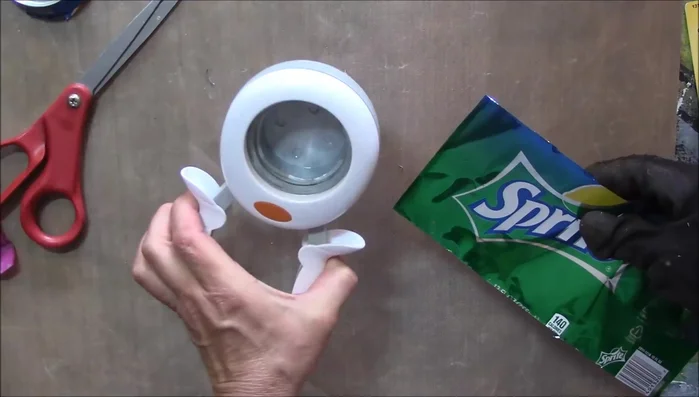
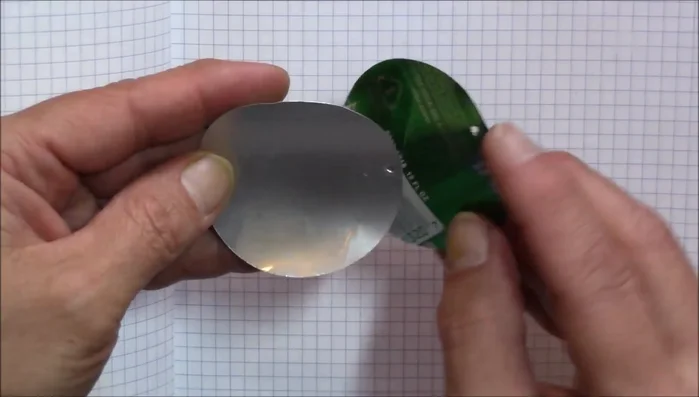
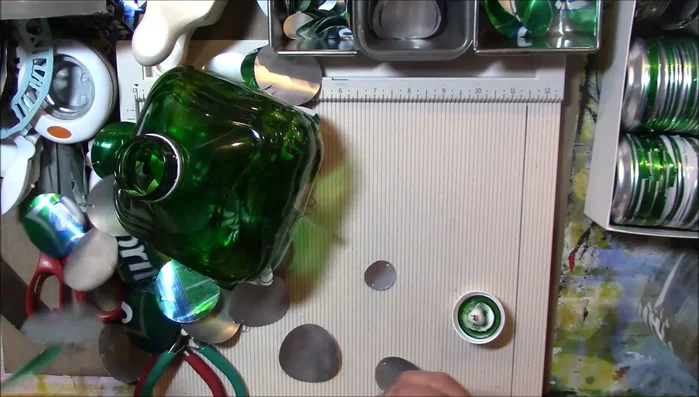
- Use a 2-inch hole punch to create uniform circles from the cut aluminum.
Cutting and Punching Aluminum Preparing Aluminum Circles
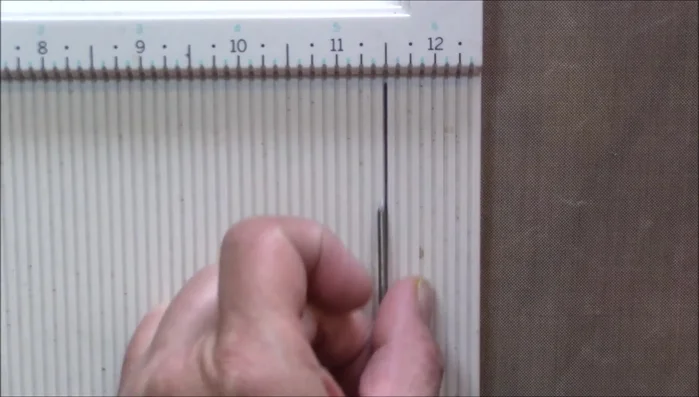
- Create holes in the aluminum circles using a scoreboard and needle, ensuring the holes are evenly spaced.
Preparing Aluminum Circles Making Split Rings
- Make split rings from 24-gauge wire. Wrap the wire twice around a Sharpie or similar object to create a consistent size.
Making Split Rings Assembling the Aluminum Circles
- Attach the aluminum circles to split rings, ensuring opposite sides (printed and silver) are facing out.
Assembling the Aluminum Circles Preparing the Top Piece
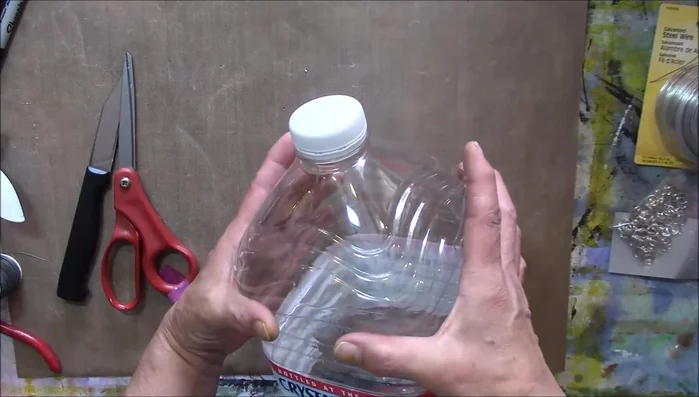
- Prepare the top piece using a gallon-size water bottle. Cut and punch holes in the corners.
- Add color to the water bottle top using alcohol inks (optional).
Preparing the Top Piece Attaching Aluminum to Top
- Attach the aluminum circle strands to the corners and center of the water bottle top.
Attaching Aluminum to Top Finishing Touches
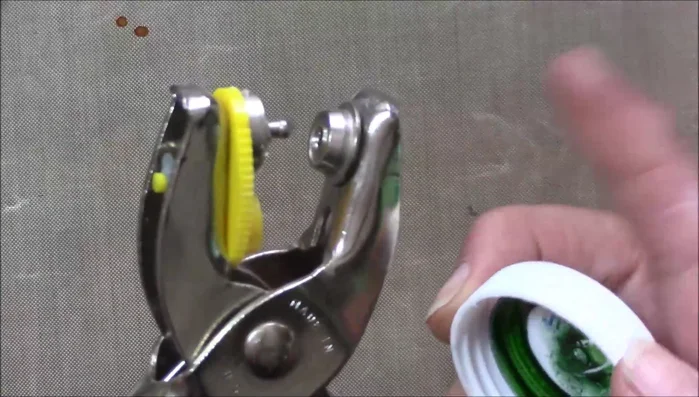
- Create a hole in the water bottle lid using an eyelet setter or drill, and attach a loop for hanging.
- Attach the finished wind chime to a swivel hook for hanging.
Finishing Touches
Read more: Miniature Spider Welding Tutorial: Crafting a Tiny Metal Arachnid
Tips
- Wear a glove on your non-dominant hand during the cutting process.
- Use newspaper or a similar material to protect your work surface from small pieces of aluminum.
- When punching holes, cup your hand above the punch to catch any pieces that might fly out.