Transform your outdoor space into a captivating haven with the warm glow of handcrafted pendant lights! This project combines the rustic charm of upcycled wood and metal with the satisfying creativity of DIY, allowing you to create unique lighting fixtures perfectly tailored to your style and budget. Forget expensive, mass-produced options; instead, embrace the rewarding experience of bringing discarded materials back to life and imbuing them with personality. Imagine the pleasing ambiance of these stunning lights illuminating your patio, garden, or porch.
Using readily available materials and simple techniques, you can effortlessly craft eye-catching pendant lights that will elevate your outdoor aesthetic. From selecting the perfect salvaged metal and wood to carefully assembling the components, this guide offers a comprehensive step-by-step process to guide you through every stage of the creation. Let's get started and discover how to craft these gorgeous, sustainable outdoor lights!
Preparation and Safety Guidelines
- Metal strapping (two sizes)
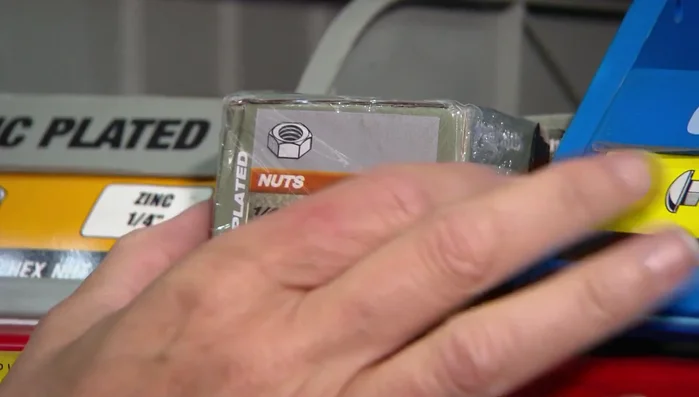
- Nuts (two sizes)
- Timber
- Drill
- Drill bit
- Hacksaw
- Cup hooks
- Battery-operated candle
- Always disconnect the power supply before working with any electrical components. Failure to do so could result in serious injury or death.
- Use weatherproof materials and sealant to protect the light fixture from the elements. Exposure to moisture can cause short circuits and fire hazards.
- Ensure all wiring connections are secure and properly insulated to prevent shorts and shocks. If unsure about electrical work, consult a qualified electrician.
Step-by-Step Instructions
Gather Supplies
- metal strapping, nuts (two sizes), timber.

Gather Supplies Prepare Metal Strips
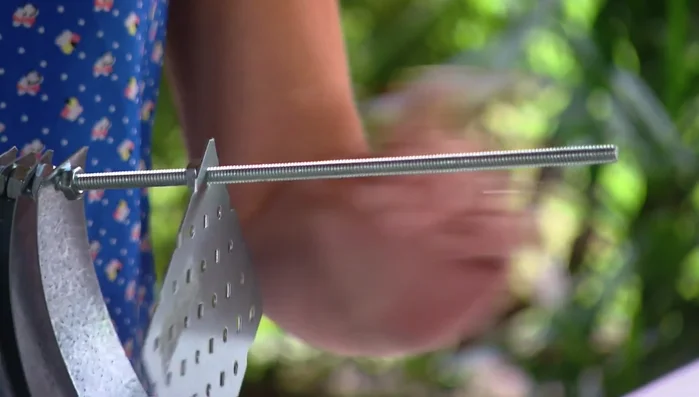
- Cut strips of metal strapping to create the pendant shapes (15 pieces).
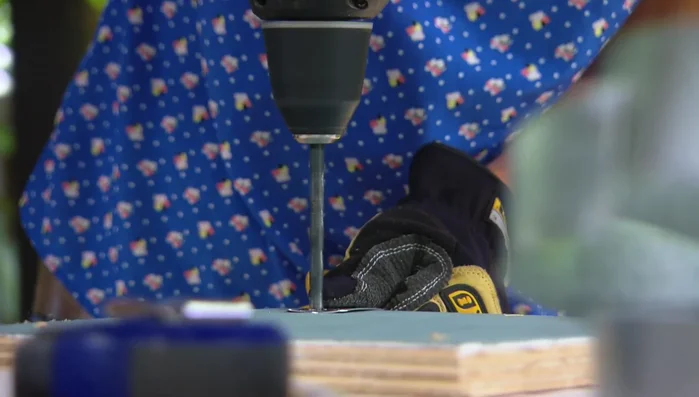
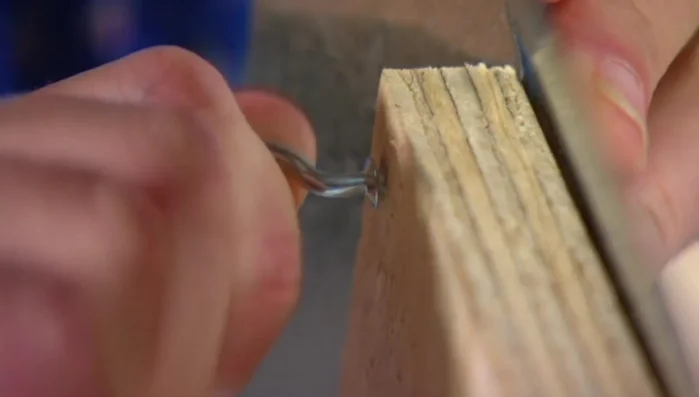
- Drill holes at each end of the metal strips, slightly larger than the rod diameter.
Prepare Metal Strips Assemble Pendant Body
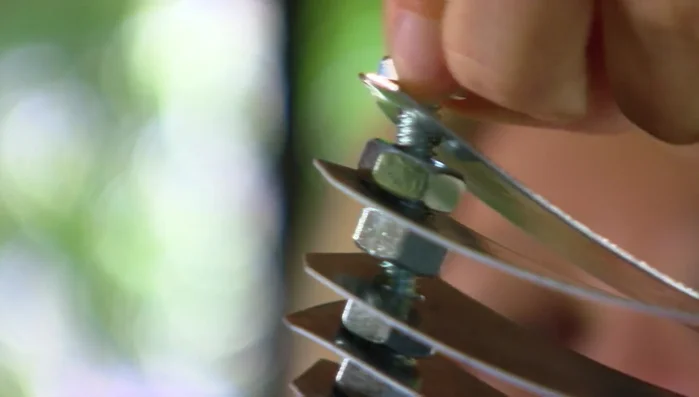
- Thread the smallest nut onto the rod, halfway along.
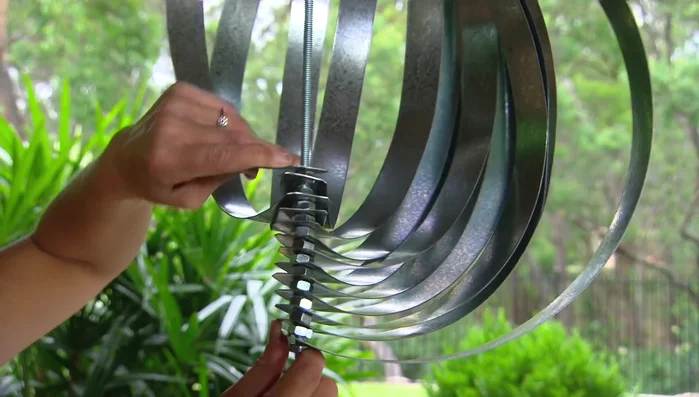
- Slide a metal strip onto the rod, followed by the larger nut (spacer), then another strip. Repeat.
- Finish with a smaller nut to secure all 15 pieces.
Assemble Pendant Body Add Shelf and Top
- Add a small shelf (purpose explained later).
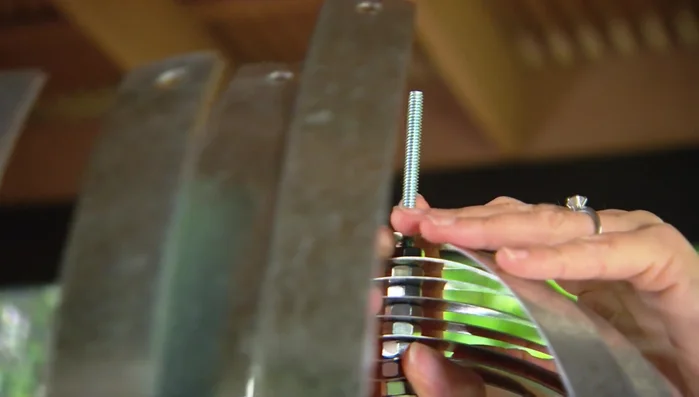
- Slide on another small nut almost down to the shelf, flip the assembly upside down.
- Add the top strap to form a spiral shape, secure with the final small nut.
Add Shelf and Top Finishing Touches
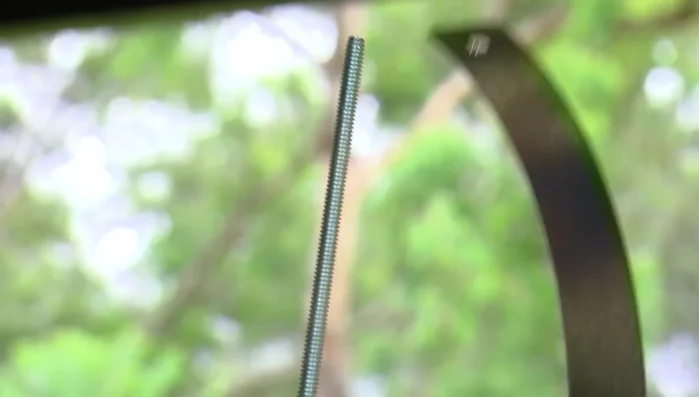
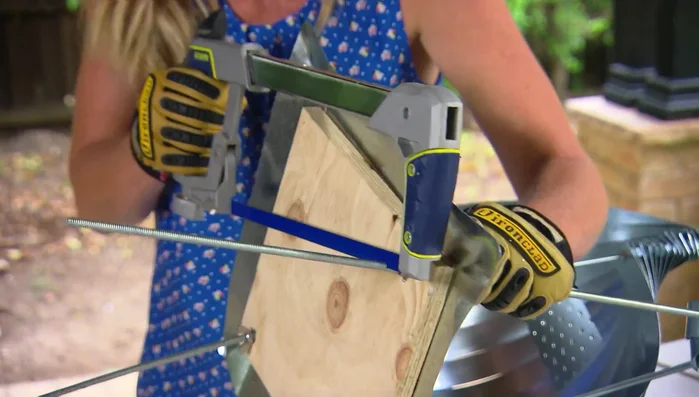
- Cut away excess rod.
Finishing Touches Installation and Lighting
- Hang the pendant using four cup hooks.
- Place a battery-operated candle on the shelf for soft lighting.
Installation and Lighting
Read more: Build a Sag-Proof Wood Fence Gate: The Ultimate DIY Guide
Tips
- Use a drill bit slightly thicker than the rod for easy threading.
- The larger nuts act as spacers between the metal strips.
- Creating multiple pendants of varying sizes adds visual interest.