In today's compact living spaces, maximizing functionality without sacrificing style is a constant challenge. A cluttered workspace can quickly derail productivity, and traditional desks often consume valuable floor space. This project offers a solution: a sleek, space-saving wall-mounted desk designed to seamlessly integrate into any room. Featuring a cleverly concealed compartment for storing essential items and a slimline drawer for easy access to frequently used tools or supplies, this desk provides ample workspace while maintaining a clean, uncluttered aesthetic. Forget bulky furniture – this design prioritizes both practicality and a minimalist approach to organization.
This detailed guide will walk you through each step of building your own custom wall-mounted desk, complete with a hidden compartment and a sleek, space-saving drawer. From selecting the right materials to assembling the components and securing it safely to your wall, we'll provide clear instructions and helpful tips to ensure a successful and aesthetically pleasing outcome. Let's begin!
Preparation and Safety Guidelines
- Table saw (or alternative cutting tools)
- Miter saw (optional)
- Circular saw (optional)
- Miter box (optional)
- Drill
- Dowel jig
- Band clamp
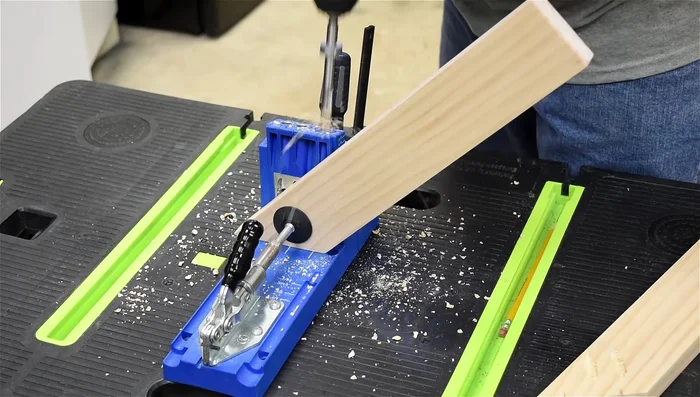
- Pocket hole jig
- Router
- Sandpaper
- Wood glue
- Wood filler
- Nails
- Screws
- Hinges
- Roller catch
- LED strip lights
- Cable stapler or staple gun
- Measuring tools
- Level
- Paint
- Wood stain
- Furniture wax
- Chain
- Ensure the wall you choose can support the weight of the desk and its contents. Use appropriate wall anchors and follow manufacturer's instructions for load-bearing capacity.
- Precise measurements are crucial for a successful build. Double-check all measurements before cutting any materials or drilling any holes.
- Always disconnect power to any electrical outlets near the installation area before drilling or working with power tools to prevent electrical shock.
Step-by-Step Instructions
Cutting and Preparation
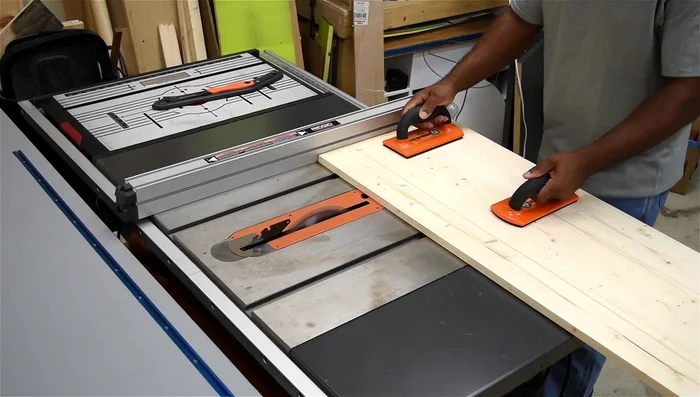
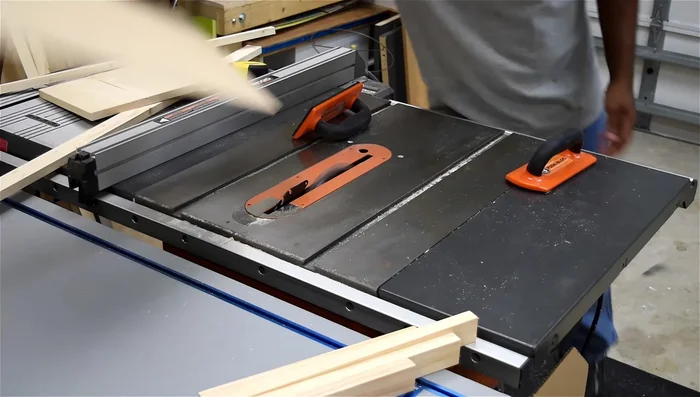
- Cut the desk top and other pieces according to your design. Label each piece for easy tracking.
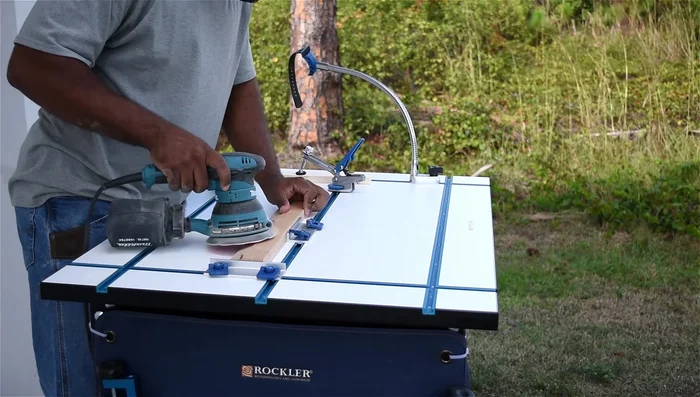
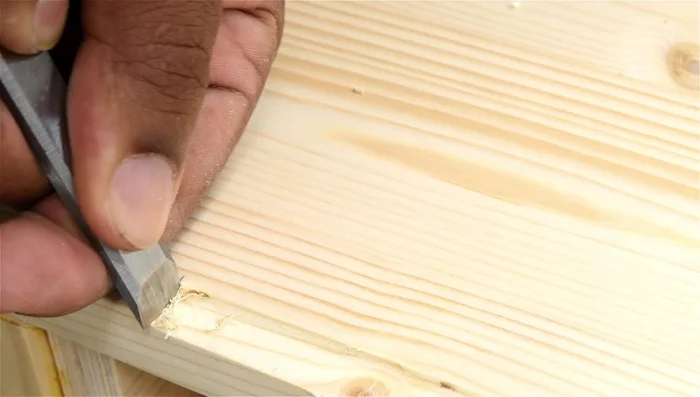
- Sand all pieces thoroughly to prepare for assembly.

Cutting and Preparation Drawer Construction
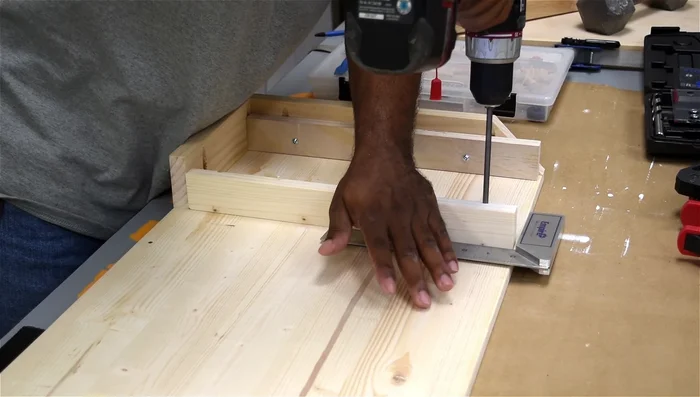
- Create a simple box with a plywood bottom, using a rabbet joint (or simply attaching the plywood) for a flush fit.
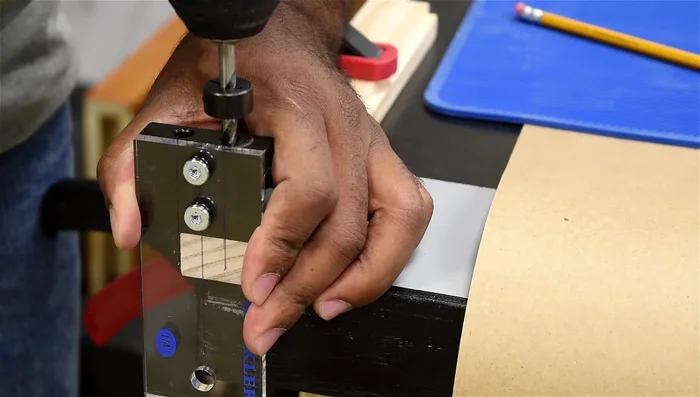
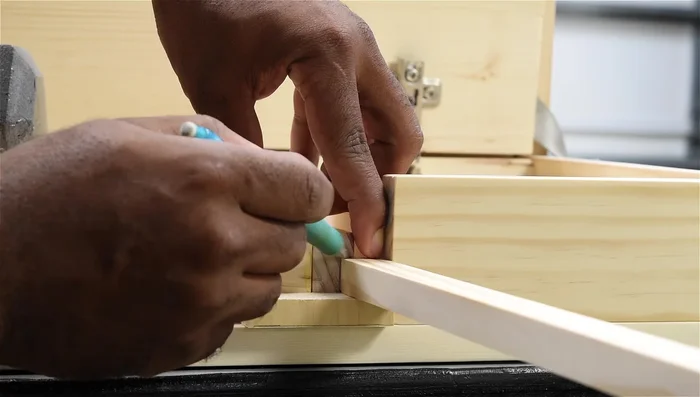
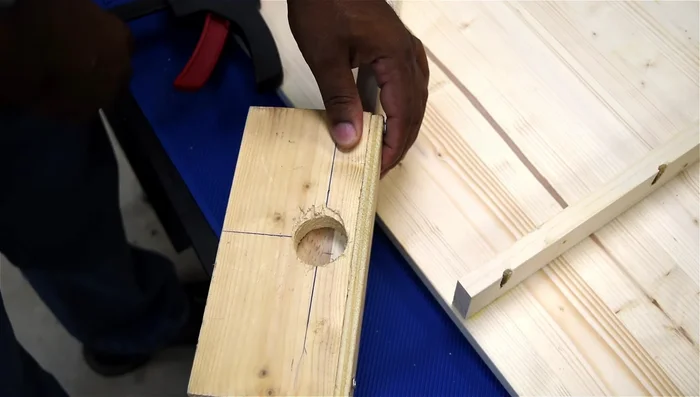
- Assemble the drawer box using dowel joints and glue. One dowel per corner is sufficient with adequate glue.
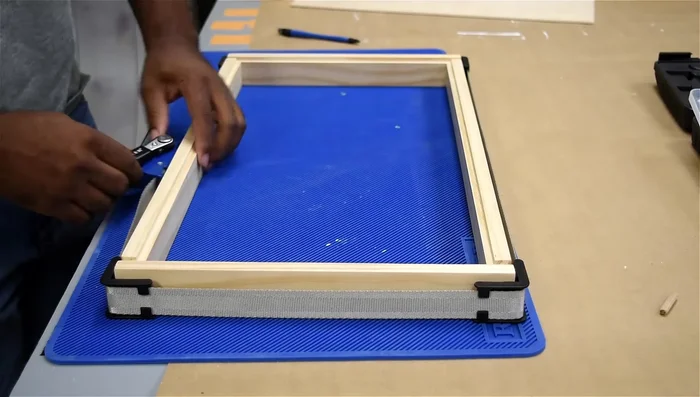
- Clamp the drawer box to ensure squareness, apply glue to joints, and let it dry completely.
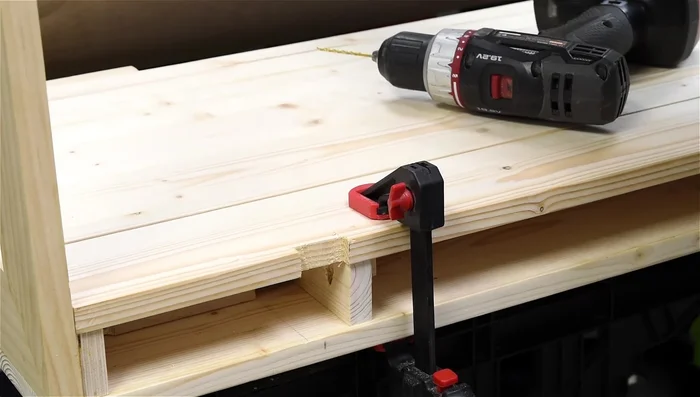
- Create drawer slide tracks using a router and making sure there's a little play for smooth operation.
Drawer Construction Desk Frame Assembly
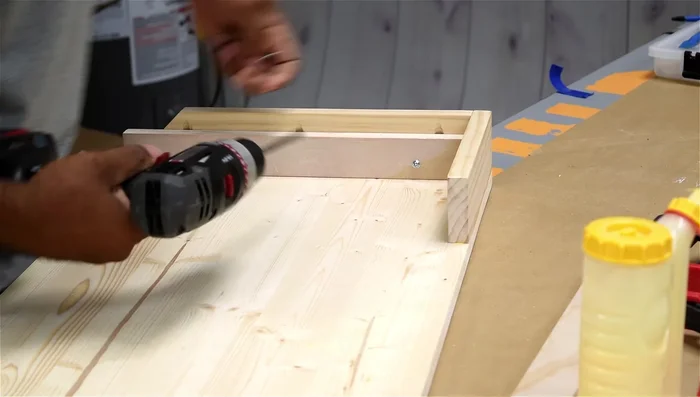
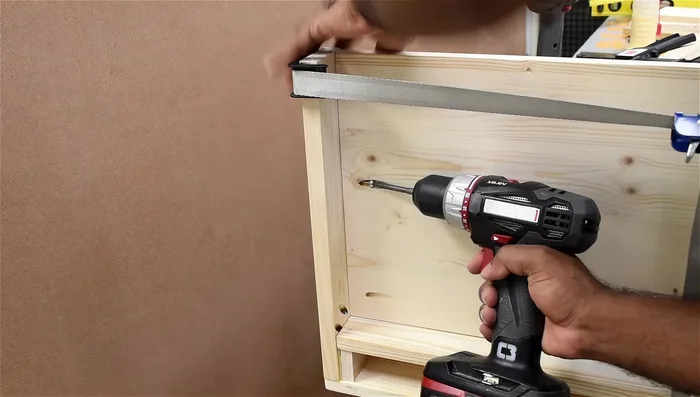
- Assemble the desk frame using pocket holes and glue for added strength.
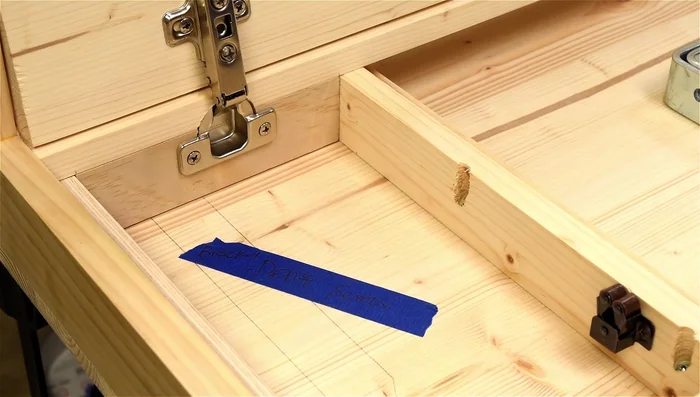
- Attach the inner support pieces for the swing-down door.
- Attach the back support panel using pocket holes and glue, creating mitered corners.
- Install the lower panel and bottom using pocket holes and glue.
Desk Frame Assembly Hardware Installation
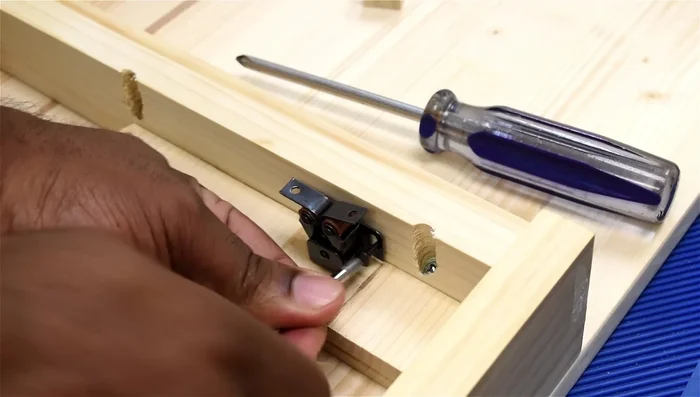
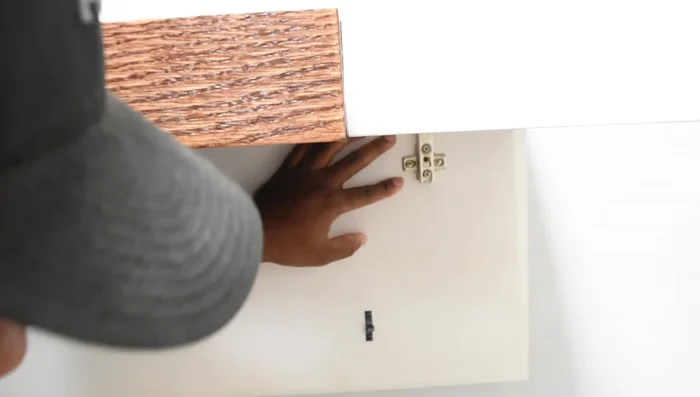
- Install the drawer slides, ensuring accurate spacing and alignment.
- Install hinges for the hidden compartment door in a reversed manner for this specific design.
- Install the roller catch and its counterpart on the door and frame for closure.
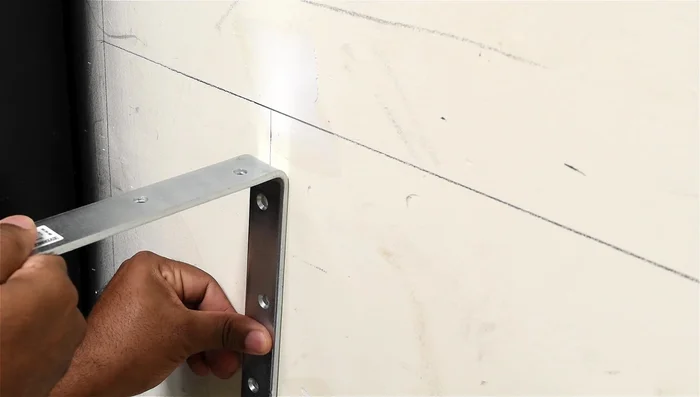
- Mark and install wall brackets, ensuring level alignment.
Hardware Installation - Cut out sections in the desk top and back panel to accommodate the brackets.
- Attach the desk to the wall brackets using screws.
Hardware Installation Finishing Touches
- Install the LED strip lights, creating a recess for a flush fit.
- Secure LED wiring and controller.
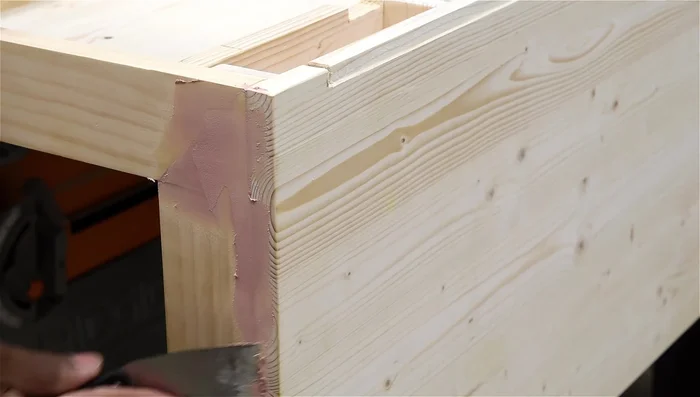
- Fill imperfections with wood filler and sand smooth.
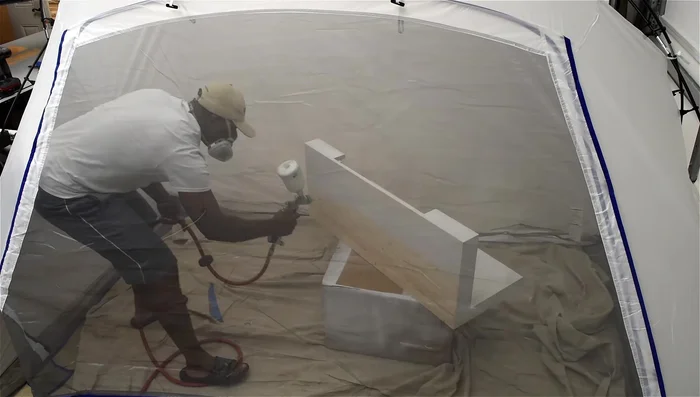
- Paint the desk and stain the drawer (optional).
Finishing Touches - Attach the final hardware and accessories.
Finishing Touches

Read more: Ultimate Guide to Harmonious Bedroom Furniture Arrangement
Tips
- Use a variety of cutting tools based on your preference and material.
- For drawer construction, the rabbet joint is superior to simple attachment for a more professional finish, but the simpler method is a viable alternative.
- Use a dowel jig and clamps for accurate dowel joint construction.
- Pre-drill holes for screws to prevent splitting.
- Check for squareness frequently during assembly.