Western Red Cedar, with its natural beauty and weather resistance, is a prized material for outdoor furniture. Building a sturdy and elegant outdoor table from this exquisite wood is a rewarding project, but achieving truly seamless tabletops requires precision. The key lies in mastering the jointer technique, a woodworking skill that ensures perfectly flat and aligned surfaces, ready for assembly and a beautiful, long-lasting finish. Imperfectly joined boards can lead to instability and an unprofessional look, something easily avoided with the right approach.
This article provides a comprehensive guide to building a stunning Western Red Cedar outdoor table, focusing on the crucial jointer technique for creating flawless tabletops. We'll walk you through each step, from selecting and preparing the lumber to the final assembly and finishing touches, equipping you with the knowledge and confidence to create a piece of outdoor furniture you'll cherish for years to come. Let's get started!
Preparation and Safety Guidelines
- Miter saw
- Jointer
- Planer
- Table saw
- Glue
- Mallet
- Clamps
- Domino joiner (or dowels)
- Sandpaper (80, 120, 150 grit)
- Track saw
- Block plane
- CA glue
- Activator spray
- Exterior film finish (e.g., spar varnish)
- Flush trim saw
- Always wear appropriate safety glasses and hearing protection when operating power tools like a jointer. Wood chips and dust can cause serious eye injuries, and the noise level can damage hearing.
- Never feed wood into the jointer faster than the machine's recommended speed. Forcing the wood can lead to kickback, which can result in serious injury.
- Ensure the jointer knives are sharp and properly adjusted. Dull knives require more force to feed the wood, increasing the risk of kickback and creating uneven surfaces.
Step-by-Step Instructions
Preparing the Lumber
- Break down materials to rough length at the miter saw.
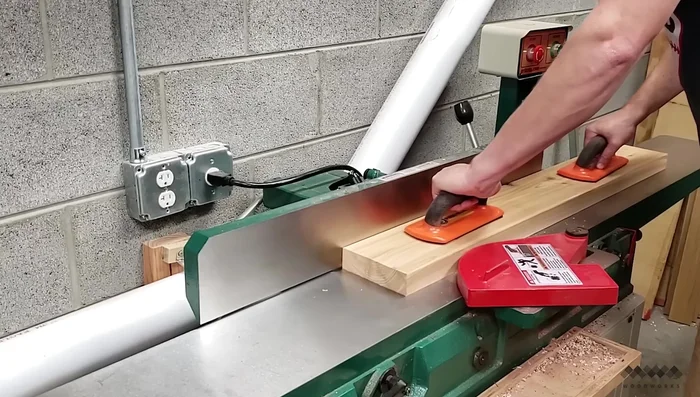
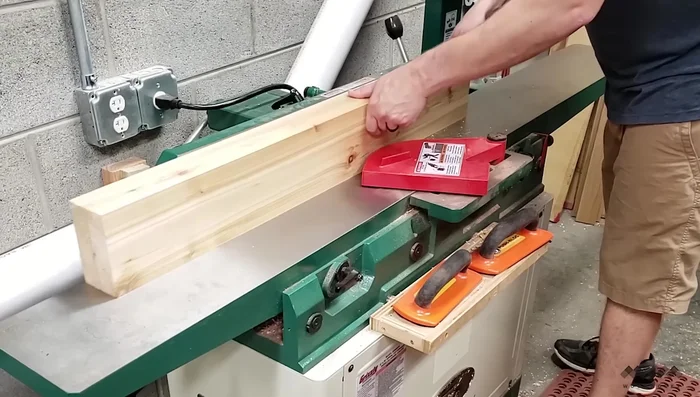
- Joint one face and square up one edge of all lumber (2x4, 2x6, 4x4 Western Red Cedar).
- Rip boards to width at the table saw, using the jointed edge as a reference.
- Plane the other side of the boards to make them parallel.

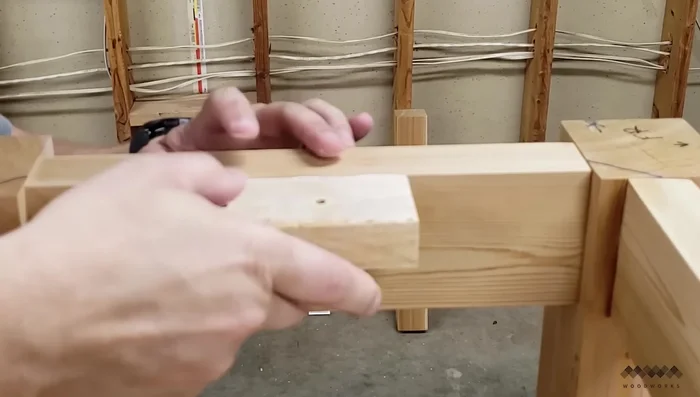
Preparing the Lumber - Mark the orientation of leg parts for later assembly.
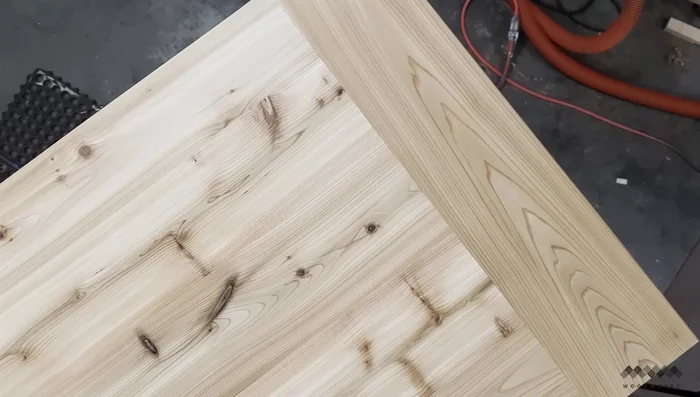
Preparing the Lumber Creating the Seamless Tabletop
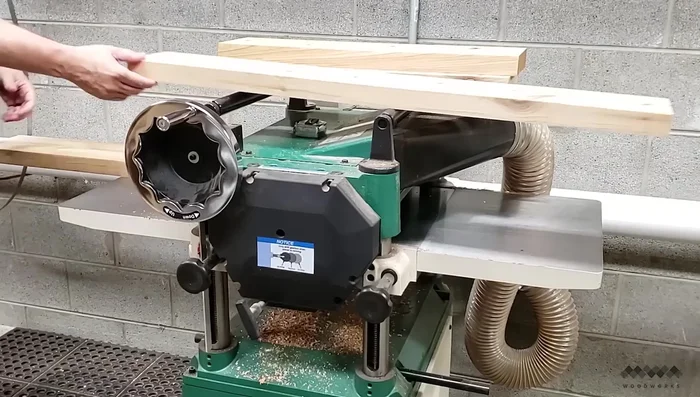
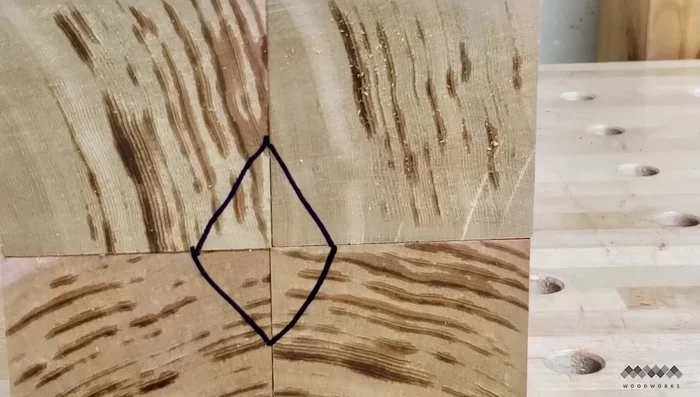
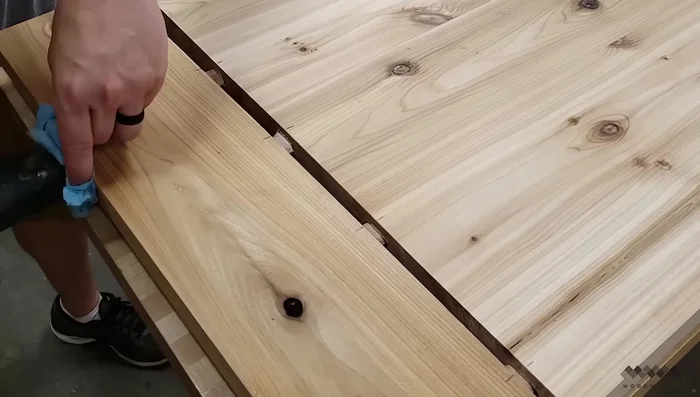
- fold pairs of boards, run them across the jointer on edge, then unfold. Repeat for all board pairs.
- use biscuits or dominoes for extra alignment.)
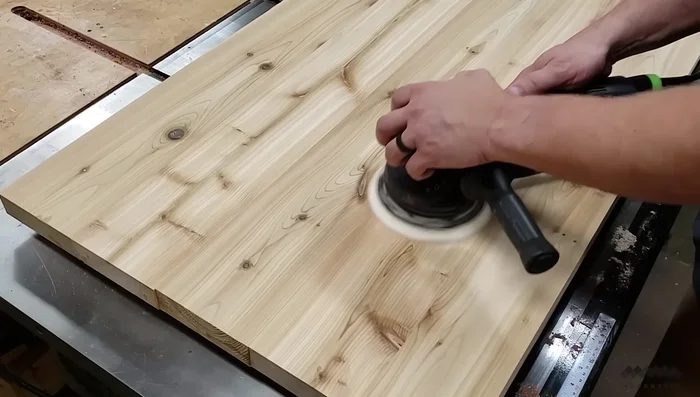
- Sand the tabletop with 80, 120, and 150 grit sandpaper.
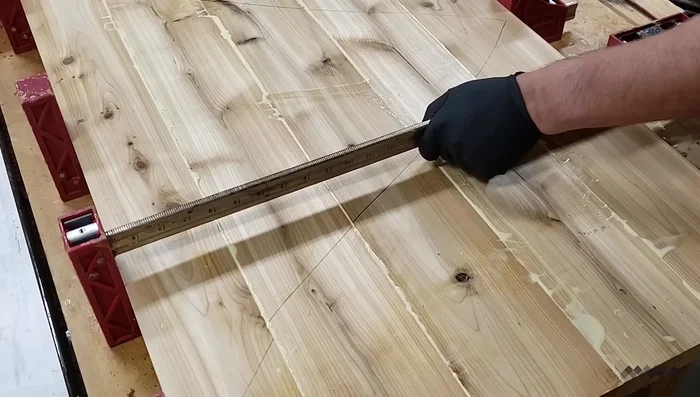
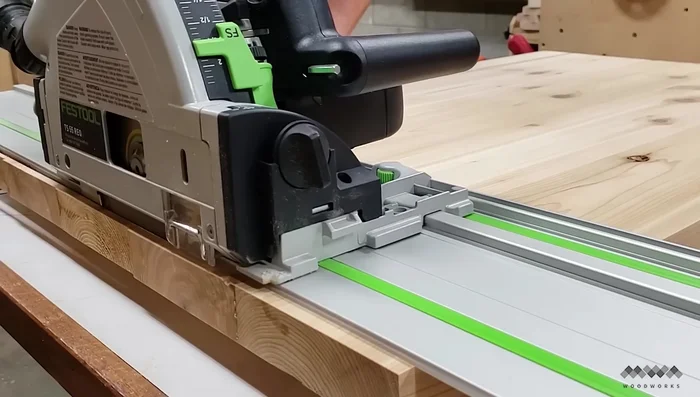
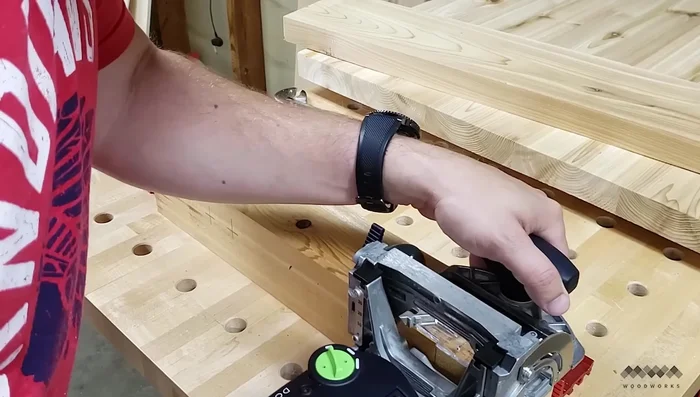
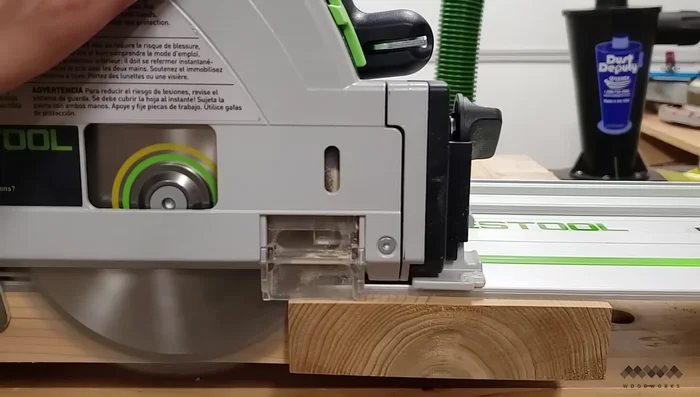
- Trim the ends of the tabletop flush with the track saw.
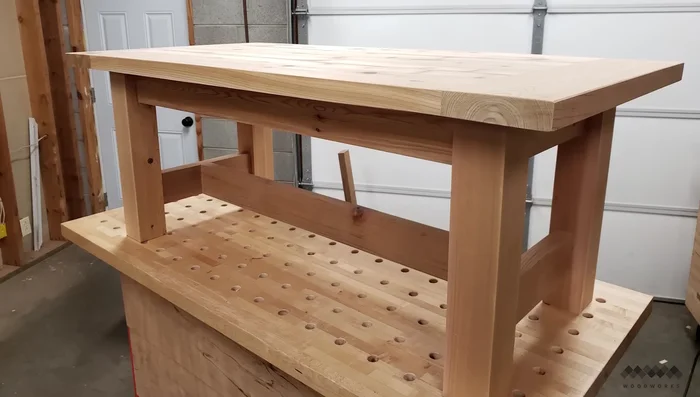
Creating the Seamless Tabletop Constructing the Table Base
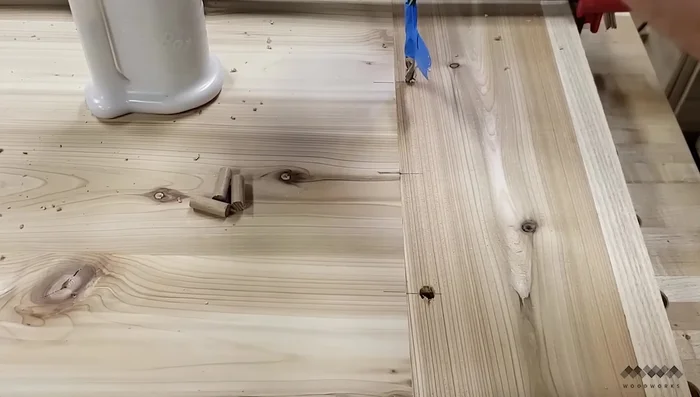
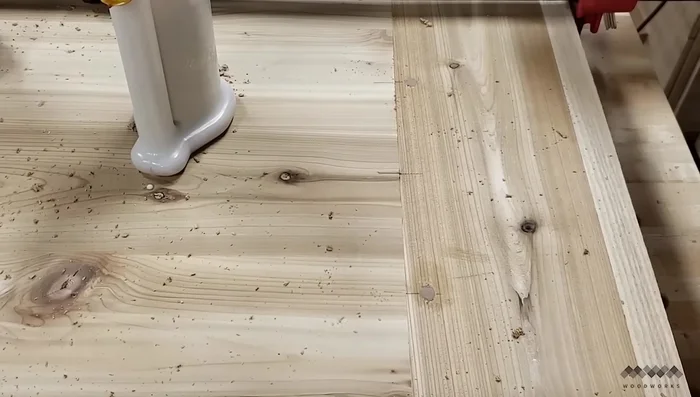
- Cut joinery (dominoes or dowels) for the table base.
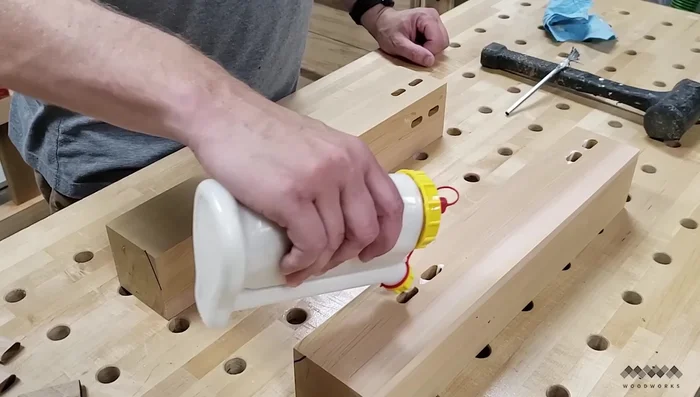
- Assemble the table base, using glue and a mallet to tap in the dominoes.
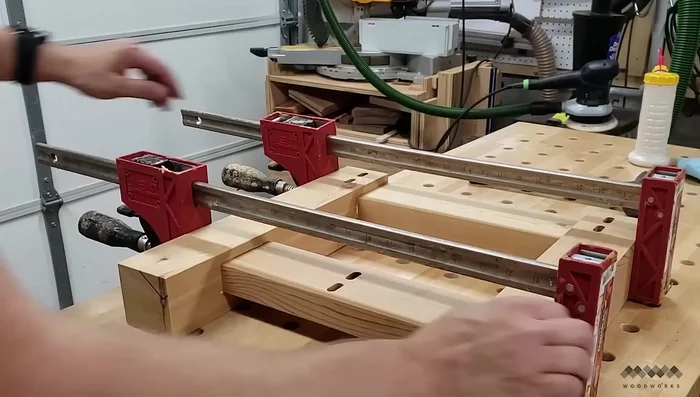
- Clamp the base to ensure tight joints.
- Add cleats to the frame with glue for attaching the tabletop.
Constructing the Table Base Adding Breadboard Ends
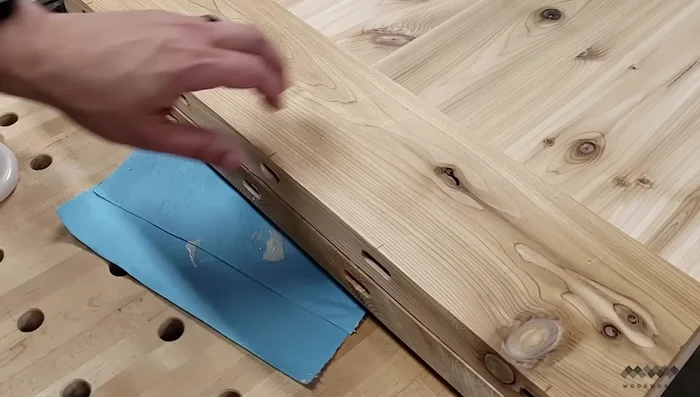
- Add breadboard ends to the tabletop using dominoes, leaving the center mortise unglued to allow for wood movement.
- Clamp the breadboard ends, using a scrap piece of wood to distribute pressure evenly.
- Add dowels to the breadboard dominoes (except the center one) for additional stability.
- Trim dowels flush.
Adding Breadboard Ends - Trim oversized breadboards flush with the track saw.
Adding Breadboard Ends Finishing Touches
- Break the edges of the tabletop with a block plane.
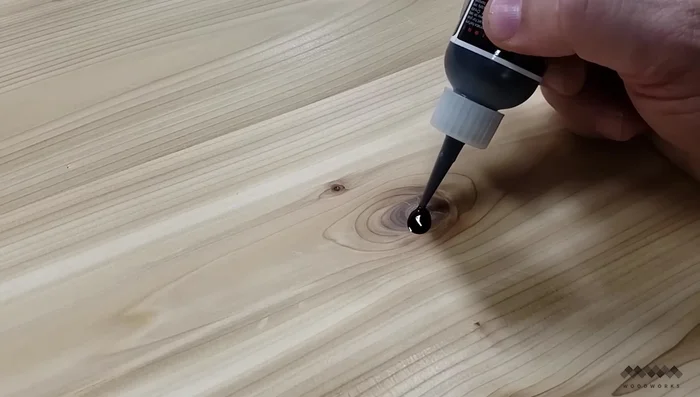
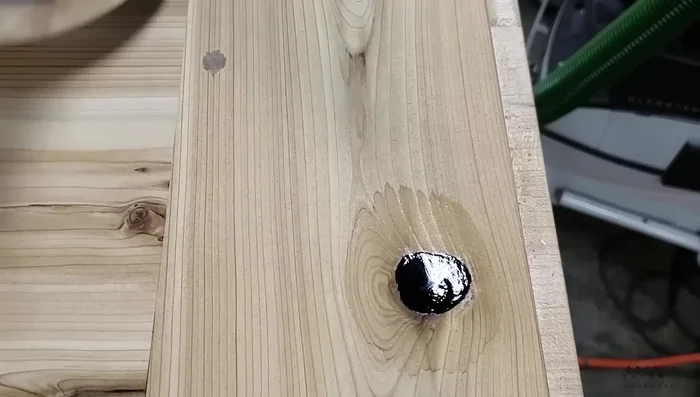
- Fill knots and checks with CA glue and activator.
- Sand to remove excess glue.
- Screw the tabletop to the base using the cleats.
Finishing Touches - Finish with a clear epoxy sealer and spar varnish.
Finishing Touches


Read more: Build a Sag-Proof Wood Fence Gate: The Ultimate DIY Guide
Tips
- Use Western Red Cedar for its rot resistance and lightweight nature.
- The jointer technique creates perfectly matched glue joints, even with an imperfect jointer fence.
- Use Titebond 3 glue for outdoor projects due to its water resistance.
- Elongate mortises on breadboard ends to allow for wood expansion and contraction.