Transform your child's playroom into an enchanting magical woodland, a whimsical haven brimming with creativity and wonder! Imagine tiny toadstools sprouting from the carpet, leafy branches adorning the walls, and a tree trunk serving as a unique storage solution. This isn't just a dream; it's a completely achievable DIY project, perfect for adding a touch of enchantment to your little one's world without breaking the bank. We'll be guiding you through a magical metamorphosis, turning a mundane space into a captivating forest retreat where imaginative adventures unfold daily.
Get ready to roll up your sleeves and unleash your inner artist because this magical woodland playroom makeover is about to begin! From crafting whimsical woodland creatures to painting enchanting murals, we'll walk you through each step with easy-to-follow instructions and inspiring visuals. Prepare for a journey filled with fun, creativity, and the rewarding experience of building a truly special space for your child – so let's dive into the step-by-step process and create a playroom your child will adore!
Preparation and Safety Guidelines
- Futon cover
- Foam mats
- Rug
- Carpet tape
- Vinyl adhesive stickers
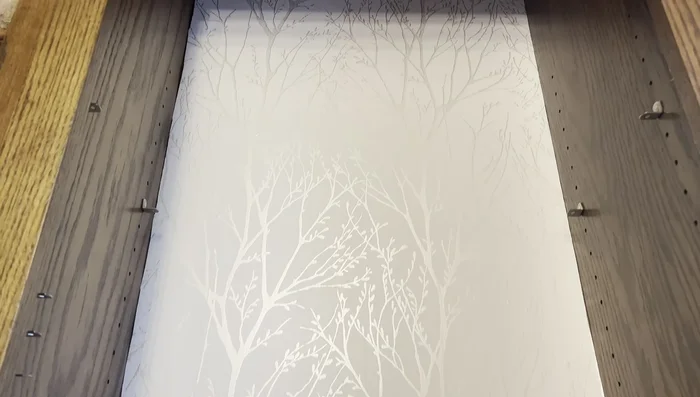
- Removable adhesive wallpaper
- Yellow swing
- Trunk
- White backdrop
- Mushroom stickers
- Shelves
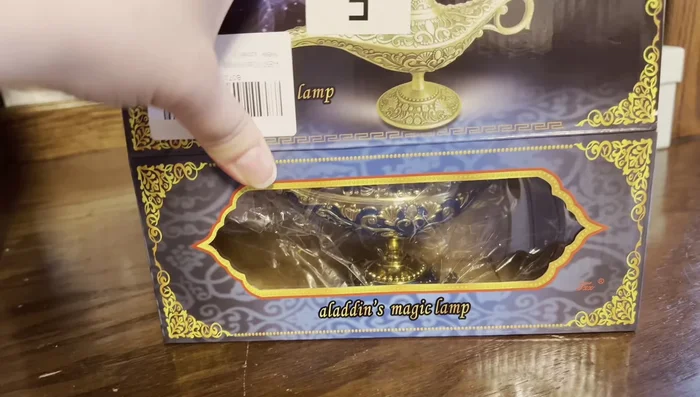
- Aladdin's Genie lamp
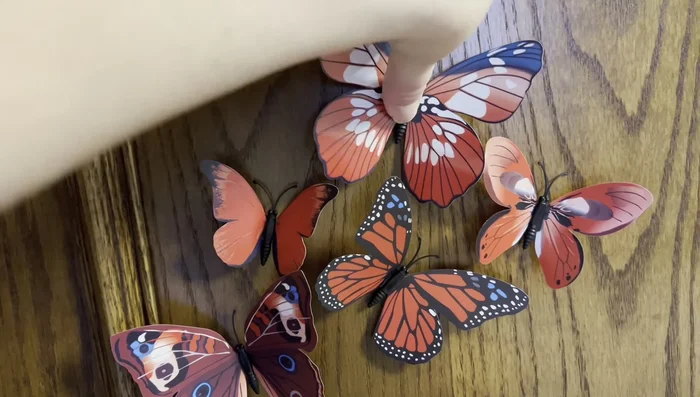
- 3D butterfly stickers
- Curtains
- Metal frame house
- Rainbow canopy
- Rainbow baskets
- Hot air balloons lanterns
- Rainbow Camp painting
- LED lights
- Lighting split
- Glass bulbs
- Tree branch
- Coconut oil (or avocado/olive oil)
- String lights
- Hanging flowers
- Birds
- Shadow box
- Fairy lights
- Moss
- Fairy house and gate
- Glass
- Quartz crystals
- Fairies
- Glitter
- Rainbow effect bulbs
- Disney crowns
- Princess dresses
- Always supervise young children in the playroom, especially around small parts or potentially hazardous DIY elements (e.g., sharp objects, loose paint).
- Ensure all paints, varnishes, and other craft materials used are non-toxic and age-appropriate. Check labels carefully.
- Secure any shelving units or hanging decorations firmly to the wall to prevent tipping or accidental injury.
Step-by-Step Instructions
Lighten and Prep the Room
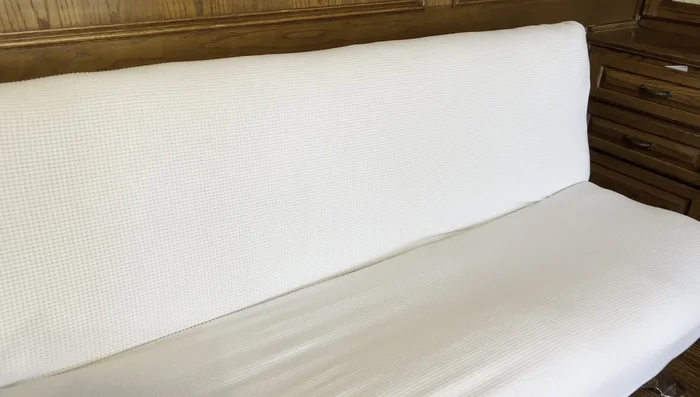
- Brighten the space by adding a futon cover to the couch.
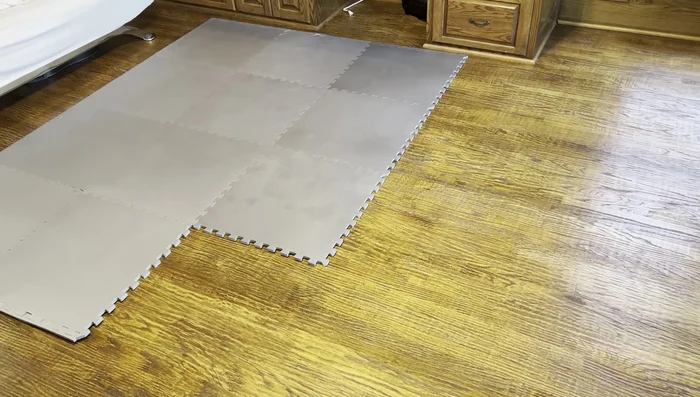
- Protect the floor and prevent breakage with foam mats under a rug, secured with carpet tape.
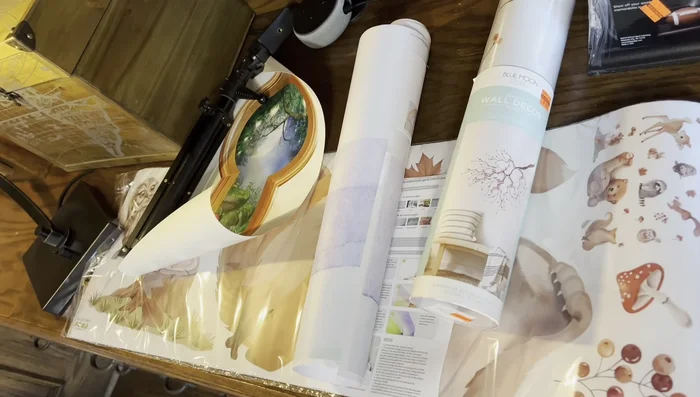
- Add vinyl adhesive stickers and removable adhesive wallpaper to lighten and decorate the walls.

Lighten and Prep the Room Add Whimsical Elements
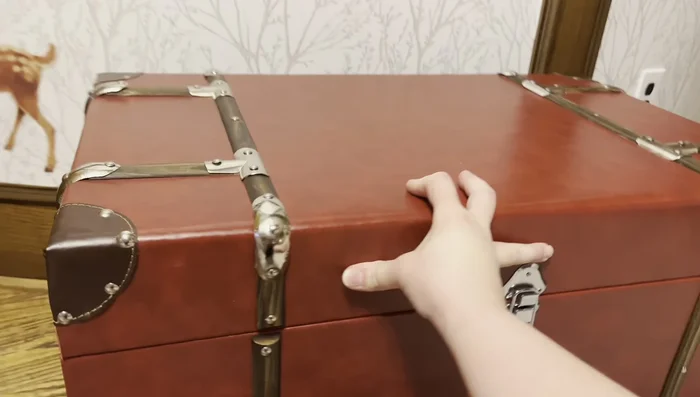
- Incorporate a yellow swing and a trunk to enhance the whimsical atmosphere.
- Add a white backdrop to built-ins and decorate with mushroom stickers in a staggered pattern for shelf placement.
- Incorporate themed decor, such as an Aladdin's Genie lamp and pictures, to enhance the Disney theme.
- Add 3D butterfly stickers in a rainbow pattern to the wall.
Add Whimsical Elements Create a Reading Nook
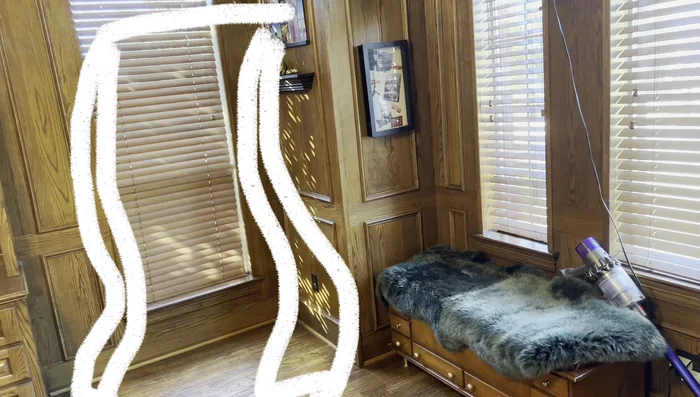
- Create a reading nook with a house and curtains to brighten the space.
Create a Reading Nook Improve Lighting
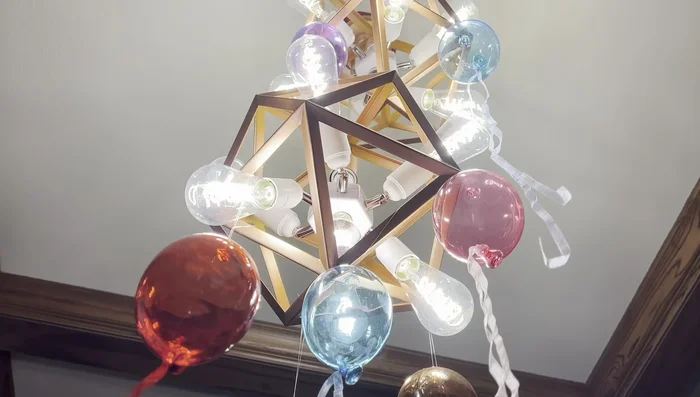
- Add lighting using a lighting split with LED lights and glass bulb decorations.
Improve Lighting
Read more: Build a Giant Toy Box: DIY Playroom Organization
Tips
- Use coconut oil or similar to polish tree branches for a DIY project.
- Use string lights to anchor flowers to tree branches for a whimsical decoration.
- Create a fairy garden in a shadow box using fairy lights, moss, small houses, glass pathways, crystals and fairies.
- Use glitter to enhance light reflection and add magic to the fairy garden.
- Consider adding rainbow effect bulbs for an interesting effect.