Tired of plain, boring picture frames? Ready to elevate your home décor with a touch of personalized flair? Then prepare to be amazed by the transformative power of simple crafting! This guide will show you how to create stunning, three-dimensional frame decorations using readily available materials like vinyl stickers and paint pens. Forget expensive, mass-produced artwork – you'll be crafting unique, eye-catching pieces that reflect your individual style and add a vibrant pop to any room. This project is surprisingly easy, requiring minimal skill and even less expense, making it perfect for beginners and seasoned crafters alike.
Transforming a simple frame into a work of art is easier than you think! We'll walk you through a fun and rewarding step-by-step process, guiding you from selecting your materials to adding those final, impressive details. Get ready to unleash your creativity and discover how a few simple supplies can dramatically enhance your picture frames, transforming them from ordinary to extraordinary.
Preparation and Safety Guidelines
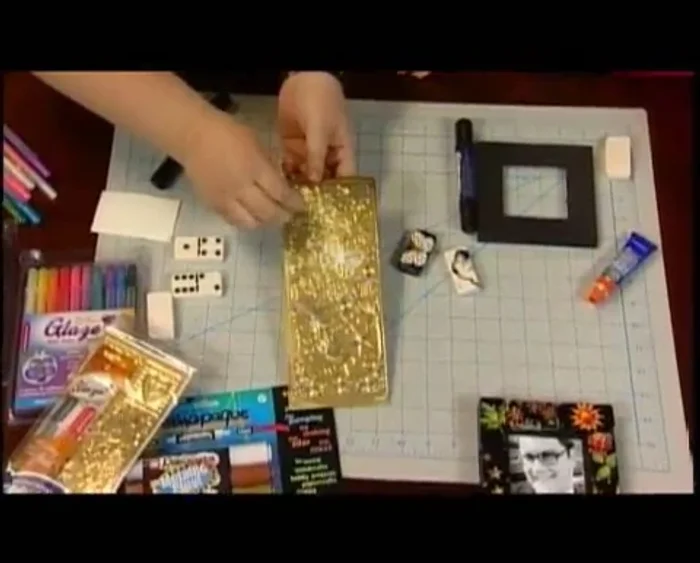
- Dominoes (blank side)
- Vinyl Stickers (laser-cut)
- Paint Pens (with fine and broad tips)
- Ruler (optional)
- Always work in a well-ventilated area, especially when using paint pens, to avoid inhaling fumes.
- Supervise children closely if they are assisting with the project to prevent accidental ingestion of small vinyl sticker pieces or paint.
- Allow paint to dry completely before handling the frame to avoid smudging or damaging the design.
Step-by-Step Instructions
Prepare the Surface
- Flip the domino to its blank side.
Apply and Secure the Sticker
- Peel a vinyl sticker and place it onto the domino. Fold over any overhanging edges.

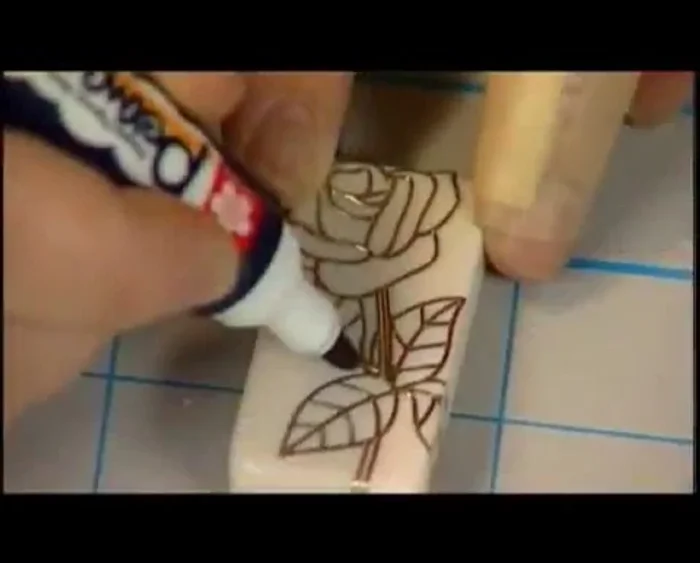
Apply and Secure the Sticker Outline the Sticker
- Outline the sticker using the fine-tipped paint pen. Work carefully to stay within the lines, like taping off a wall before painting.
Outline the Sticker Fill in the Background
- Use the broad-tipped paint pen to fill in the remaining areas. Make broad strokes, taking advantage of the pre-outlined shape.
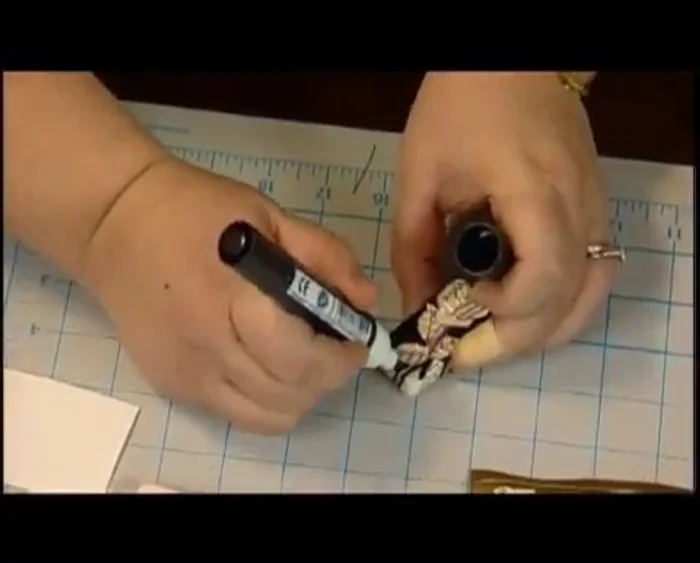
Fill in the Background Add Color to Cutouts
- Use a second pen, suitable for non-porous surfaces, to add color within the sticker’s cutouts.
Blend Colors in Cutouts
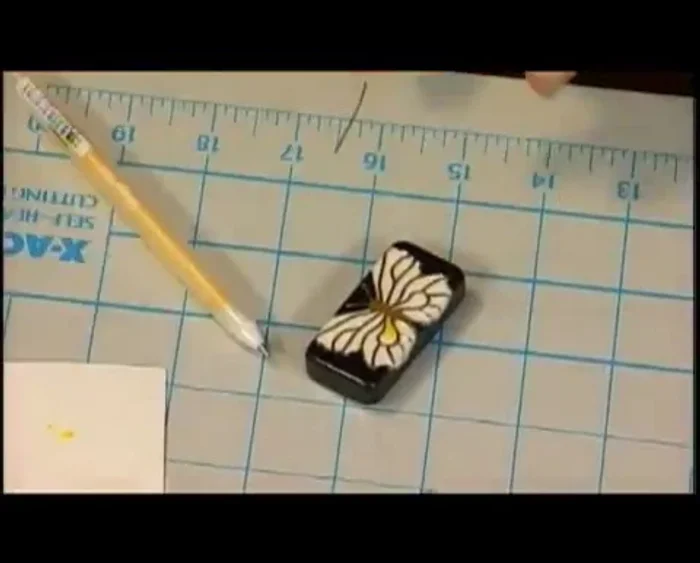
- Create color pools in each cutout by layering different colors while the paint is still wet. Experiment with color blending!
Blend Colors in Cutouts
Read more: DIY Blender from a Broken Beyblade Launcher!
Tips
- Don't worry about paint going slightly onto the stickers; the pigment-based pens are permanent, but it's often unnoticeable.
- Tilt the pen to easily cover the sides of the sticker.
- This activity is great for kids!
- It's generally better to start with lighter colors and add darker shades as needed.
- Yellow is a great color to use because it blends well with other colors.