Spring-loaded hinges offer a convenient and often essential feature in many applications, from cabinet doors to lift-up tables. Their smooth, self-closing action enhances both functionality and aesthetics, but achieving the perfect balance of tension can sometimes be tricky. A hinge that's too tight slams shut aggressively, potentially damaging the door or frame, while one that's too loose fails to close properly, leaving a gap or dangling open. Understanding how to adjust these hinges is crucial for maintaining their effectiveness and prolonging their lifespan. Improper adjustment can lead to premature wear and tear, resulting in costly repairs down the line.
This guide will walk you through the process of adjusting spring-loaded hinges, offering a clear and comprehensive step-by-step process to help you achieve the ideal level of tension for your specific application. Whether you're tackling a creaky cabinet door or a stubbornly resistant lift-up mechanism, follow along to learn how to fine-tune your spring-loaded hinges for optimal performance.
Preparation and Safety Guidelines
- Safety glasses
- Hex wrench
- Cross pin
- Snipping pliers
- Always wear safety glasses to protect your eyes from potential spring release or flying debris.
- Before attempting any adjustments, relieve the spring tension completely. This usually involves slightly opening the hinge to release the pressure.
- If you are unsure about any step, consult a professional. Incorrect adjustment can damage the hinge or cause injury.
Step-by-Step Instructions
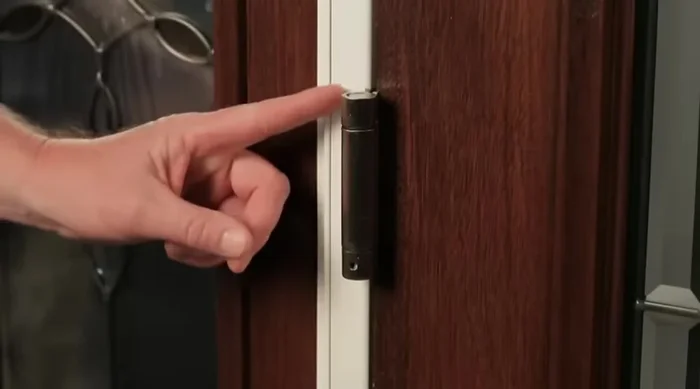
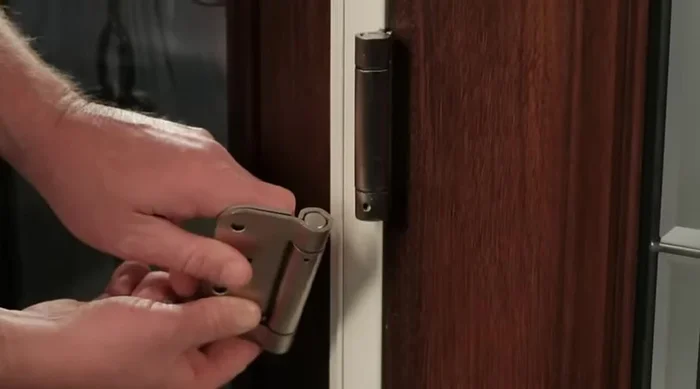
Identify the Hinge
- Identify the spring-loaded hinge (usually the middle hinge, but could be the bottom depending on door configuration).

Identify the Hinge Locate Adjustment Point
- Locate the hex adjustment hole (on top or bottom of the hinge depending on the door's handing).
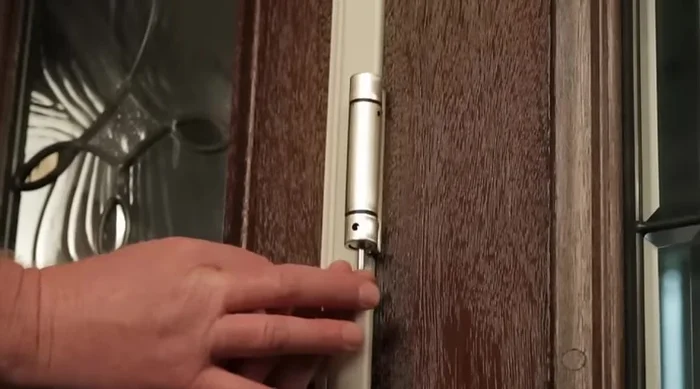
Locate Adjustment Point Insert Allen Wrench & Adjust Tension
- With the door closed, insert the Allen wrench into the hex adjustment hole.
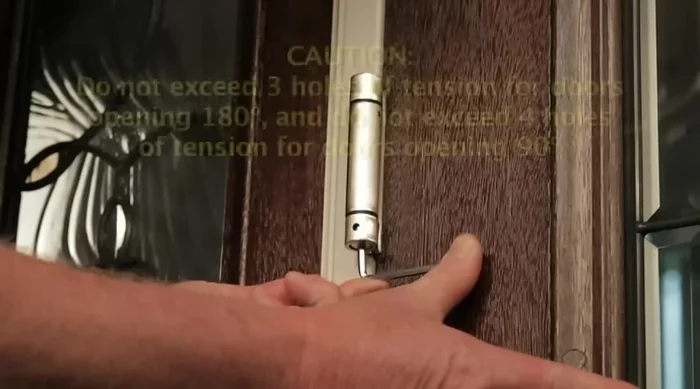
- Turn the hex key clockwise (if the adjustment end is up) or counterclockwise (if the adjustment end is down) to adjust the spring tension.
- Adjust to minimum tension needed to close and latch the door. Too much tension reduces hinge lifespan.
Insert Allen Wrench & Adjust Tension Secure with Cross Pin & Test
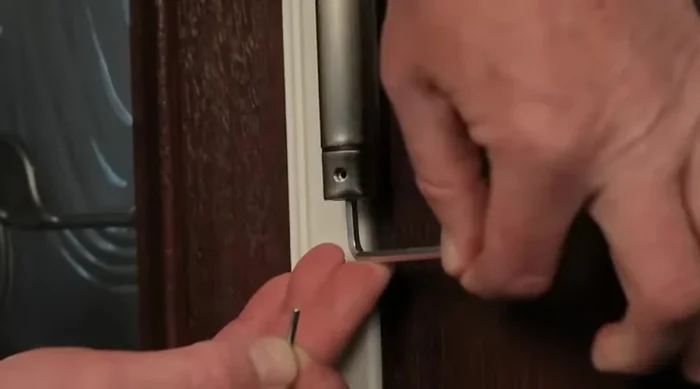
- Insert the cross pin when the hole is in the center stud and the hinge knuckles line up. Slowly release pressure on the hex key.
- Remove the hex key and test the door's closing action. Repeat steps 2-6 to increase tension if necessary.
Secure with Cross Pin & Test Finalize and Secure
- Once the adjustment is complete, snip off the cross pin at the break away to make the adjustment tamper-proof.
Finalize and Secure


Read more: 3M Thinsulate Window Film Installation: A Step-by-Step Guide
Tips
- Always wear safety glasses.
- Adjust the spring hinge to the minimum tension required.
- Too much tension will reduce the life of the spring.