Are you tired of wrestling with an unreliable or inefficient AO Smith thermostat? Is your heating and cooling system costing you more than it should? Replacing your thermostat can be a surprisingly simple and cost-effective way to improve your home's comfort and energy efficiency. A new, programmable thermostat can offer precise temperature control, leading to significant savings on your energy bills over time, as well as enhanced convenience. Furthermore, tackling this project yourself can save you money on professional installation fees.
This DIY guide provides a comprehensive, step-by-step walkthrough on how to replace your AO Smith thermostat, empowering you to take control of your home's climate control system. We'll cover everything from safely disconnecting the power to wiring the new thermostat and performing a final test. Let's get started with the detailed instructions below.
Preparation and Safety Guidelines
- 3/4 wrench
- 7/8 wrench
- 7/16 wrench
- 3/8 wrench
- Monkey wrench
- Gas seal
- Teflon tape
- Flex pipe
- Always turn off the power to the thermostat at the breaker box before beginning any work. Failure to do so could result in electric shock.
- Take photos of the wiring connections before disconnecting anything. This will help you reconnect everything correctly later.
- If you are uncomfortable working with electricity or are unsure about any step, consult a qualified electrician. Improper installation can damage your system or create a fire hazard.
Step-by-Step Instructions
Prepare the Water Heater
- Drain the water from the water heater.
- Turn off the gas supply.

Prepare the Water Heater Disconnect Components
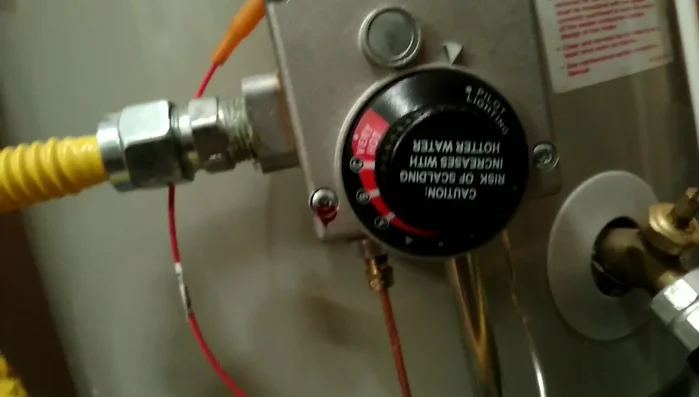
- Disconnect the gas line, pilot line, and thermocouple.
Disconnect Components Remove Old Thermostat
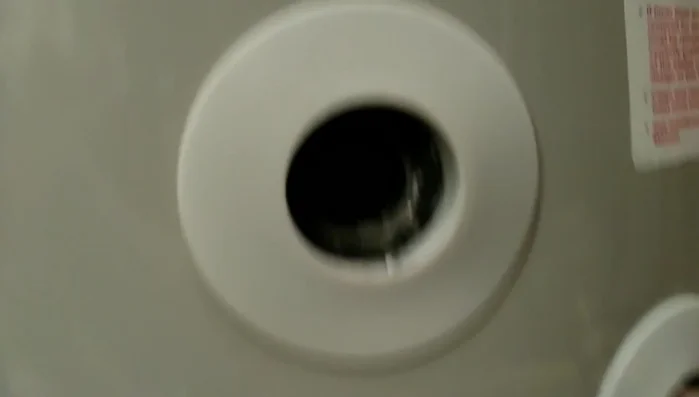
- Remove the old thermostat.
Remove Old Thermostat Prepare New Thermostat
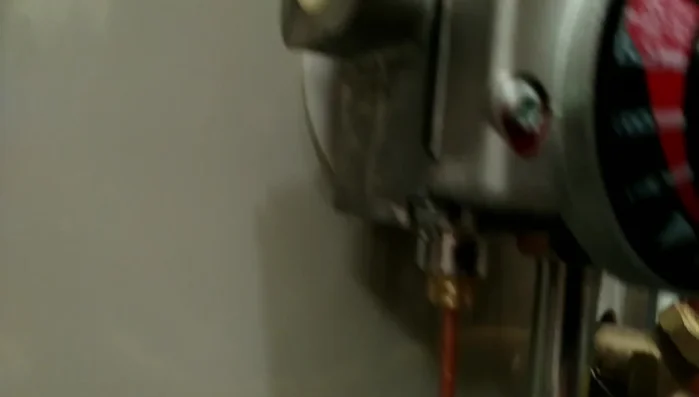
- Prepare the new thermostat for installation (apply thread tape).
Prepare New Thermostat Install New Thermostat
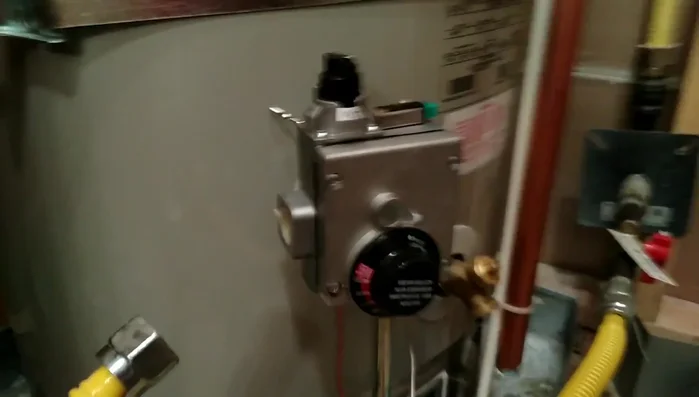
- Install the new thermostat.
Install New Thermostat Reconnect Gas Line
- Reconnect the gas line.
Reconnect Gas Line Restore Water Supply
- Turn the water back on and refill the tank.
Restore Water Supply Relight Pilot and Turn on Gas
- Turn on the gas and relight the pilot light.
Relight Pilot and Turn on Gas Test the New Thermostat
- Test the thermostat.
Test the New Thermostat


Read more: Fixing a Leaky Toilet Tank: A Step-by-Step Guide
Tips
- Opening multiple faucets can help speed up the draining process.
- The old thermostat may be difficult to remove; use a wrench on the whole body for better leverage.
- Inspect the old thermostat for any unusual findings (like leftover plastic sheeting).
- Ensure proper gas line connections and test for leaks using soapy water.