Installing a kitchen sink drain might seem daunting, but with the right tools and a clear understanding of the process, it's a manageable DIY project. A properly installed drain is crucial for maintaining a functional and hygienic kitchen, preventing leaks and unpleasant odors. A faulty drain can quickly become a major headache, leading to costly repairs and potential water damage. This is why understanding how to install it correctly is so important, whether you're renovating your kitchen or simply replacing an old, worn-out system.
This guide provides a comprehensive, step-by-step approach to installing your kitchen sink drain, ensuring you achieve a secure and leak-free installation. We'll walk you through each stage, from assembling the components to connecting the drain to the waste pipe, leaving you with a perfectly functioning and aesthetically pleasing sink. Let's get started with the first step in our detailed, easy-to-follow instructions.
Preparation and Safety Guidelines
- Pliers (Plumber's pliers)
- Receptacle (bucket or basin)
- Teflon tape
- Always turn off the water supply to the sink before beginning any work. Failure to do so can result in flooding and water damage.
- Wear appropriate safety gear, including gloves to protect your hands from sharp edges and chemicals.
- If you are unsure about any step of the installation process, consult a qualified plumber. Incorrect installation can lead to leaks and other plumbing issues.
Step-by-Step Instructions
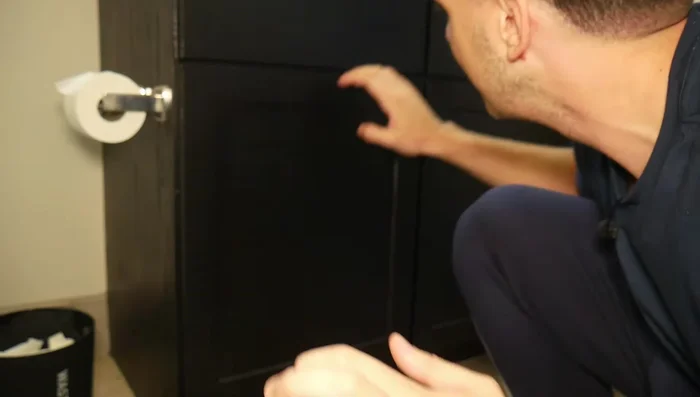
Prepare the Work Area
- Clear the area around the sink.

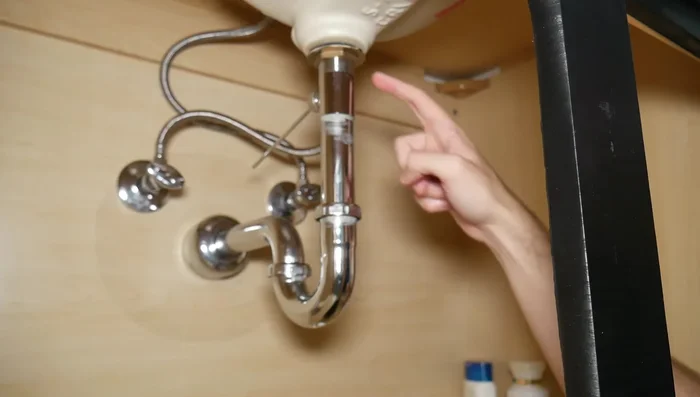
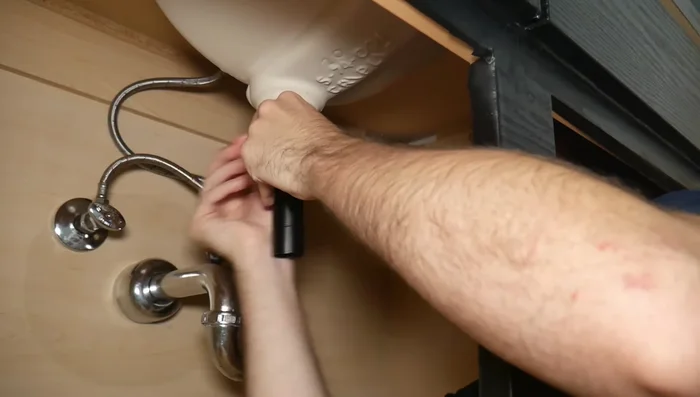
Prepare the Work Area Remove the Old Drain
- Loosen and remove the nuts connecting the old drain.
- Remove the old drain assembly, carefully collecting any spilled water.
- Remove the bottom bit of the old drain (to reuse the tailpiece for the U-pipe connection).
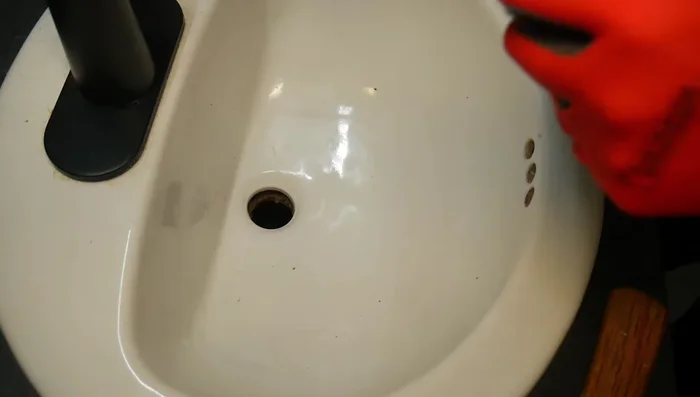
Remove the Old Drain Clean the Sink Drain
- Clean the sink drain opening thoroughly.
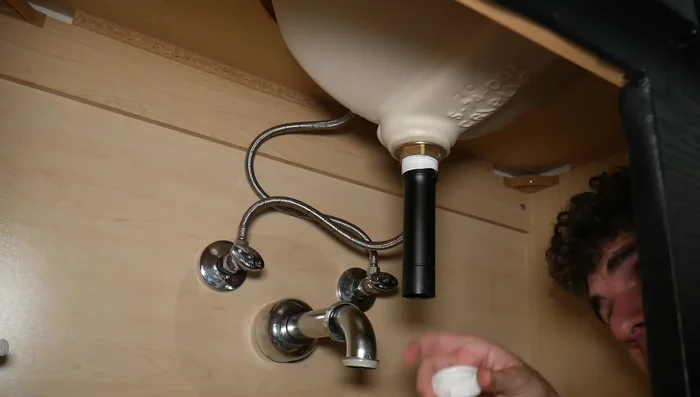
Clean the Sink Drain Prepare the New Drain
- The video uses silicon gaskets, suggesting plumber's putty may not be strictly necessary).
Prepare the New Drain Install the New Drain Tailpiece
- Connect the new drain tailpiece to the sink drain opening.
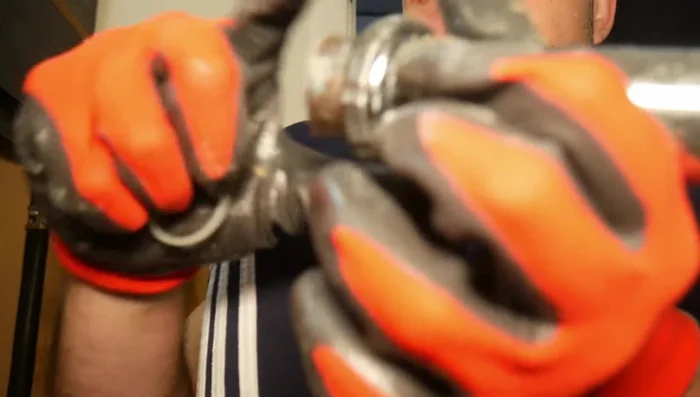
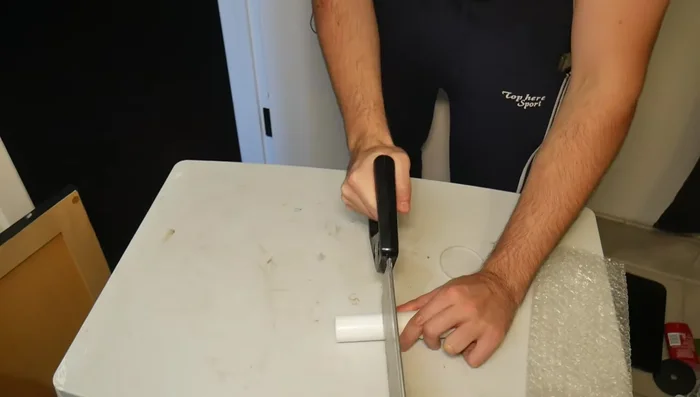
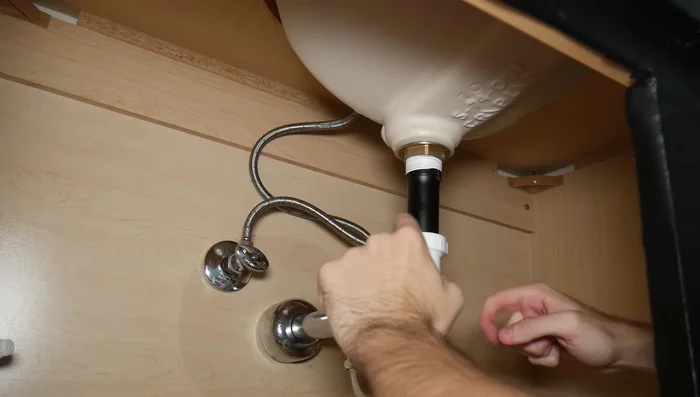
Install the U-Pipe and Extender (if needed)
- Add the U-pipe (possibly with an extender if needed, as shown in the video).
- If using an extender, cut it to the correct length and attach the nut.
- Connect the extender and tighten the nut securely.
Install the U-Pipe and Extender (if needed) Install the Drain Cap and Strainer
- Install the drain cap and the basket strainer.
- Tighten the plastic parts by hand (avoid over-tightening with pliers to prevent stripping).
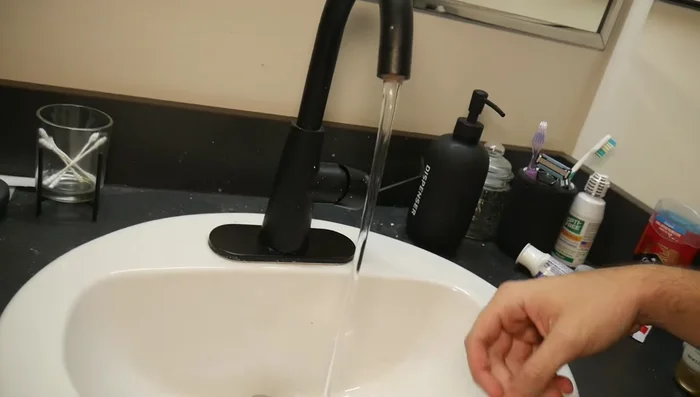
Install the Drain Cap and Strainer Test for Leaks
- Test for leaks by running water.
Test for Leaks


Read more: Fixing a Leaky Toilet Tank: A Step-by-Step Guide
Tips
- Use a container to catch water when removing the old drain.
- Clean the old drain components before discarding to reuse parts if needed.
- Use Teflon tape for metal-to-metal connections to ensure a watertight seal.
- Don't over-tighten plastic parts. Use hand tightening to avoid stripping.