Adding an outdoor faucet to your home is a fantastic way to enhance convenience and curb appeal, simplifying tasks like watering plants and washing your car. Traditional copper piping can be expensive and difficult to work with, especially for DIY enthusiasts. A more accessible and affordable alternative is PEX piping, a flexible plastic tubing that's quickly gaining popularity for its ease of installation and durability. Its resistance to freezing and bursting makes it a particularly smart choice for outdoor applications, even in climates with harsh winters.
This guide provides a comprehensive, step-by-step approach to installing an outdoor faucet using PEX piping, transforming a potentially daunting plumbing project into a manageable weekend DIY endeavor. Let's dive into the detailed instructions and learn how to successfully install your new outdoor faucet using this efficient and reliable piping system.
Preparation and Safety Guidelines
- PEX piping
- Teflon tape
- transition fitting
- two wrenches
- PEX expansion tool
- caulk
- stainless steel screws
- copper pipe fitting
- flux
- solder
- one-nail clips (Talents)
- tube cutter
- Always turn off the main water supply before starting any work on your plumbing system. Failure to do so can result in flooding and property damage.
- Use appropriate safety glasses and gloves to protect yourself from potential injury during the cutting, bending, and connecting of PEX pipes. Sharp edges and pressurized water are hazards.
- Ensure proper pipe support and secure connections to prevent leaks and future problems. Loose or improperly supported pipes can cause failure and water damage.
Step-by-Step Instructions
Prepare the Sillcock
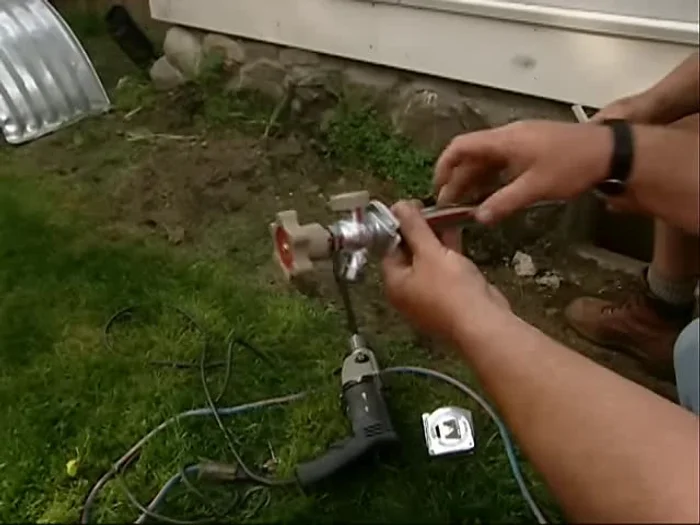
- Prepare the frost-proof sillcock. The shut-off point is inside to prevent freezing.

Prepare the Sillcock Drill and Route Exterior PEX
- Drill a hole for the PEX tubing.
- Connect the PEX tubing to the outdoor sillcock using Teflon tape, a transition fitting, and two wrenches to ensure a watertight connection.
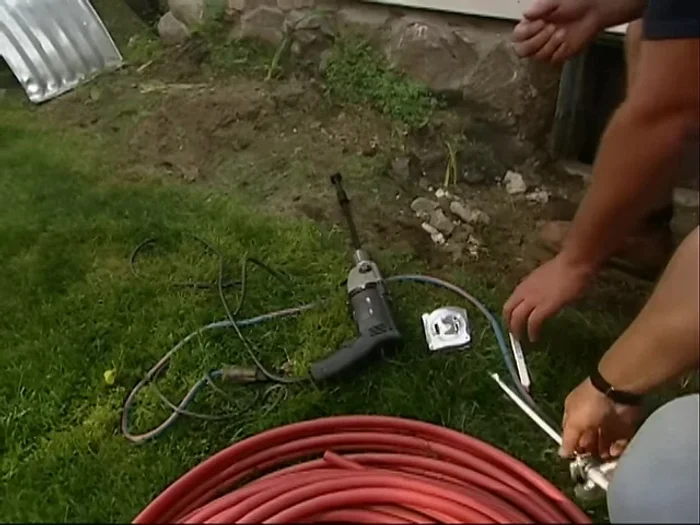
Drill and Route Exterior PEX Seal and Secure Exterior Connection
- Use a PEX expansion tool to expand the PEX pipe and connect it to the fitting. Apply caulk for a watertight seal. Secure with stainless steel screws.
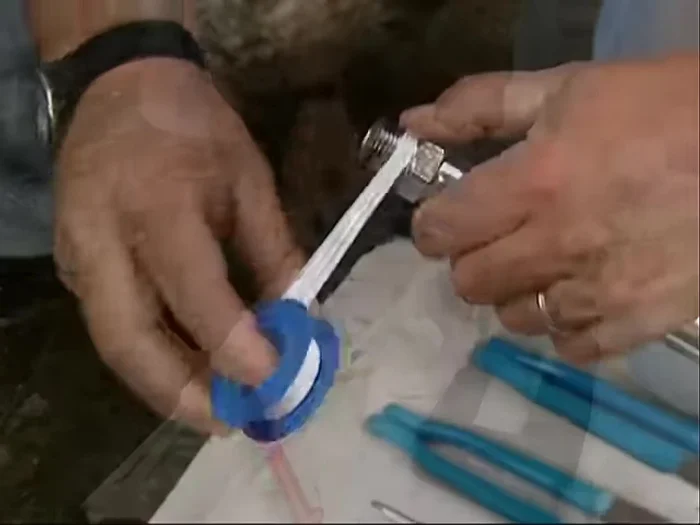
Seal and Secure Exterior Connection Interior PEX Connection
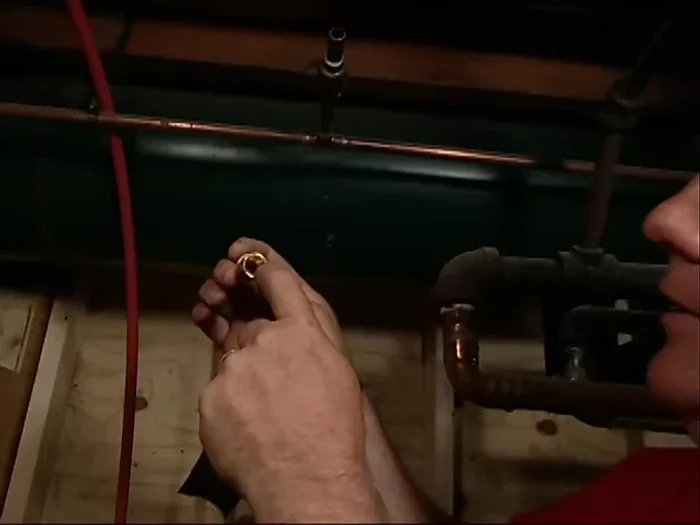
- Transition to the existing copper pipe inside using a fitting designed for the transition. Clean the surfaces, apply flux, and solder the fitting (solder the fitting first before attaching the PEX).
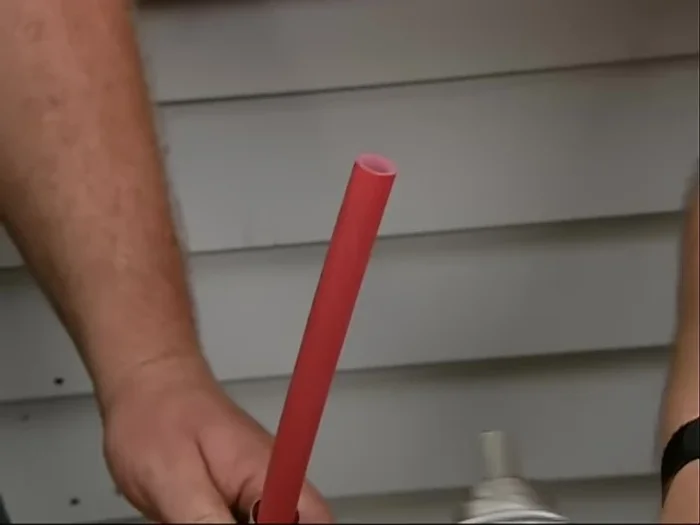
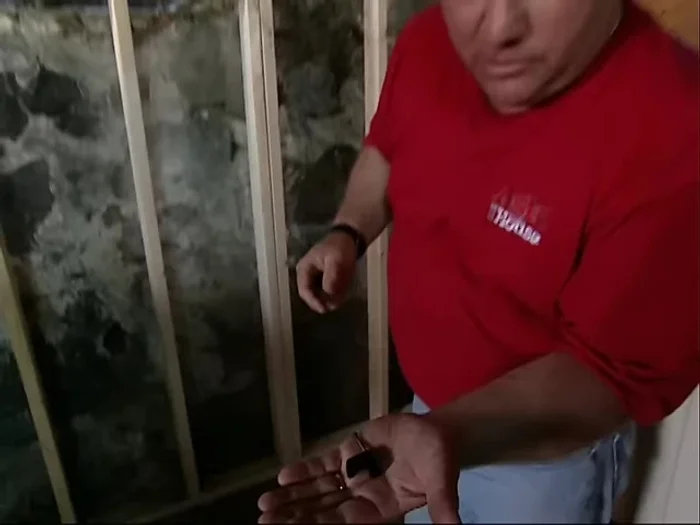
- Run the PEX tubing inside, securing it with one-nail clips (Talents).
Interior PEX Connection Final PEX Connection and Finishing
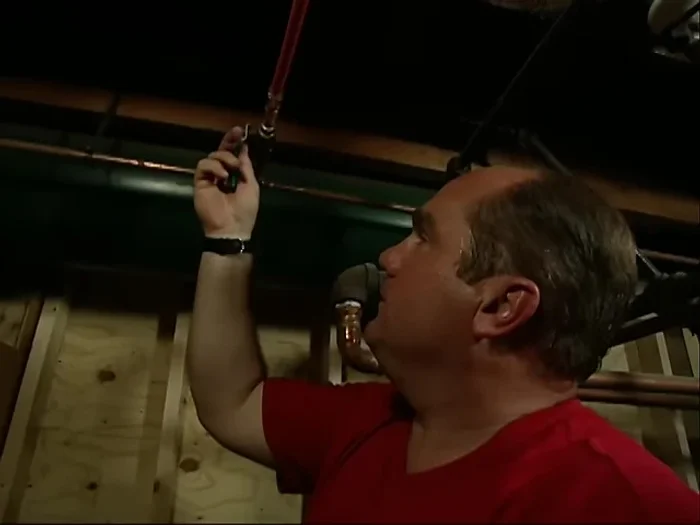
- Cut the PEX tubing to length. Apply the sleeve, expand the pipe using the expansion tool, and connect it to the final fitting.
- Attach the handle back to the valve and test the connection.
Final PEX Connection and Finishing
Read more: Fixing a Leaky Toilet Tank: A Step-by-Step Guide
Tips
- Always solder the transition fitting before attaching the PEX to prevent melting the PEX.
- Support the PEX tubing with one-nail clips to prevent sagging.