A drafty back door is more than just an annoyance; it's a significant source of wasted energy and discomfort, driving up your heating bills and leaving you shivering even on mild days. That persistent chill seeping through cracks and gaps around your door frame doesn't have to be a permanent fixture in your home. A well-installed new door or even strategic weatherstripping can dramatically improve insulation, making your home warmer, quieter, and more energy-efficient. Imagine cozy evenings without the constant battle against the cold.
This guide will take you through the process of transforming your drafty back door into a snug, energy-saving barrier. We'll cover everything from assessing your current door's condition and choosing the right replacement or weatherproofing solutions to the detailed step-by-step installation process, ensuring a professional-looking and effective result. Let's get started on your journey to a warmer, more comfortable home!
Preparation and Safety Guidelines
- Screwdriver
- Measuring Tape
- Saw
- Sheet Metal Screws
- Drill
- Plumber's Putty (or Adult Play-Doh)
- New Door with Glass Panel and Screen
- Always disconnect the power to any electrical components near the door before starting any work. This prevents electric shock and injury.
- Wear appropriate safety gear, including safety glasses and work gloves, throughout the installation process to protect yourself from potential hazards like sharp edges or falling debris.
- Ensure the door frame is structurally sound before beginning installation. If the frame is rotten or damaged, repair or replace it before installing a new door or weather stripping.
Step-by-Step Instructions
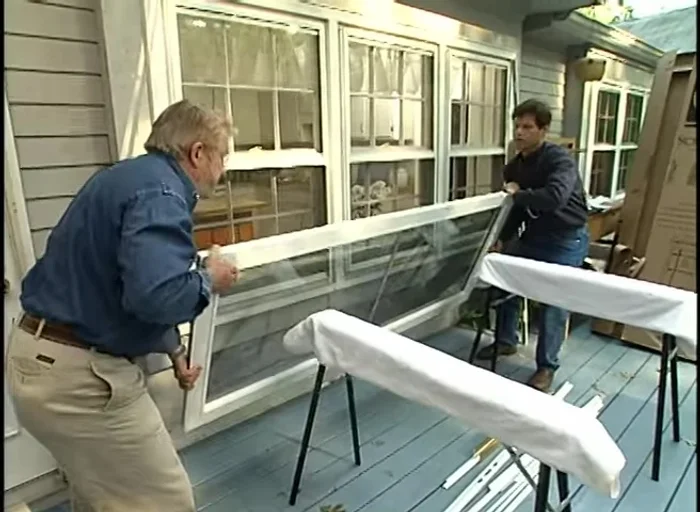
Door Removal and Measurement
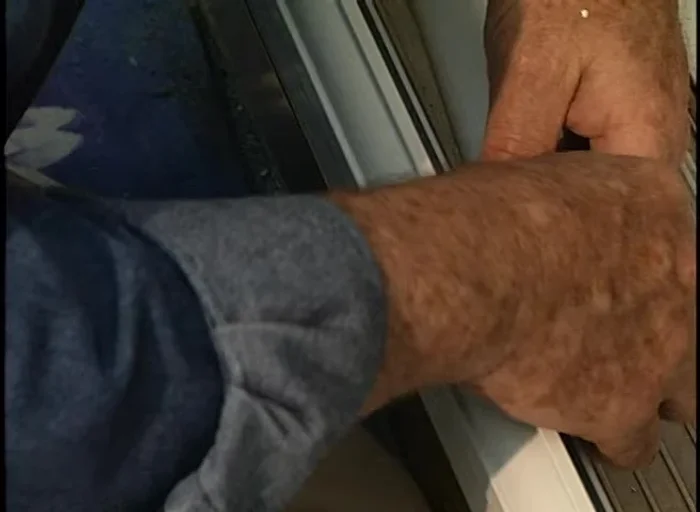
- Remove the old door.
- Measure the door opening height and width (30-36 inches wide, 81-82 inches high).

Door Removal and Measurement Purchase New Door
- Purchase a standard-sized replacement door.
Purchase New Door Prepare New Door and Hardware
- Remove shipping tabs and separate hardware using a muffin tin for organization.
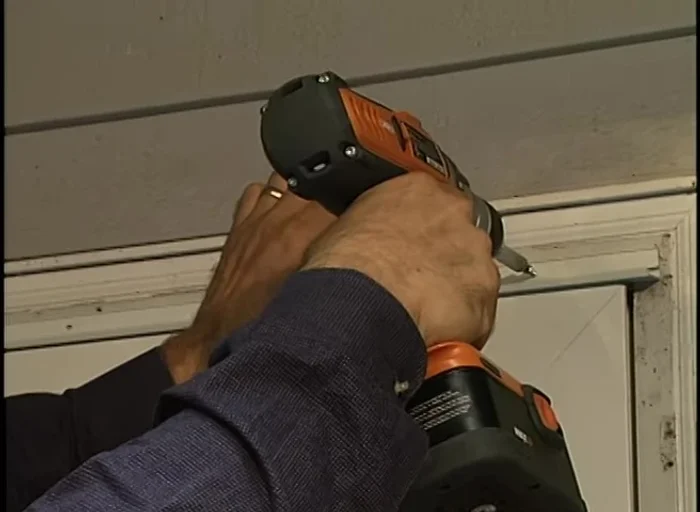
Prepare New Door and Hardware Install Hinge and Frames
- Mount the hinge frame to the door using sheet metal screws. Trim the hinge if necessary to match the door height.
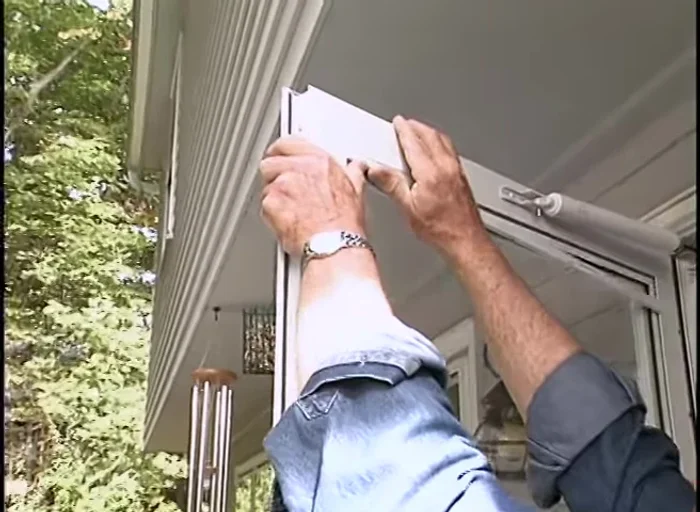
- Install the top mounting frame, followed by the side frames, securing them with screws.
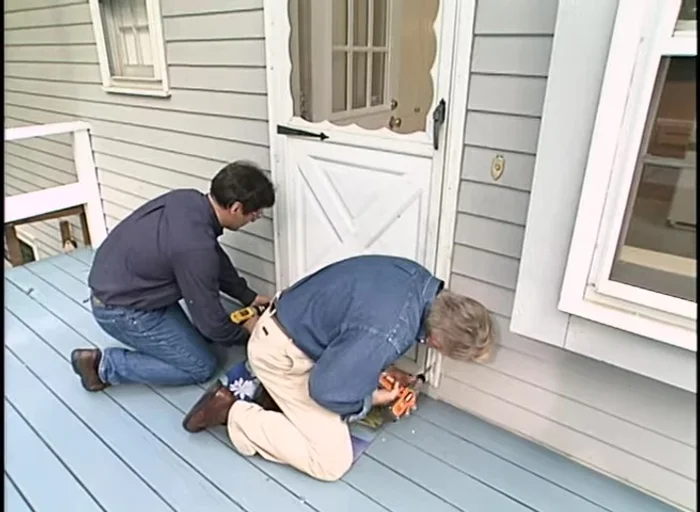
Install Hinge and Frames Install Bottom and Hardware
- Install the door bottom and secure it with screws.
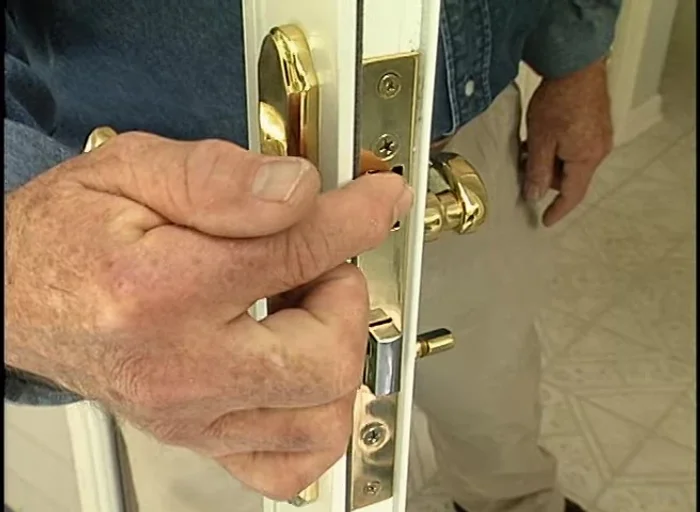
- Reinstall the door closer pin and latch set.
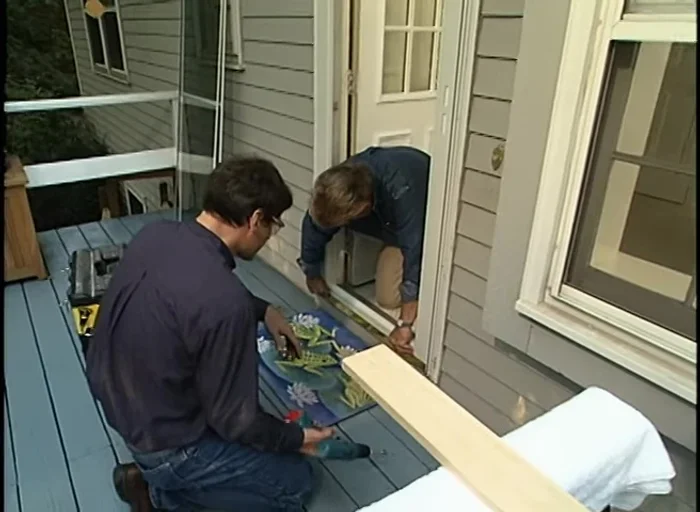
Install Bottom and Hardware Install Strike Plate
- Position the strike plate using plumber's putty to create an impression for accurate placement. Then screw the strike plate in place.
Install Strike Plate Install Glass and Screen
- Install the glass panel and screen.
Install Glass and Screen

Read more: 3M Thinsulate Window Film Installation: A Step-by-Step Guide
Tips
- Use a muffin tin to organize hardware for easier assembly.
- Use plumber's putty (or adult play-doh) to precisely position the strike plate.