Transforming your bathroom into a spa-like oasis often involves enhancing the lighting. A double light fixture can dramatically improve the functionality and ambiance, providing both task and ambient illumination for a more comfortable and stylish space. Poor bathroom lighting can be a significant drawback, making everyday tasks like applying makeup or shaving difficult and even hazardous. Upgrading to a brighter, more strategically placed fixture is a relatively simple DIY project that can yield significant improvements.
Installing a double light fixture, however, might seem daunting, but it's entirely manageable with the right guidance. This step-by-step guide will walk you through the process, providing clear instructions and helpful tips to ensure a safe and successful installation. Let's dive into the details and illuminate your bathroom!
Preparation and Safety Guidelines
- Circuit breaker
- Screwdriver
- Hole saw (4 inch)
- Hole saw bowl
- Stud finder (Wallabot DIY 2)
- Utility knife
- Wire nuts
- Drywall putty
- Drywall tape
- Paddle drill bit (1 inch)
- Scrap wood
- Low profile junction boxes
- 14 gauge three conductor wire
- Sandpaper
- Sponge
- Putty knife
- Paint
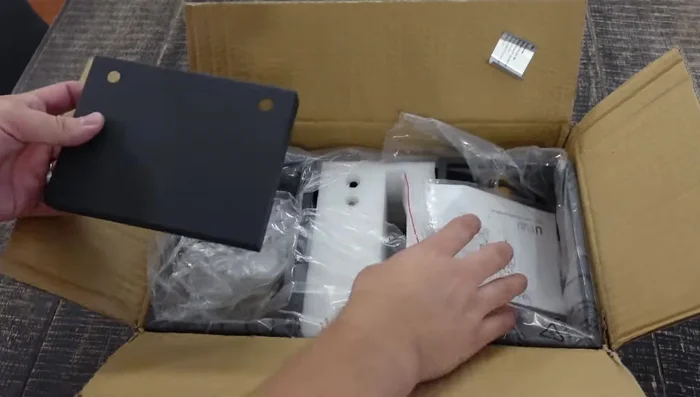
- Light fixtures
- Mounting plates
- Wago connectors (recommended)
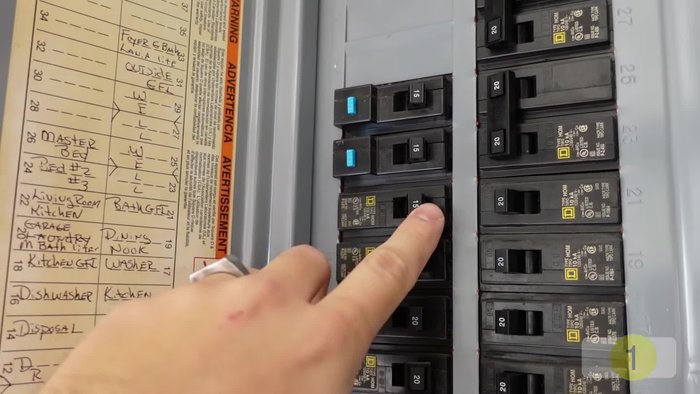
- Always turn off the power at the breaker box before starting any electrical work. Failure to do so can result in serious injury or death.
- Use appropriate safety glasses and work gloves to protect yourself from potential hazards such as sharp edges, broken glass, and electrical shocks.
- If you are not comfortable working with electricity, consult a qualified electrician. Improper wiring can lead to fire hazards and malfunctioning fixtures.
Step-by-Step Instructions
Preparation
- Turn off your circuit breaker and ensure it's worked before starting.
- Remove all light bulbs and remove the light fixture cover.
- Unscrew the back plate and remove all the wire nuts to remove the back plate.

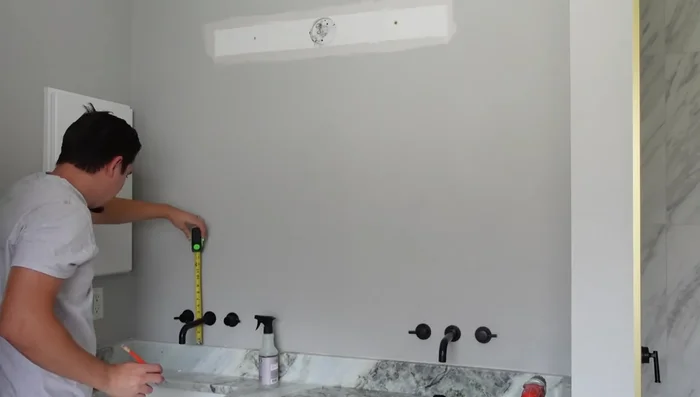
Preparation Planning and Measurement
- Measure where the new light fixtures will be placed (centered on mirrors/sink). Create cardboard templates for mirror placement to aid in fixture positioning.
Planning and Measurement Junction Box Removal and New Hole Creation
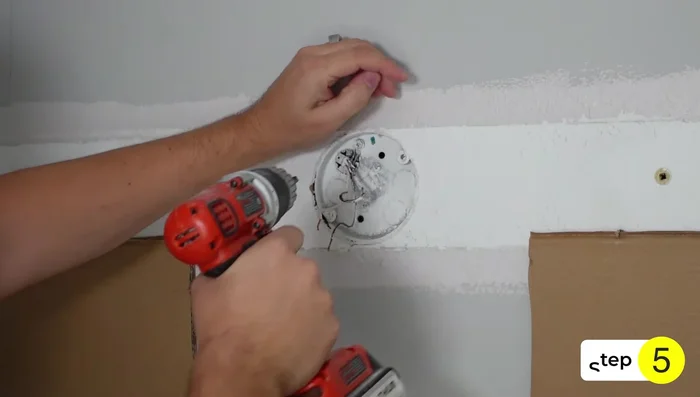
- Remove the old junction box by unscrewing it.
- Measure the exact center point of the new light fixture locations. Use a 4-inch hole saw and hole saw bowl to cut holes in the drywall.
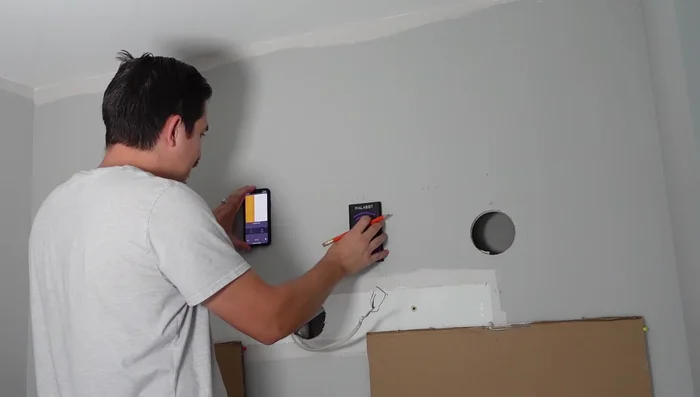
Junction Box Removal and New Hole Creation Stud Location and Drywall Cutting
- Use a stud finder to locate studs for wire routing. Draw a rectangle for the cutout and cut the drywall, drilling holes from the sides for easier access.
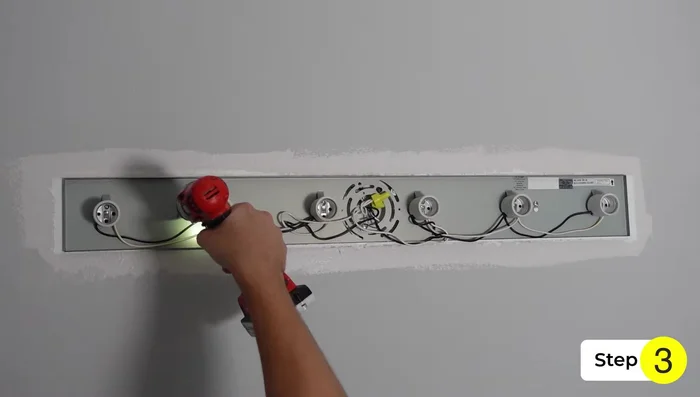
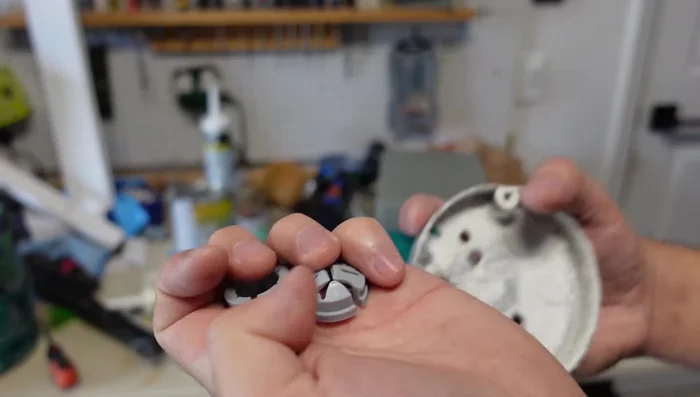
Stud Location and Drywall Cutting Installing Junction Boxes and Wiring
- Reuse or install new low profile junction boxes with wire clamps. Punch out circles on the clamps to allow wire passage. Drill holes in the studs for wire passage.
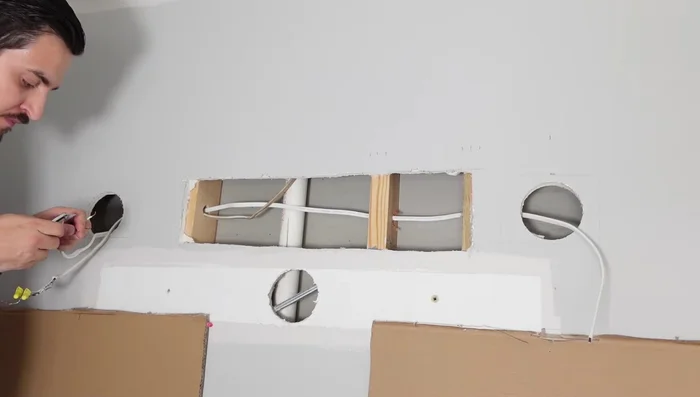
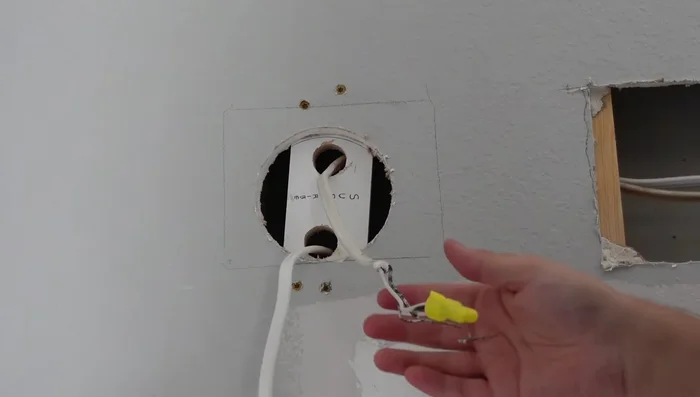
- Run 14 gauge three-conductor wire from one light to the other, splicing and connecting with wire nuts.
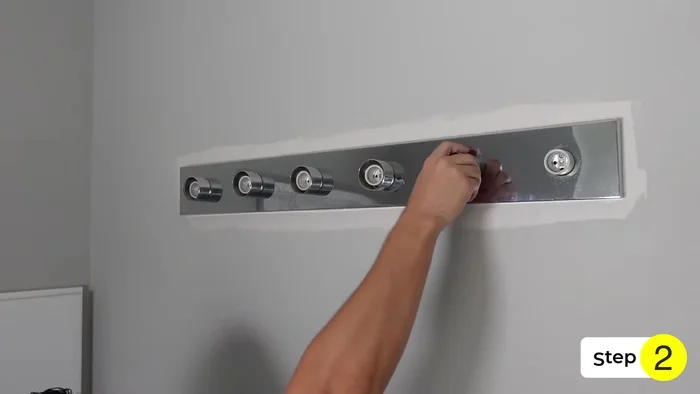
Installing Junction Boxes and Wiring Mounting Plates and Wire Management
- Trim excess wires. Install junction boxes with clamps. Attach the light fixture mounting plate to the junction boxes.
- Run wires through clamps. Attach the junction box to the wooden piece and add the light fixture mounting plate.
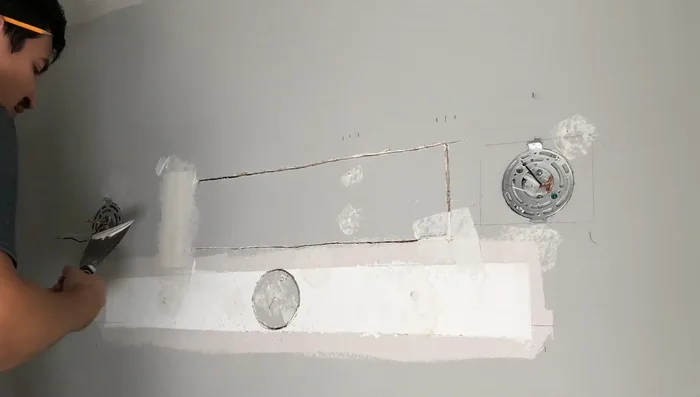
Mounting Plates and Wire Management Drywall Repair
- Cut corners around holes to remove loose drywall. Secure the junction box to a wood piece attached to the drywall.
- Cut and remove loose drywall pieces. Attach wood to secure drywall around holes.
- Fill holes and cracks with drywall putty, applying drywall tape over cracks. Sand smooth.
- Apply and smooth drywall compound, create knockdown texture.
Drywall Repair Fixture Installation and Final Connections
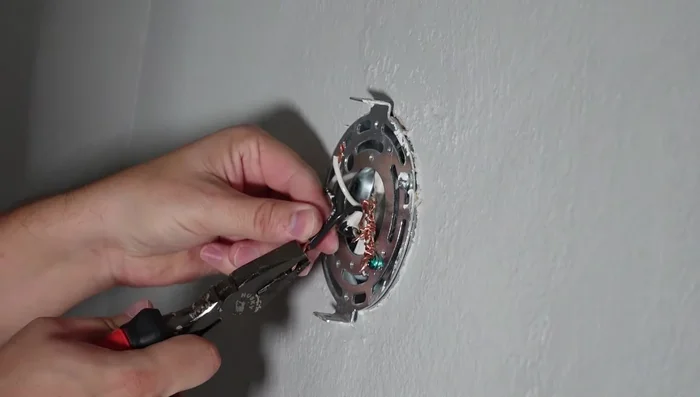
- Assemble light fixtures according to instructions.
- Connect wires to light switch and second light using Wago connectors (or wire nuts). Install light fixtures.
Fixture Installation and Final Connections


Read more: DIY Mason Jar Soap Dispensers: A Step-by-Step Guide with Two Stunning Designs
Tips
- Use a stud finder to locate studs before running wires.
- Use a hole saw bowl to contain drywall dust.
- Use Wago connectors for easier wire connection.