Transforming your bathroom from drab to fab doesn't require a complete overhaul; sometimes, a simple yet impactful update is all you need. Decorative wall panels offer a fantastic solution for achieving a stylish and modern look, adding texture and visual interest without the hassle and expense of full tiling or wallpapering. Their ease of installation makes them a popular choice for DIY enthusiasts, offering a quick and effective way to refresh your bathroom's aesthetic. Whether you're aiming for a spa-like retreat or a contemporary chic design, wall panels provide the versatility to achieve your desired ambiance.
This guide provides a comprehensive, step-by-step approach to installing decorative wall panels in your bathroom, ensuring a professional-looking finish even for first-time DIYers. From preparing your walls to securing the final panel, we'll walk you through each stage with clear instructions and helpful tips, so let's dive into the process.
Preparation and Safety Guidelines
- Tape measure
- Multi-tool
- Electric drill
- 12mm countersunk screws
- Fine-tooth saw
- Stanley blade
- Silicone
- Always ensure the wall surface is clean, dry, and free of any loose debris or old paint before applying adhesive. Improper surface preparation will compromise adhesion and potentially lead to panel damage or falling panels.
- Wear appropriate safety gear, including gloves and eye protection, when working with adhesives and cutting tools. Adhesives can cause skin irritation, and cutting tools can cause injury.
- Consult the manufacturer's instructions for your specific wall panels and adhesive. Application methods, drying times, and recommended tools may vary significantly between products.
Step-by-Step Instructions
Prepare the Wall Trim
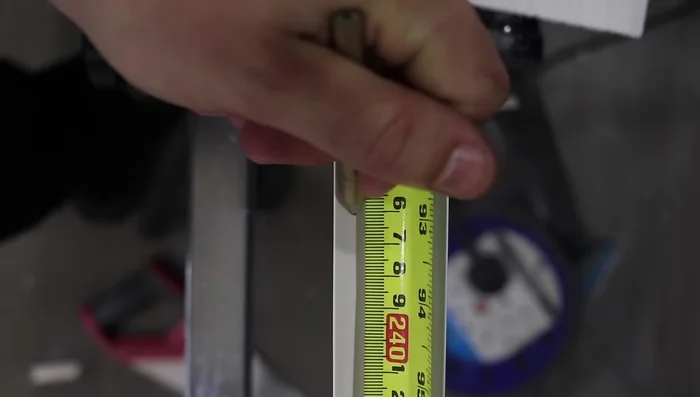
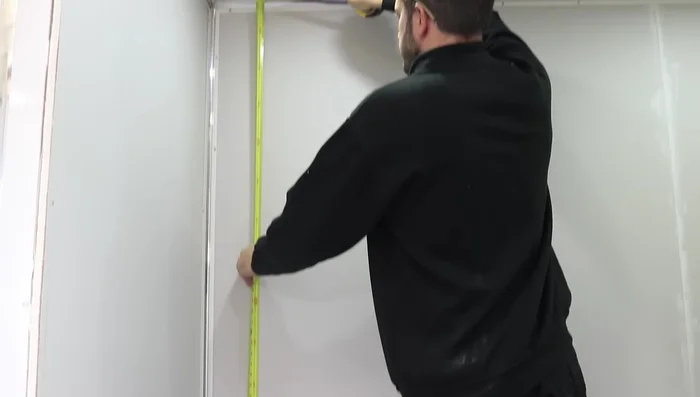
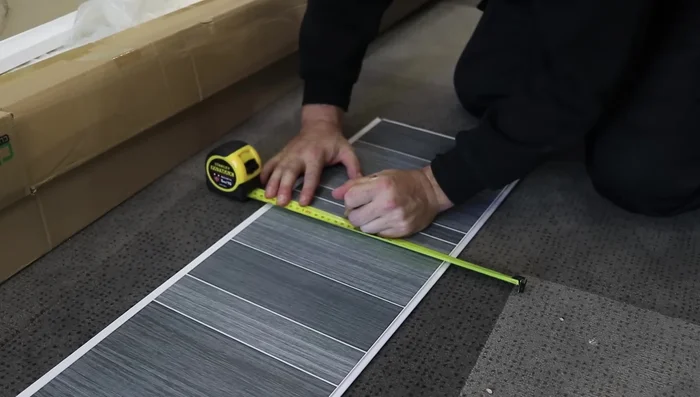
- Measure your wall from floor to ceiling and transfer measurements to an internal corner trim using a tape measure.
- Use a multi-tool to mark the measured line on the trim.
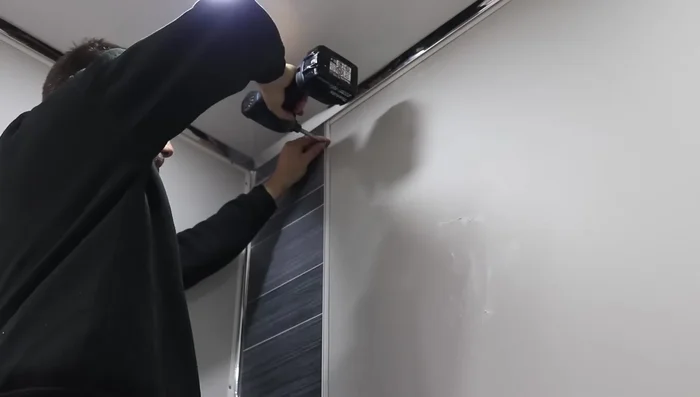
- Drill 12mm countersunk screws into the trim edge at 300mm intervals.

Prepare the Wall Trim Install the First Panel
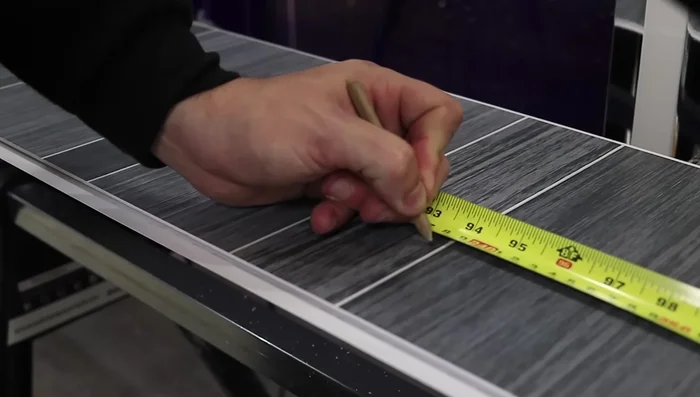
- Measure floor-to-ceiling on your panel, transfer and mark this measurement with a pencil.
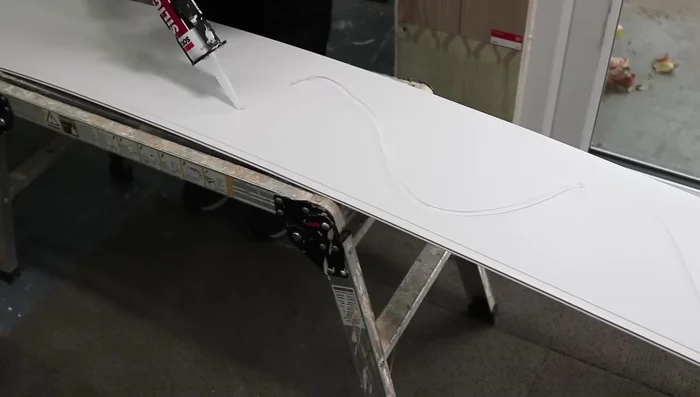
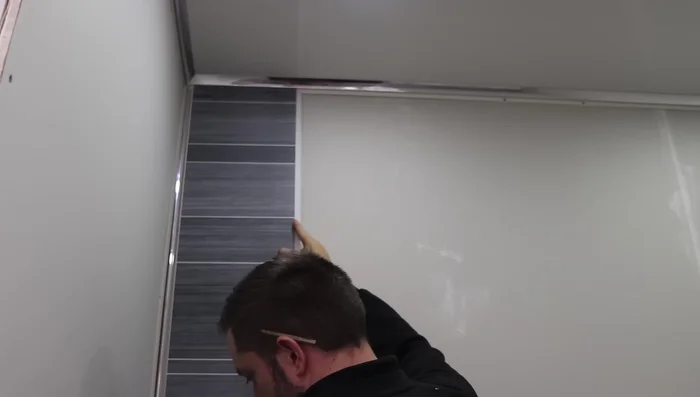
- Use a fine-tooth saw to cut a straight line and carefully place the panel against the wall.
- Trim the narrow edge of the first panel with a Stanley blade for a snug fit.
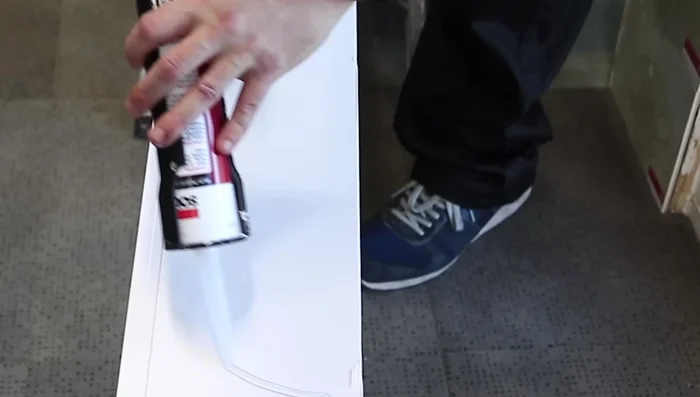
- Apply silicone to the back of the panel (side to side if walls are uneven) and add it to the wall, pushing it into the internal trim.
Install the First Panel - Use your drill to fix countersunk screws into the tongue of the panel.
Install the First Panel Install Remaining Full-Length Panels
- Repeat steps 4-8 for the remaining panels along the wall run.
Install Remaining Full-Length Panels Prepare the Final Panel
- Measure the remaining width at the bottom, middle and top of your wall (minus 5mm for trim). Transfer measurements to your panel and mark with a pencil.
- Use a straightedge and Stanley blade to cut the edge from top to bottom.
Prepare the Final Panel Install the Final Panel
- Apply silicone to the back and add this final panel to the corner.
Install the Final Panel Install Internal Trim
- Measure and install the internal trim, securing it with screws.
- Repeat step 13 for the rest of the wall.
Install Internal Trim


Read more: DIY Mason Jar Soap Dispensers: A Step-by-Step Guide with Two Stunning Designs
Tips
- N/A