Transforming your bathroom with stylish wallpaper can elevate the entire space, creating a spa-like retreat or a vibrant, modern oasis. However, the bathroom's unique humidity presents challenges for traditional wallpapering techniques. That's where nonwoven wallpaper comes in – a game-changer for DIY enthusiasts and professionals alike. Its durability, ease of application, and resistance to moisture make it the ideal choice for this often-challenging environment. Forget frustrating bubbles and warping; nonwoven wallpaper offers a smoother, simpler process, resulting in a stunning and long-lasting finish.
This guide focuses on the efficient and effective method of hanging nonwoven wallpaper in your bathroom, ensuring a professional-looking result even for first-timers. We'll walk you through each step, from meticulous preparation to the final touches, equipping you with the knowledge and confidence to tackle this project with ease. Ready to get started? Let's dive into our comprehensive, step-by-step process.
Preparation and Safety Guidelines
- Wallpaper (nonwoven, pre-pasted is recommended)
- Paste (if wallpaper isn't pre-pasted)
- Roller
- Brush
- Smoother
- Exacto knife
- Straight edge
- Damp cloth
- Level
- Pencil
- Clothespins (optional)
- Ensure the bathroom is well-ventilated to prevent mold and mildew growth. Proper ventilation is crucial during and after wallpaper installation.
- Always use moisture-resistant wallpaper and adhesive specifically designed for bathrooms. Regular wallpaper will not withstand the humidity.
- Before applying wallpaper, thoroughly clean and prime the bathroom walls with a mildew-resistant primer to create a smooth, stable surface and prevent future issues.
Step-by-Step Instructions
Prepare the Surface
- Fill in holes, sand down bumps, and wipe clean with a damp cloth.
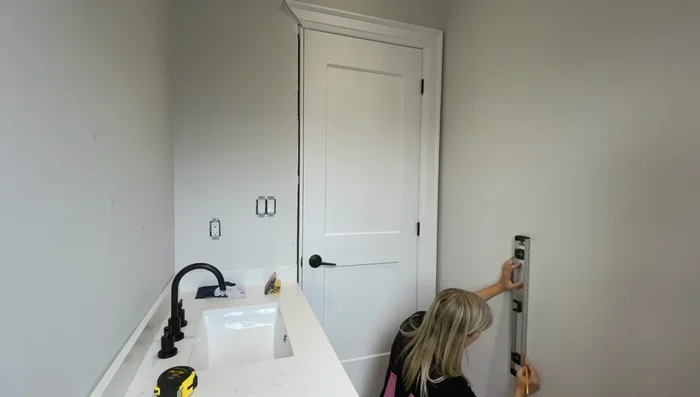
Plan the Wallpaper Placement
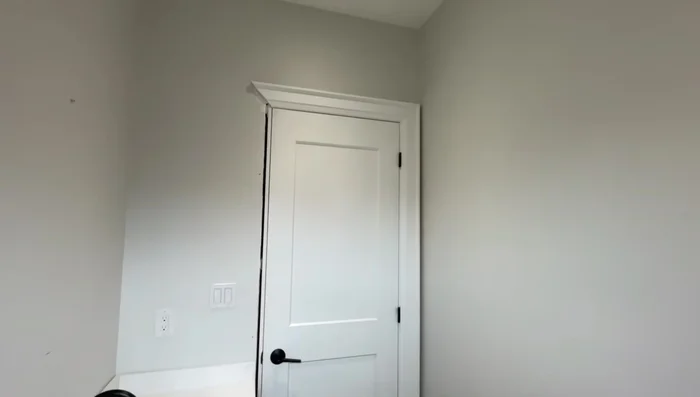
- Choose the most inconspicuous area (usually next to a door) to minimize pattern mismatch.
- Go around the room to visualize seam locations and avoid difficult-to-reach spots.
- Measure and cut the first panel to the correct width, including any necessary allowances for gaps (e.g., around doors).
- Use a level to draw a vertical line on the wall to guide the placement of the first panel.

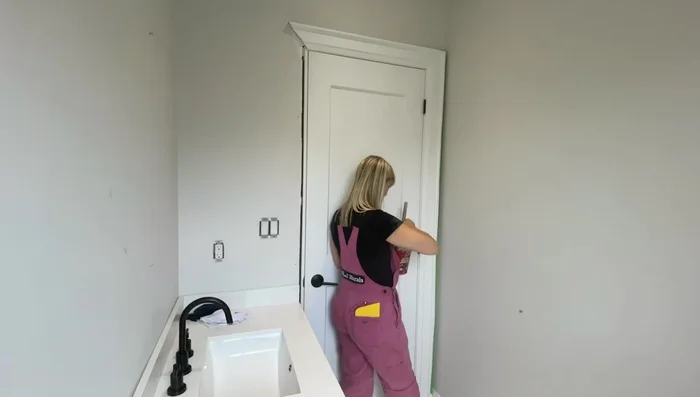
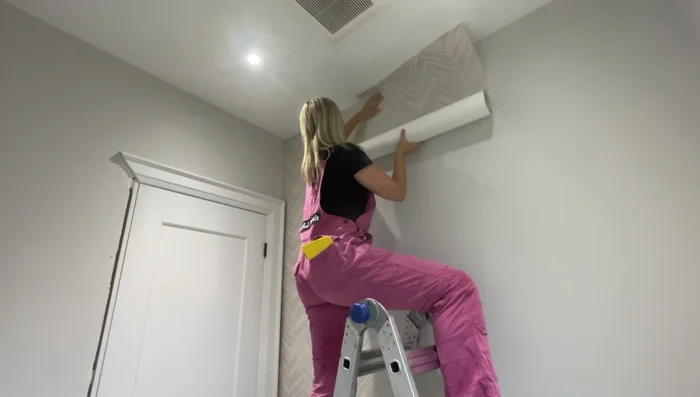
Plan the Wallpaper Placement Install the First Panel
- Apply enough paste for the first panel, using a roller and brush at the edges.
- Roll the wallpaper down the wall, smoothing out air bubbles and pressing it into gaps.
- Trim the excess wallpaper at the top and bottom with a sharp exacto knife and straight edge.
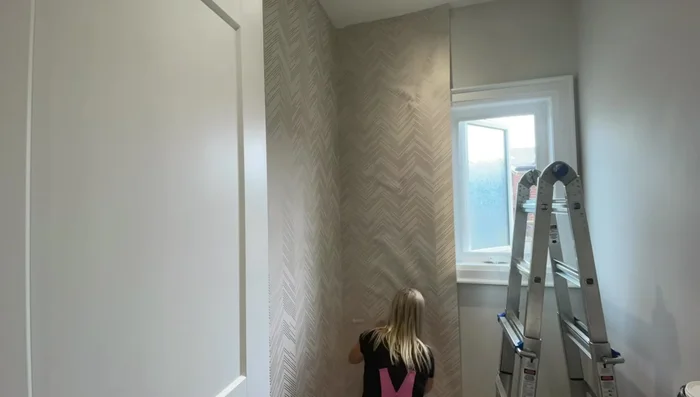
Install the First Panel Install Subsequent Panels
- Apply paste to the wall, hang the next panel, ensuring a butt joint (or overlapping seam as per instructions). Smooth out air bubbles and leave a 1-2 inch overlap on the ceiling and baseboard.
Install Subsequent Panels Handle Corners
- Measure the widest point of the corner, add ¼ inch, pre-cut the panel, and install it overlapping onto the next wall. Ensure the panel is level to avoid pattern misalignment.
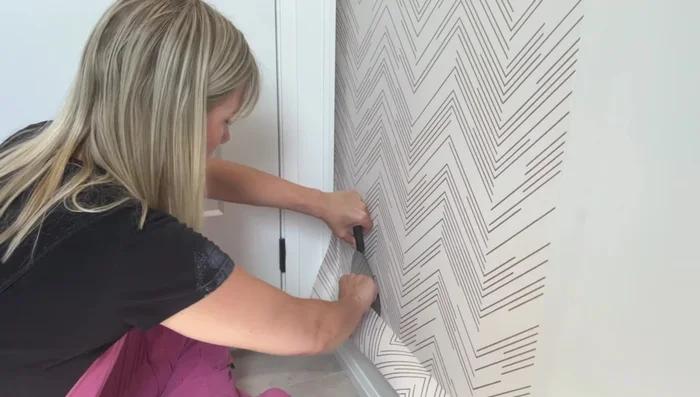
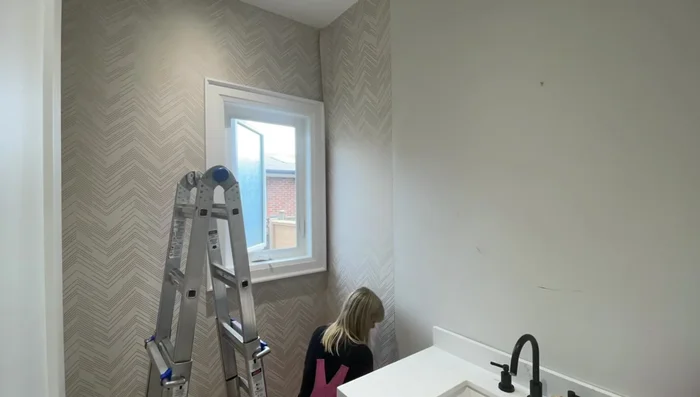
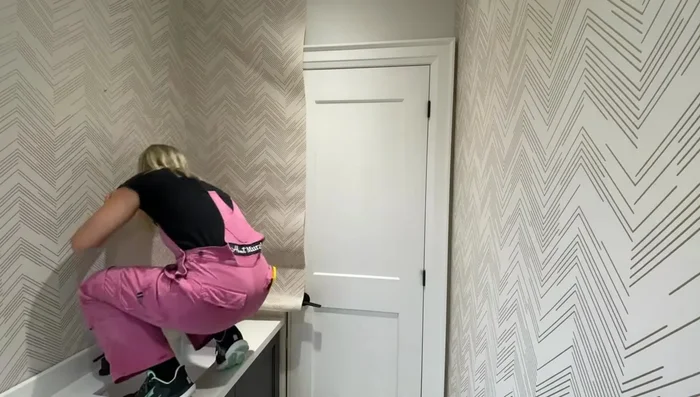
Handle Corners Wallpaper Around Fixtures
- Apply paste, hang the panel, match the pattern, smooth out bubbles, and make relief cuts to neatly fold the wallpaper around the trim. Trim excess.
- Follow the same principles (paste, hang, smooth, trim) for areas around toilets and sinks, making relief cuts to wrap the wallpaper around fixtures.
Wallpaper Around Fixtures Complete and Clean Up
- Install the last pieces, ensuring pattern matching and trimming edges at the ceiling and baseboards. Wipe away excess paste.
Complete and Clean Up

Read more: DIY Mason Jar Soap Dispensers: A Step-by-Step Guide with Two Stunning Designs
Tips
- Use high-quality peel and stick wallpaper if choosing this method to ensure ease of use and water resistance.
- Avoid peel-and-stick wallpaper if possible because it's difficult to install around fixtures and can trap moisture, leading to mold.
- Nonwoven wallpaper is a better choice for bathrooms as it's mold and mildew resistant even in high-humidity environments.
- Pre-pasted wallpaper simplifies the process.
- Always use a level to ensure straight lines and prevent crooked patterns.