A clogged bathtub drain can quickly transform a relaxing soak into a frustrating chore. While calling a plumber is always an option, tackling this common plumbing issue yourself can be a surprisingly rewarding and cost-effective endeavor. Replacing a bathtub drain is a manageable DIY project, even for those with limited plumbing experience, provided you follow the right steps and take necessary precautions. A leaky or inefficient drain can waste water and potentially lead to more serious problems down the line, making a replacement a worthwhile investment of time and effort.
This step-by-step guide will walk you through the entire process of installing a new bathtub drain, from gathering the necessary tools and materials to the final tightening of the fixtures. We'll cover everything you need to know to successfully complete this project, leaving you with a smoothly functioning drain and a sense of accomplishment. Let's dive into the detailed instructions and transform your frustrating bathroom problem into a successful DIY project.
Preparation and Safety Guidelines
- Tub drain kit
- Plumber's putty
- Pipe cement
- Primer
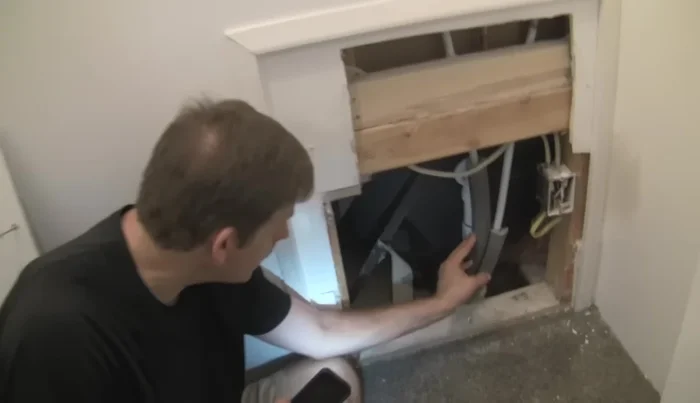
- Always turn off the water supply to the bathtub before beginning any work. Failure to do so can lead to flooding and water damage.
- Wear appropriate safety gear, including gloves and eye protection, to protect yourself from sharp edges, potential cuts, and chemicals.
- If you are unsure about any step of the process, consult a qualified plumber. Incorrect installation can lead to leaks, clogs, and other plumbing problems.
Step-by-Step Instructions
Preparation and Inspection
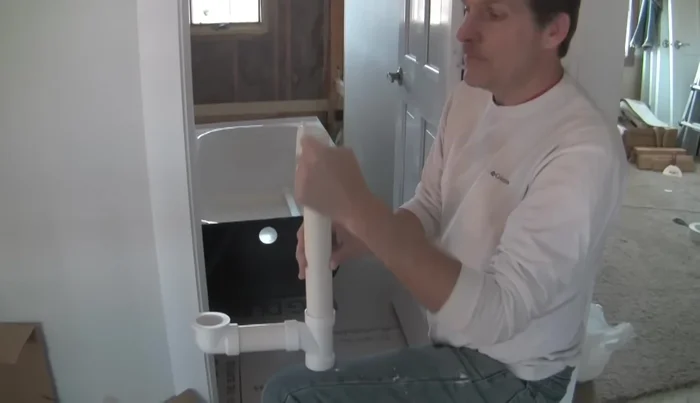
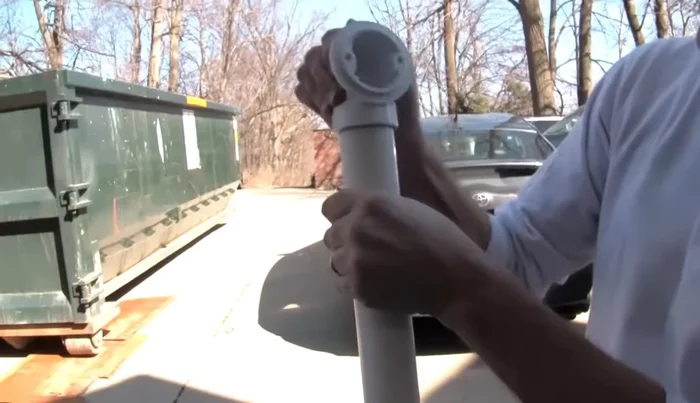
- Gather all parts of the drain kit and inspect them.
- Dry-fit all the parts together to ensure a proper fit before gluing. This is crucial because pipe cement creates a permanent bond.
- Check the level of the tub's surface. If uneven, use the provided thinner gasket to compensate.

Preparation and Inspection Overflow and Drain Installation
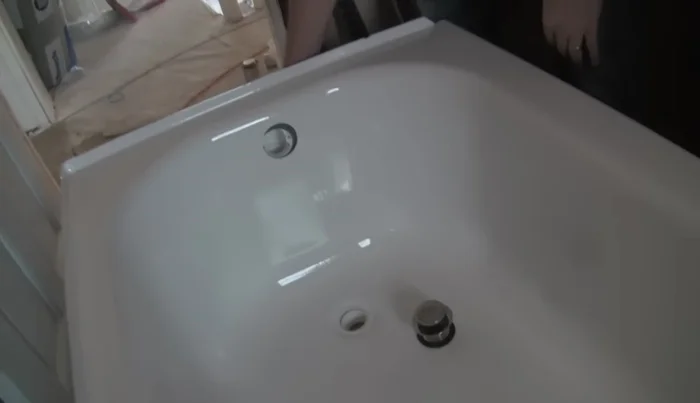
- Install the overflow cover into the tub.
- Position the bottom drain and attach it to the tub using plumber's putty.
Overflow and Drain Installation PVC Pipe Assembly
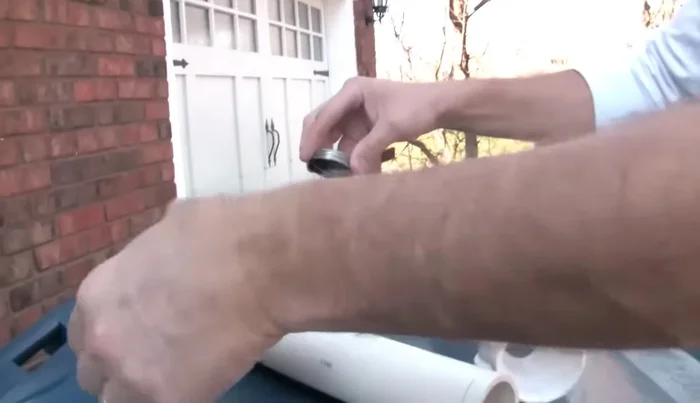
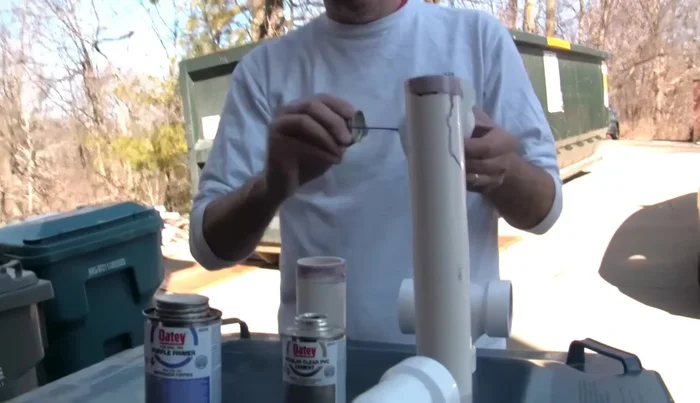
- Apply primer to all joining surfaces of the PVC pipes.
- Assemble the PVC pipes using pipe cement, ensuring proper alignment. Hold each joint for 15 seconds.
PVC Pipe Assembly Final Assembly and Testing
- Attach the top drain piece and screw it into the assembled PVC assembly.
- Confirm that all connections are secure and the drain assembly is properly aligned and level before testing.
Final Assembly and Testing

Read more: Fixing a Leaky Toilet Tank: A Step-by-Step Guide
Tips
- Always dry-fit before using pipe cement to avoid mistakes.
- Use plumber's putty for a watertight seal between the drain and the tub.
- Ensure all parts are properly aligned to prevent leaks and difficulties.
- Primer cleans and prepares the surfaces for a strong bond with pipe cement.
- Work outdoors when using pipe cement and primer as they release fumes.