Unleash your inner bohemian spirit and transform those fabric scraps piling up in your craft corner into stunning, unique pillowcases! This beginner-friendly guide will show you how to create beautiful, handcrafted bohemian pillowcases without any prior sewing experience. Embrace the beauty of imperfection and the joy of repurposing – adding a touch of handmade charm to your home decor has never been easier or more eco-conscious. Forget expensive store-bought options and discover the satisfaction of crafting something beautiful from seemingly insignificant materials. Bohemian style thrives on eclectic textures and patterns, making fabric scraps the perfect medium for this project.
Get ready to dive into a world of vibrant colors and playful patterns as we explore this simple yet rewarding DIY project. From selecting your fabrics to the final stitch, this guide will walk you through each step, ensuring you end up with a gorgeous, one-of-a-kind pillowcase that reflects your personal style. Let's get started with the step-by-step instructions below!
Preparation and Safety Guidelines
- Fabric scraps
- Scissors
- Fabric pins
- Thread
- Marker
- Cotton fabric (for the back)
- Old pillowcase (optional, for template)
- Sewing machine
- Ruler (optional)
- Always use sharp scissors or rotary cutter to prevent injury and ensure clean cuts. Dull blades increase the risk of slipping and accidents.
- If using a sewing machine, ensure your fingers are kept well away from the needle at all times. Use a seam guide to avoid accidental needle pricks.
- Pre-wash your fabric scraps before sewing to prevent shrinkage after the pillowcase is completed. This avoids your finished project being smaller than expected.
Step-by-Step Instructions
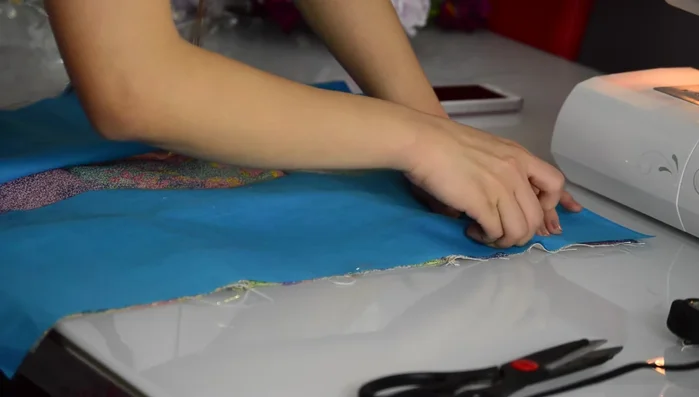
Prepare Fabric Patches
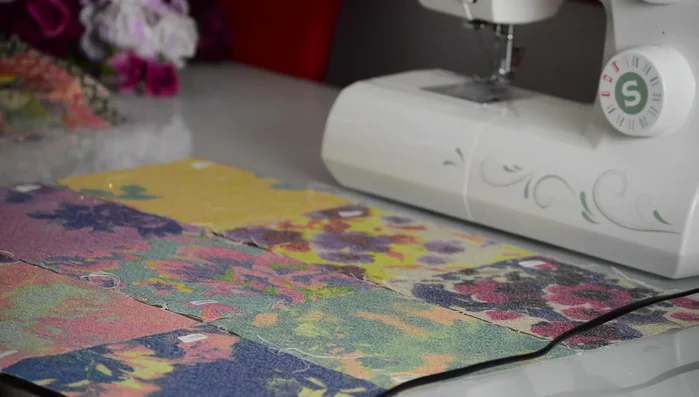
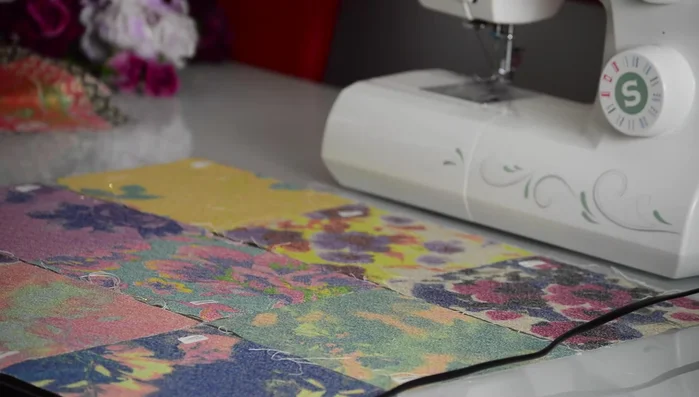
- Select and trim fabric patches to desired sizes.
- Arrange fabric patches in desired order.

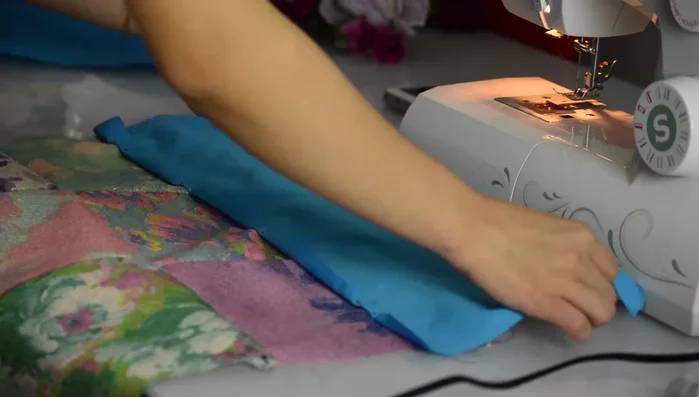
Prepare Fabric Patches Assemble the Front Panel
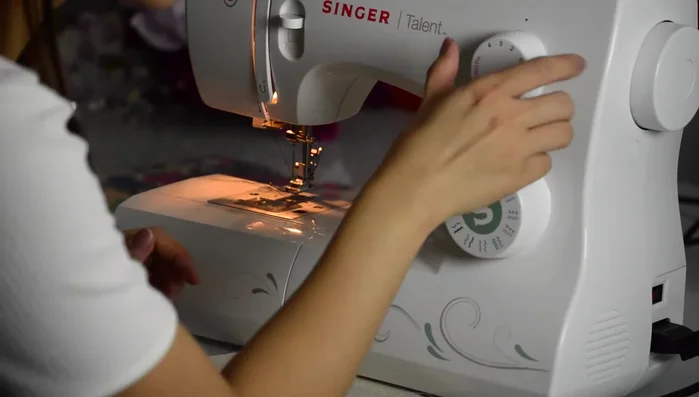
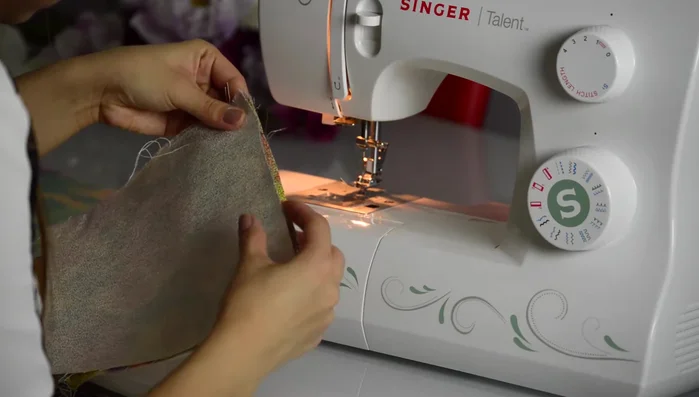
- Pin two patches together (right sides facing).
- Sew the two patches together using a zig-zag stitch to prevent fraying.
- Continue adding patches one by one, repeating steps 3 and 4 until all patches are sewn together.
Assemble the Front Panel Prepare the Back Panel
- Cut two pieces of square fabric for the back of the pillowcase (one slightly larger than the other).
Prepare the Back Panel Attach Back Panel to Front
- Pin the larger square to the front of the pillowcase and sew together.
- Finish the raw edges by folding and sewing.
- Repeat step 8 for the smaller square fabric.
Attach Back Panel to Front Close the Back Seam
- Sew the left and right sides of the back pieces together.
Finishing Touch
- Turn the pillowcase right side out.

Read more: DIY Vibrant Car Organizer: A Step-by-Step Quilting Tutorial
Tips
- Use a zig-zag stitch to prevent fabric fraying.
- Leave extra fabric in the back pieces to create an envelope closure.