Tired of clutter taking over your home? Wish you had stylish and functional storage solutions that didn't break the bank? Then prepare to be delighted! This project guides you through creating a beautiful, braided fabric storage basket – a perfect DIY project for beginner sewists and experienced crafters alike. Not only is it a fantastic way to organize your belongings, but it also allows you to personalize the look and feel with your favorite fabrics, creating a unique piece that complements your home decor. Imagine the satisfying feeling of transforming scraps of fabric into a charming, practical storage solution.
This DIY braided fabric basket project is surprisingly easy to accomplish, and the results are incredibly rewarding. From choosing your materials to securing the final stitch, we'll walk you through each step of the process with clear instructions and helpful images. Ready to get started on your own neat and organized storage solution? Let's dive into the step-by-step instructions below!
Preparation and Safety Guidelines
- Sheet
- Fabric scraps
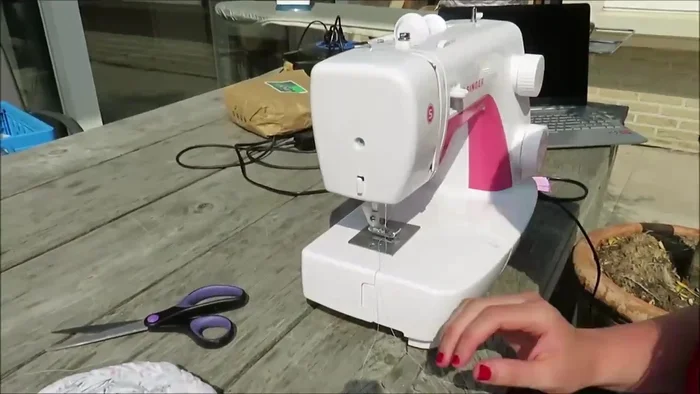
- Sewing machine
- Elastic band
- Fabric glue (optional)
- Needle (optional, thicker needle for tougher fabrics)
- Always use sharp scissors or rotary cutter when cutting fabric to prevent injury and ensure clean cuts. Never force the blades.
- Be mindful of your fingers when braiding and weaving the fabric strips. Work slowly and carefully to avoid accidental cuts or pricks.
- If using a glue gun, exercise extreme caution. Hot glue can cause serious burns. Keep glue gun away from children and work in a well-ventilated area.
Step-by-Step Instructions
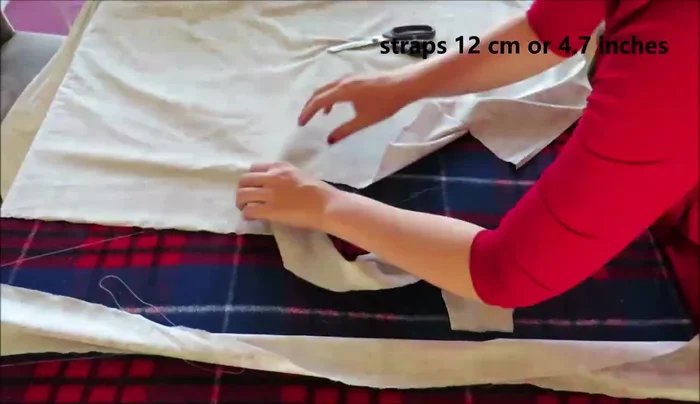
Prepare the Straps
- Cut the sheet into 12cm (4.7 inches) wide straps.
- Sew the straps together to create three long straps (approximately 6 meters or 20 feet each).
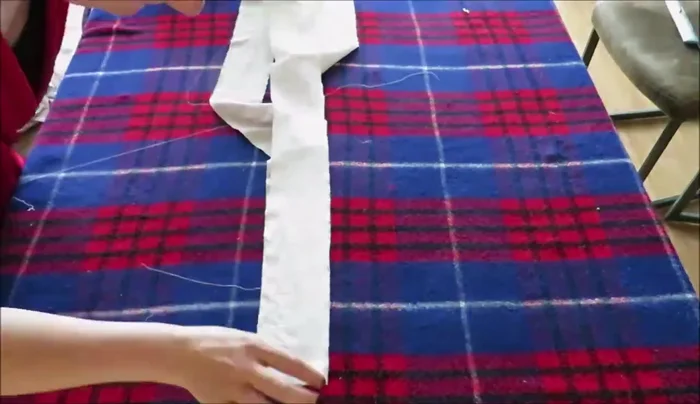
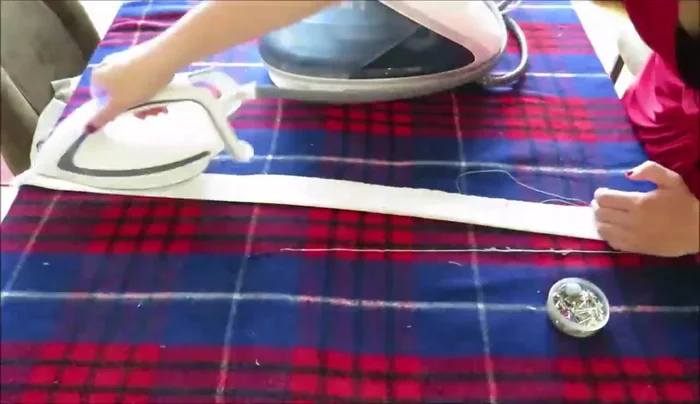
- Fold the straps right sides together, sew, and turn them right side out. (Optional, but recommended for a neater finish).

Prepare the Straps Create the Long Braid
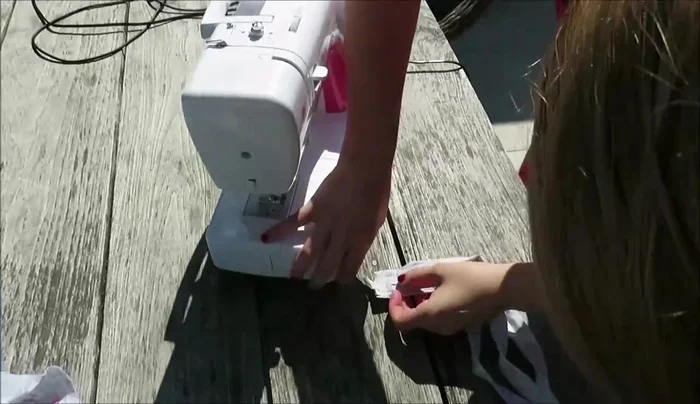
- Sew the three long straps together using a straight stitch.
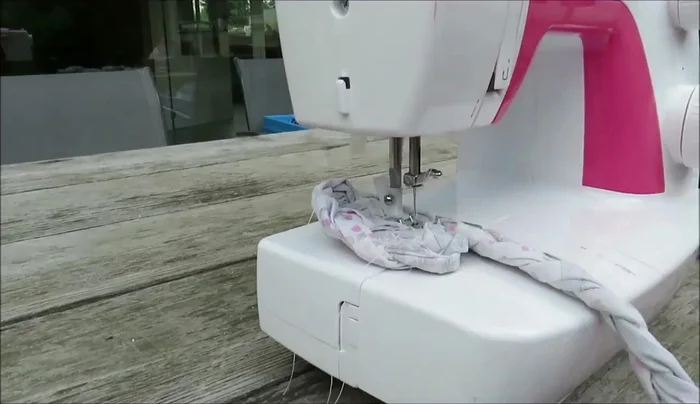
- Secure the straps under your sewing machine and begin braiding.
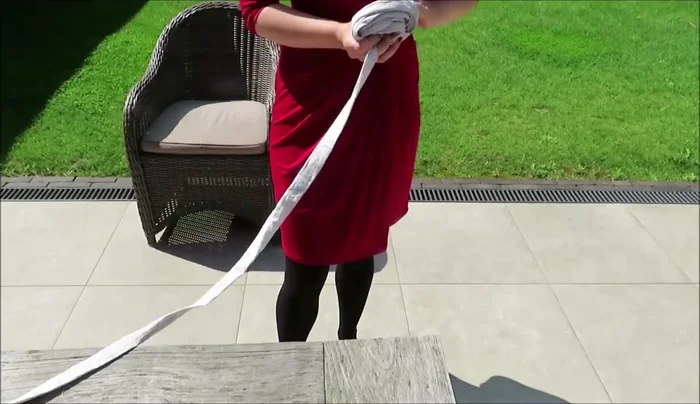
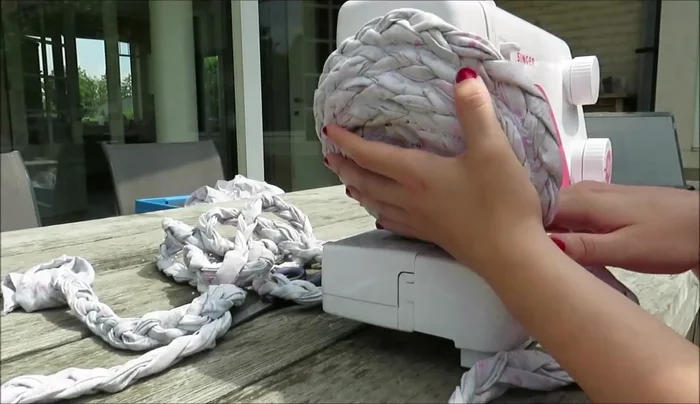
- Roll up the braid as you go to manage its length and secure it with an elastic band.
- Continue braiding until finished and secure the end with an elastic band.
Create the Long Braid Make the Basket Base
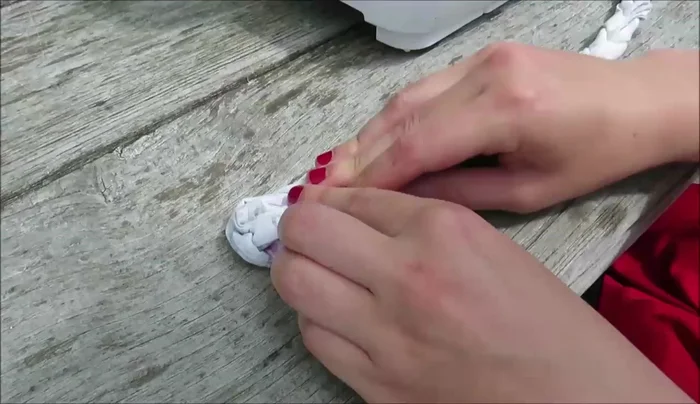
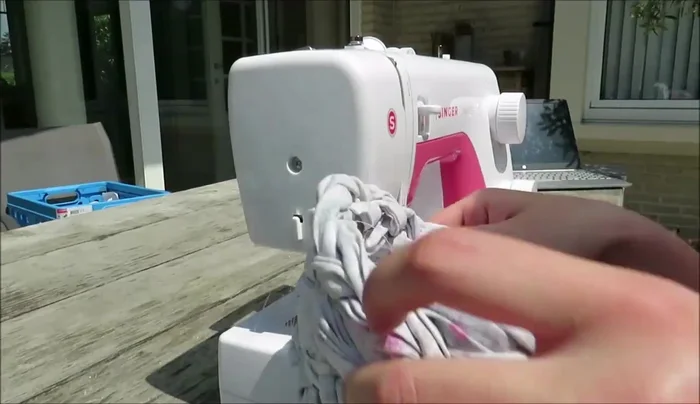
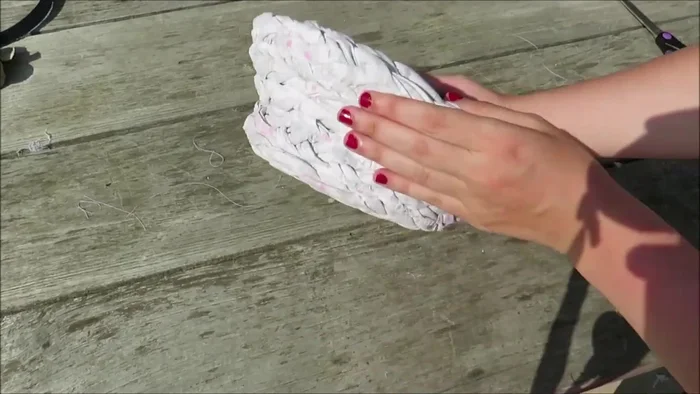
- Fold the top of the braided strap 5 centimeters over and sew it together using a large zigzag stitch.
- Begin folding the braid around the sewn coil, securing it with a zigzag stitch. This forms the base of the basket.
- Continue adding braid to the coil until it reaches your desired size.
Make the Basket Base Construct the Basket Walls
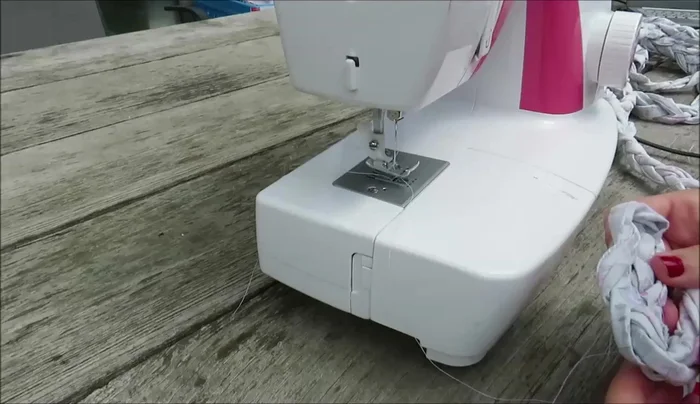
- Tip the basket up to your sewing machine and sew the rest of the braid to form the basket walls, using the same zigzag stitch.
Construct the Basket Walls Finish the Basket
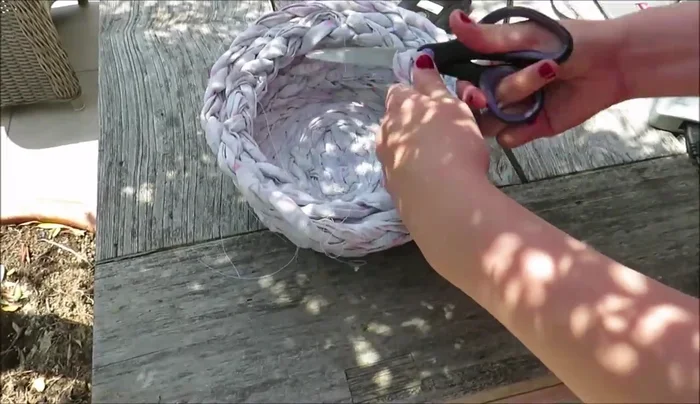
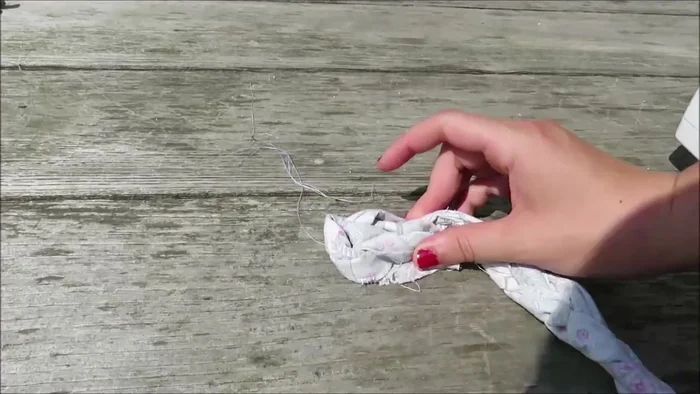
- Sew the ends of the braid into the basket approximately half a centimeter down from the top edge to create a secure finish.
- Cut the remaining braid short and zigzag stitch the edges for a neat finish. Then sew it to the inside of the basket, underneath the strap for the lid.
Finish the Basket Make the Lid Braid
- Create three new straps for the lid (approximately 2 meters each), sew them together, braid, and finish the ends.
Make the Lid Base
- Sew the lid base following the same steps as the main basket base.
Make the Lid Base Finish the Lid
- Cut and zigzag stitch the edges of the lid braid, then tuck it under the coil and sew it with a straight stitch.
Finish the Lid Add Decorative Lid Strap
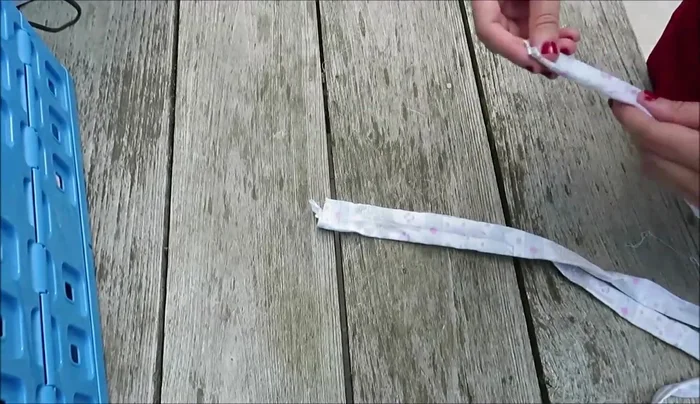
- Create a decorative strap for the lid using a pink fabric scrap, folding and sewing the edges, then attach it to the lid using fabric glue or sewing.
Add Decorative Lid Strap

Read more: DIY Vibrant Car Organizer: A Step-by-Step Quilting Tutorial
Tips
- Use a thicker needle for tougher fabrics.
- Go slow when sewing the braid to the coil to ensure even stitching.
- Fabric glue is a good alternative to sewing the decorative strap onto the lid.