Tired of dull, lifeless lighting in your home? Yearning for a unique, stylish lampshade but dreading the cost and complexity of store-bought options? Then get ready to transform your fabric scraps into a stunning, designer-inspired lampshade with this incredibly easy, no-sew method! We'll show you how to upcycle those leftover fabrics, creating a personalized piece that perfectly complements your existing décor, all without the need for a needle and thread. This project is perfect for beginners, offering a satisfying creative outlet and a significant boost to your home's aesthetic.
Forget expensive and impersonal store-bought designs; you can achieve a truly bespoke look by repurposing your existing fabrics. This simple, no-sew technique makes creating a beautiful and unique lampshade incredibly accessible, no matter your crafting experience. Ready to illuminate your space with personality and style? Let's dive into the step-by-step instructions and bring your vision to life!
Preparation and Safety Guidelines
- Lampshade making kit (including utility rings, metal rings, double-sided tape, finishing tool, and PVC sheet)
- Fabric cutter or scissors
- Iron
- Cotton or linen fabric (woven, not knit or jersey)
- Always use a fire-retardant spray on your fabric before starting. Lamps get hot, and flammable fabric poses a serious fire hazard.
- Ensure the lampshade frame is structurally sound and doesn't have any sharp edges or wires exposed before covering it. Improperly secured frames can lead to injury or damage.
- Never use a lampshade that is damaged or improperly constructed. Replace any damaged lampshades immediately to prevent fire or electrical hazards.
Step-by-Step Instructions
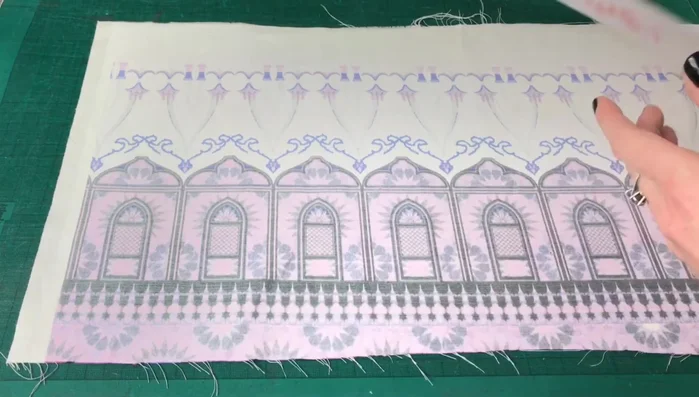
Prepare Fabric and PVC
- Place your fabric wrong side up. Position the PVC sheet sticky-side down on top of the fabric.

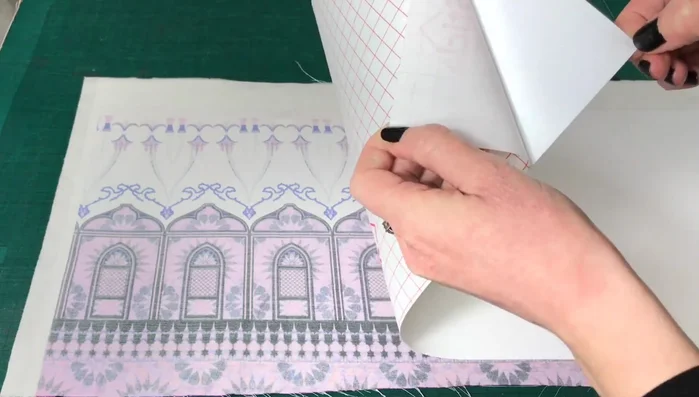
Prepare Fabric and PVC Adhere PVC to Fabric
- Carefully peel the backing off the PVC and adhere it to the fabric, smoothing out any air bubbles or wrinkles. Work in small sections.
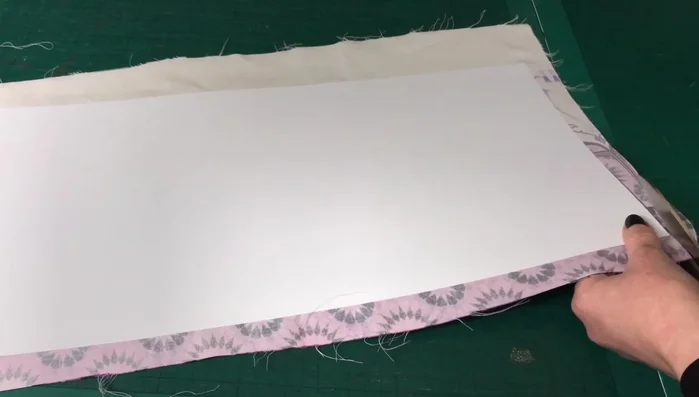
Adhere PVC to Fabric Trim Excess Fabric
- Trim away the excess fabric around the PVC sheet.
Trim Excess Fabric Remove PVC Edge
- Carefully peel away the kiss-cut edge of the PVC, being mindful not to fray the fabric.
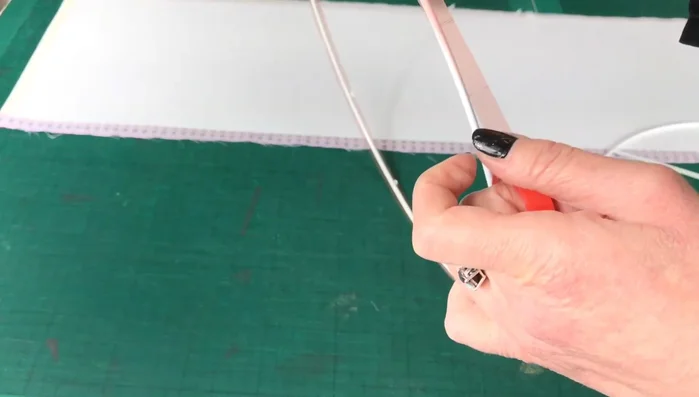
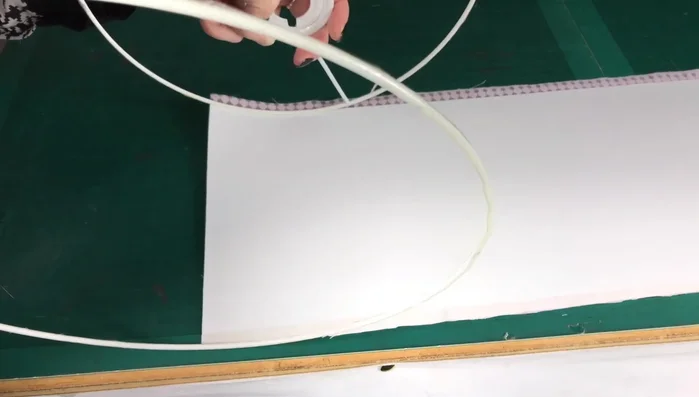
Prepare Rings with Tape
- Attach double-sided tape to one edge of the utility rings, leaving a small gap for easier application.
Attach Rings to Fabric
- Remove the tape backing and attach the rings to the edges of the PVC-covered fabric. Press firmly to ensure adhesion.
Attach Rings to Fabric Finish Edges
- Fold the raw edges of the fabric inwards and use the finishing tool to secure the fabric behind the utility rings, creating a clean, finished edge.
Finish Edges
Read more: DIY Vibrant Car Organizer: A Step-by-Step Quilting Tutorial
Tips
- Use woven fabrics like cotton or linen, avoiding stretchy materials.
- Avoid heavy fabrics that might be difficult to manipulate.
- Ensure your fabric is larger than the PVC sheet to allow for trimming.
- Work slowly and carefully to avoid air bubbles and wrinkles.
- Be gentle when removing the kiss-cut edge to prevent fraying.