Ever dreamed of bringing your own puppet shows to life? The enchanting world of puppetry is more accessible than you might think, and creating your own stage is a wonderfully rewarding experience. This guide will walk you through building a charming, vintage-inspired puppet theater, perfect for captivating audiences of all ages – from children enthralled by whimsical stories to adults rediscovering the magic of handcrafted entertainment. Imagine the delighted gasps as your hand-crafted puppets take center stage in a theater you built yourself.
Forget expensive, mass-produced playsets; this project allows for personal expression and creativity at every stage. We’ll guide you through sourcing readily available materials, utilizing simple carpentry techniques, and adding those special vintage touches that will make your puppet theater truly unique. Ready to embark on this creative journey? Let's begin with the step-by-step instructions to build your very own vintage-inspired puppet stage.
Preparation and Safety Guidelines
- Wood (2x4s, plywood)
- Trim (various)
- Canvas
- Pillow sham
- Screws (5-inch recommended)
- Nails
- Wood filler
- Sandpaper
- Paint (latex)
- Gold rub-n-buff
- Wood glue
- Hot glue
- Seam ripper
- Fabric (velvet, upholstery)
- Drapery rod holders
- Dowel rods
- Wood knobs/finials
- Ribbon
- Cup hooks
- Mod Podge
- Foam brush
- Printable art
- Architectural paper
- Drill
- Jigsaw
- Cricut (optional)
- Gold vinyl (optional)
- Sewing machine
- Adult supervision is required at all times, especially when using sharp tools like knives or scissors.
- Ensure proper ventilation when using paints, stains, or glues. Work in a well-ventilated area or wear a respirator.
- Always use age-appropriate tools and materials for children participating in the construction. Avoid small parts that could pose a choking hazard.
Step-by-Step Instructions
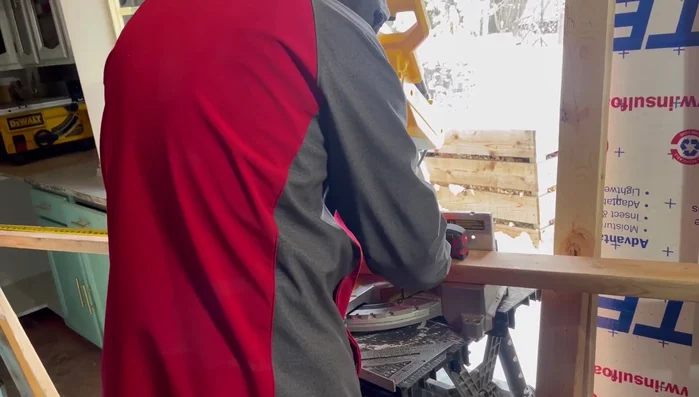
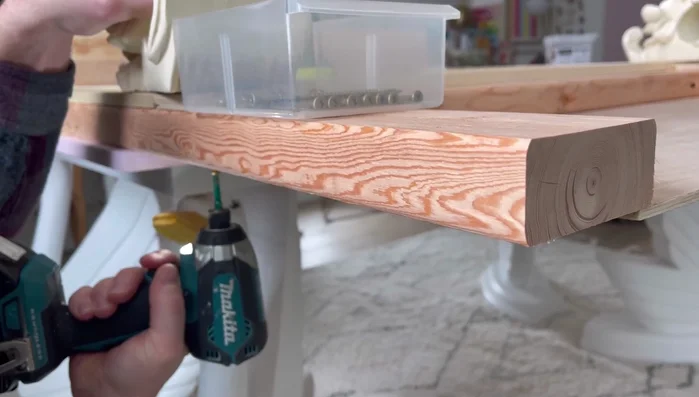
Constructing the Main Frame
- Cut wood to size. Refer to the cut list on my blog for measurements.
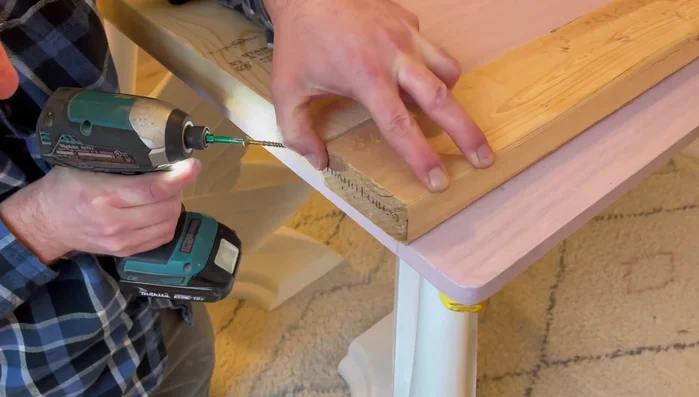
- Assemble the frame using pocket holes and screws (or simpler top-to-bottom screw method).
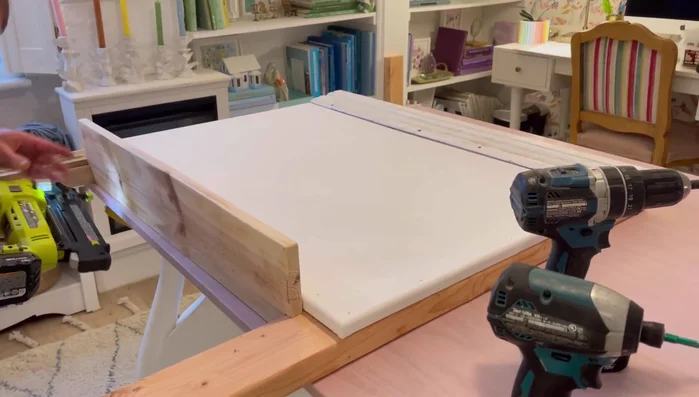
- Attach the canvas to the front of the frame.
- Attach the bottom ledge, using screws for sturdiness.

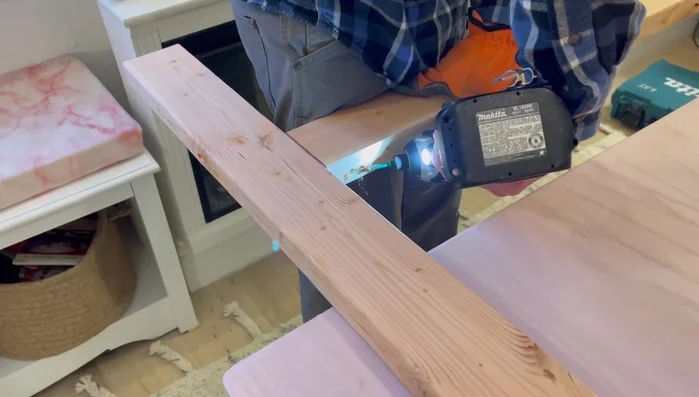
Constructing the Main Frame - Attach the top support piece for the window opening.
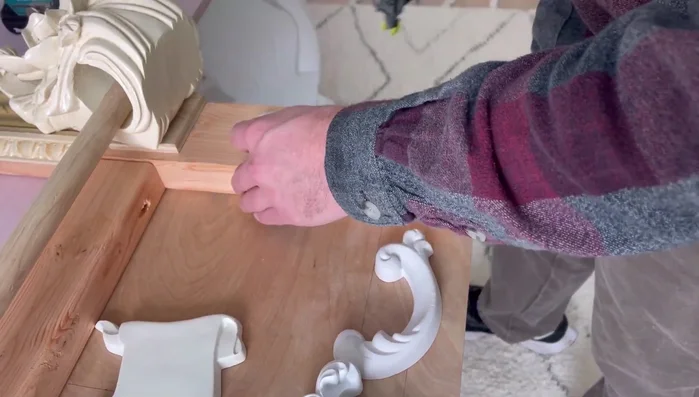
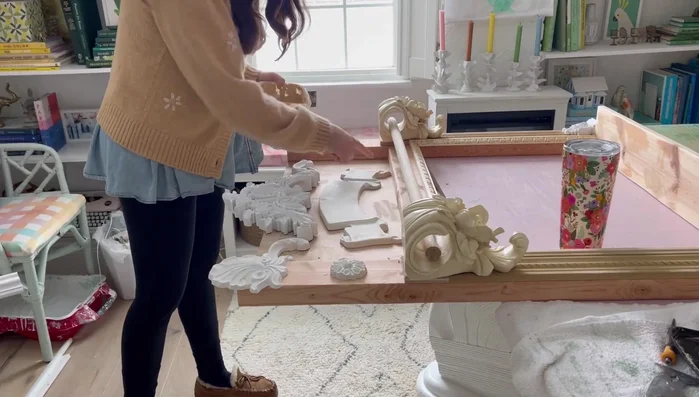
Constructing the Main Frame Adding Decorative Elements
- Attach the drapery rod holders.
- Nail on the onlays and rosettes.
Adding Decorative Elements Preparing for Paint
- Apply wood filler to nail holes and sand smooth.
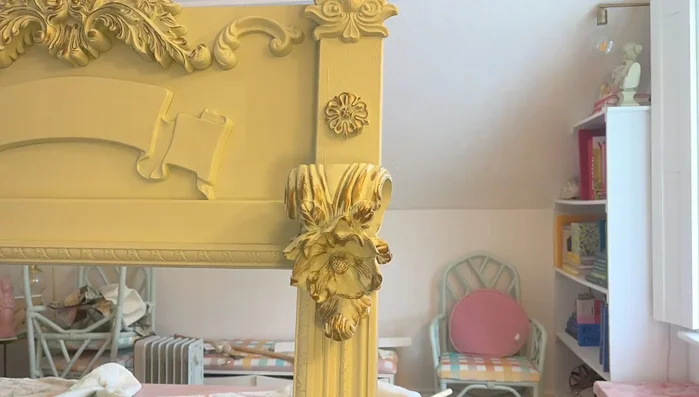
Preparing for Paint Painting and Finishing
- Paint the entire theater with chosen color (2 coats recommended).
- Apply gold rub-n-buff to highlight onlays and details.
- Attach the theater sign using gold vinyl or store-bought letters.
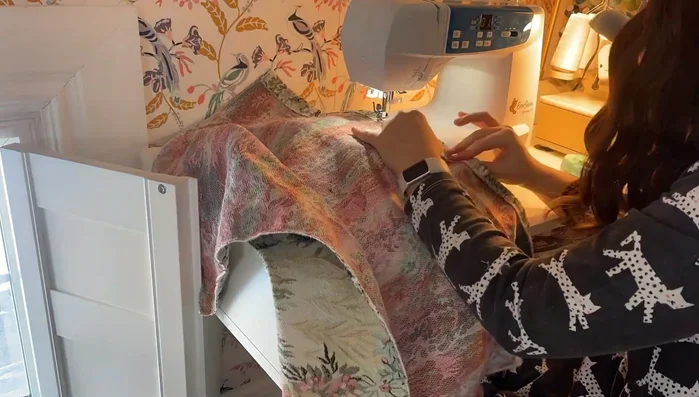
Painting and Finishing Creating the Backdrop
- Create the backdrop from the pillow sham; sew a pull pocket and attach a wood dowel.
Creating the Backdrop Building and Attaching Side Supports
- Build and attach the side supports using hinges.
- Drill holes in the side supports for the backdrop dowel.
- Upholster the side supports with fabric and staple/glue in place.
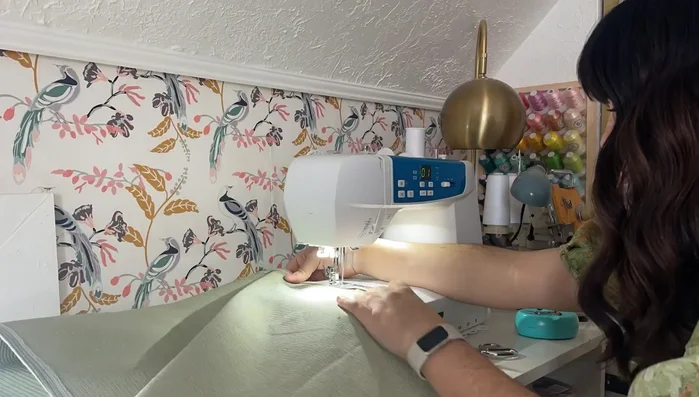
Building and Attaching Side Supports Adding Curtains
- Sew and attach the curtains to the front, adding ribbons for easier opening and closing.


Read more: DIY Blender from a Broken Beyblade Launcher!
Tips
- Use 5-inch screws for easier assembly.
- Glue and nail onlays for extra security, especially in high-traffic areas.
- Use a latex wall paint for durability.
- Use caulk to fill cracks between trim pieces before the second coat of paint.
- Cut ribbons for curtains slightly longer and fold over for better support.