Unleash your inner architect and embark on a fun-filled crafting adventure! Building a magnificent cardboard castle is easier than you think, offering a fantastic opportunity for creative expression and imaginative play, perfect for kids and adults alike. This project requires minimal materials, mostly relying on readily available cardboard boxes, which means minimal cost and maximum fun. Forget expensive plastic toys – let's reclaim those discarded boxes and transform them into a stunning, personalized kingdom. You'll be amazed at what you can create with a little ingenuity and some trusty crafting supplies.
This guide will take you through a simple, step-by-step process to construct your very own cardboard castle, complete with towering turrets, sturdy walls, and maybe even a drawbridge! From gathering materials to adding the finishing touches, we'll ensure you have everything you need to build a regal residence that’s uniquely yours. Let’s get started!
Preparation and Safety Guidelines
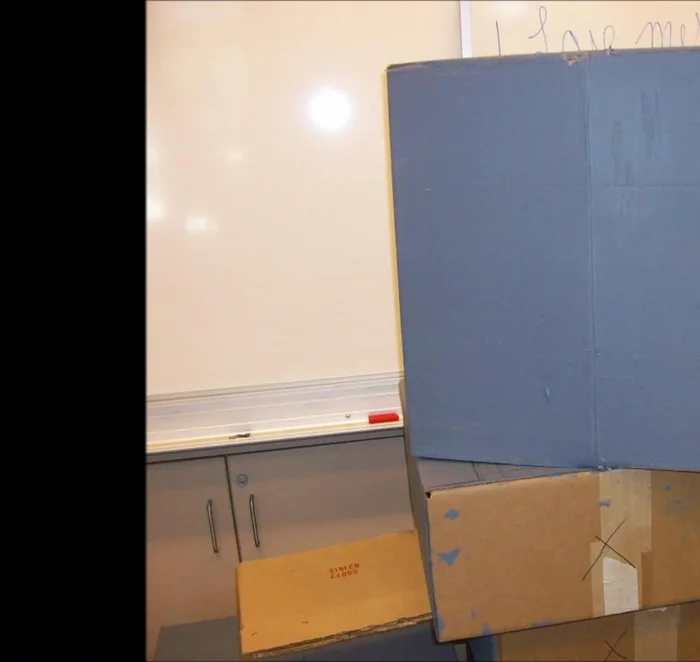
- 32 cardboard boxes (same shape and size)
- 2 wood panels
- Paint (black, gray, white)
- Paint tools
- Glue
- Glue equipment
- Tape (optional)
- Electric glue gun (optional)
- Adult supervision is required at all times, especially when using cutting tools.
- Ensure the work area is clean and free of obstacles to prevent tripping and injuries.
- Handle sharp cutting tools with extreme care. Always cut away from yourself and others.
Step-by-Step Instructions
Prepare Cardboard Boxes
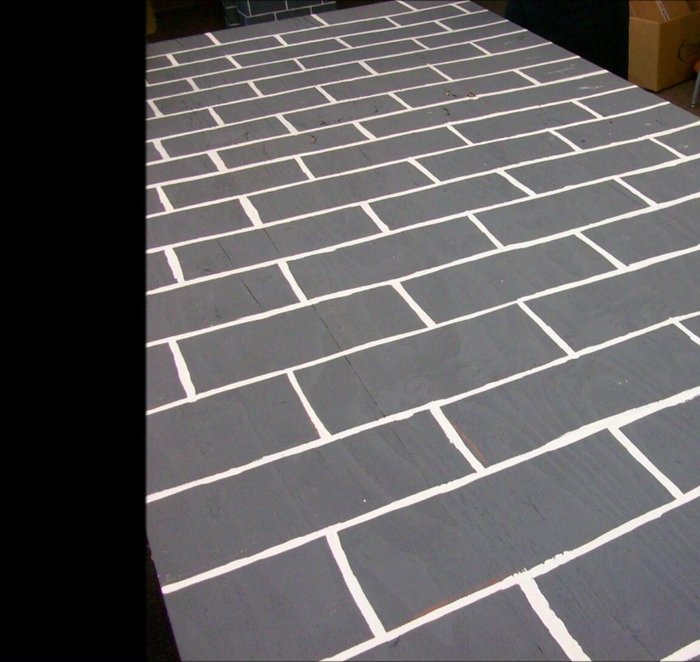
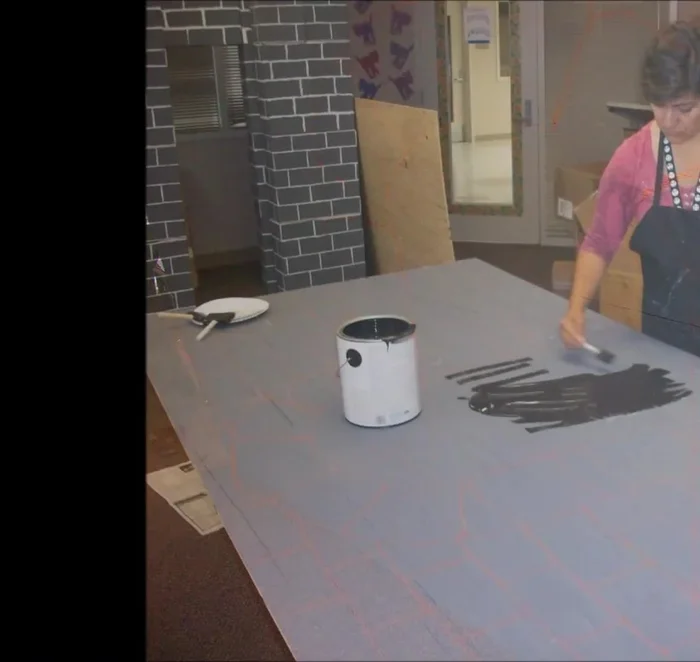
- Paint three surfaces (front and sides) of each cardboard box gray.
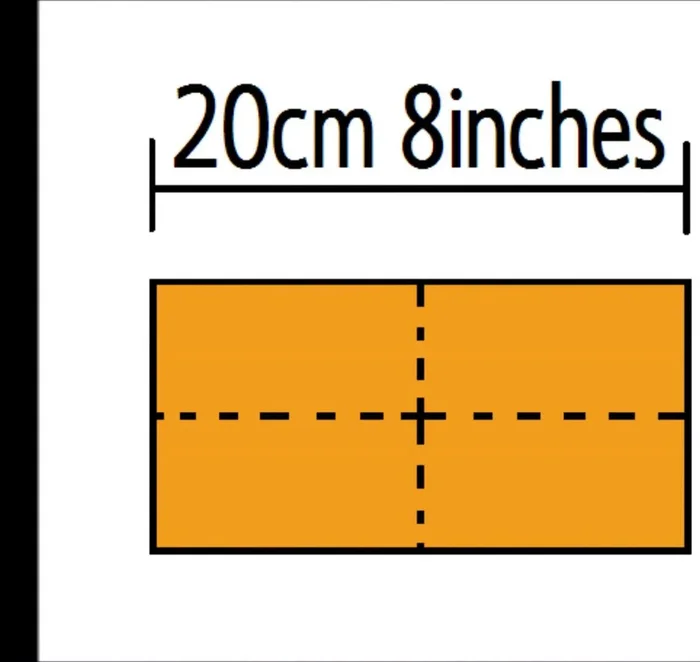
- Create a brick template (8 inches by 4 inches). Use it to draw brick patterns on the gray-painted surfaces of the boxes.
- Paint the brick patterns white.

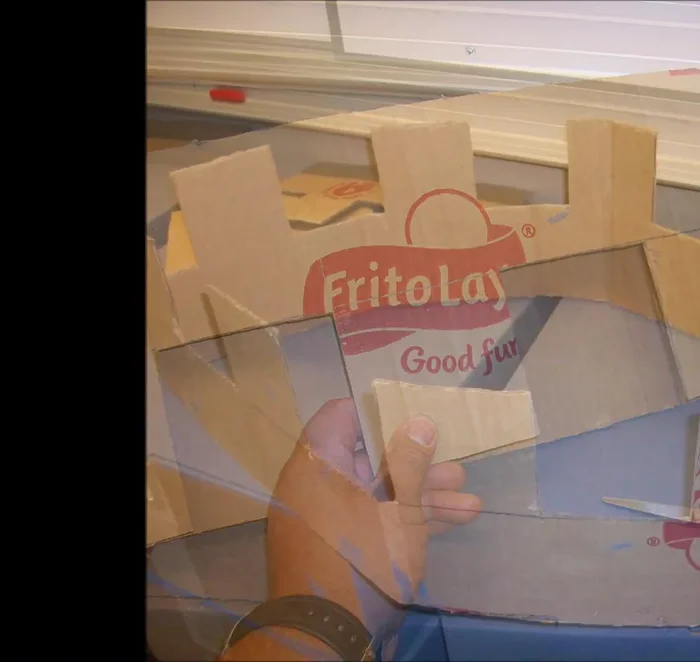
Prepare Cardboard Boxes Construct the Castle Crown
- Cut out square sections and glue them to the top of the boxes forming the castle walls.
- Paint the crown gray, then add white brick details.
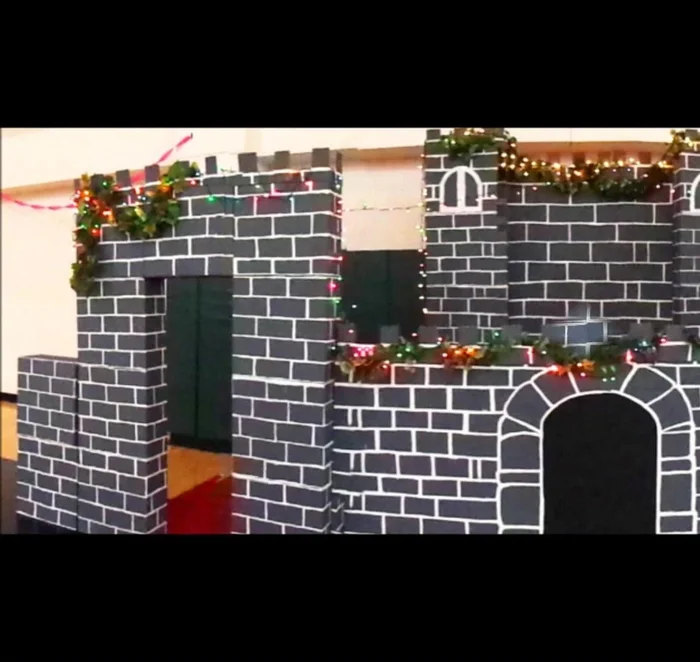
Construct the Castle Crown Assemble the Castle Walls
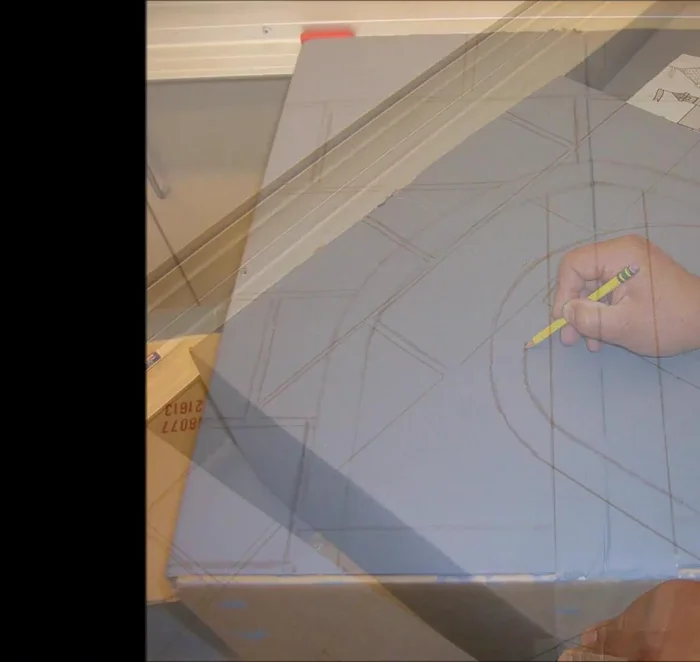
- Draw archways on the castle walls.
- Glue all the boxes together to form the towers. Use an electric glue gun and/or tape to secure the pieces until the glue sets.
Assemble the Castle Walls Prepare the Wood Panels
- Paint the wood panels gray, and add white brick details to one panel.
- Paint the other wood panel gray, and add dark archway details.
Prepare the Wood Panels Attach and Secure Wood Panels
- Add brackets to the back of the wood panels to secure them to the castle structure and prevent them from falling.
Attach and Secure Wood Panels

Read more: DIY King-Size Tufted Headboard: Budget-Friendly Guide
Tips
- Use tape to hold the boxes together while the glue dries.