Ever dreamed of soaring through the cosmos? While a real space shuttle journey might be a distant reality for most, building your own miniature version is surprisingly achievable! This easy-to-follow DIY project lets you craft a detailed space shuttle model entirely from readily available cardboard, requiring minimal tools and artistic skill. Forget expensive kits and complicated instructions; this tutorial offers a fun and accessible way to explore your creativity while bringing a piece of space exploration into your home. It's perfect for kids and adults alike, a fantastic afternoon project that results in a striking display piece.
Prepare for liftoff! This comprehensive guide will walk you through each step of creating your own impressive cardboard space shuttle, from designing the basic shape to adding intricate details like the landing gear and engines. Let's embark on this exciting journey and transform a simple sheet of cardboard into a magnificent replica of humanity's incredible feat of engineering.
Preparation and Safety Guidelines
- Cardboard
- Paper
- Scissors
- Glue
- Markers/Crayons
- Other craft supplies (as seen in the video)
- Adult supervision is required at all times, especially when using sharp objects like scissors or craft knives.
- Be careful with glue; avoid contact with skin and eyes. Use in a well-ventilated area.
- Small parts may pose a choking hazard for young children. Keep away from children under 3 years old.
Step-by-Step Instructions
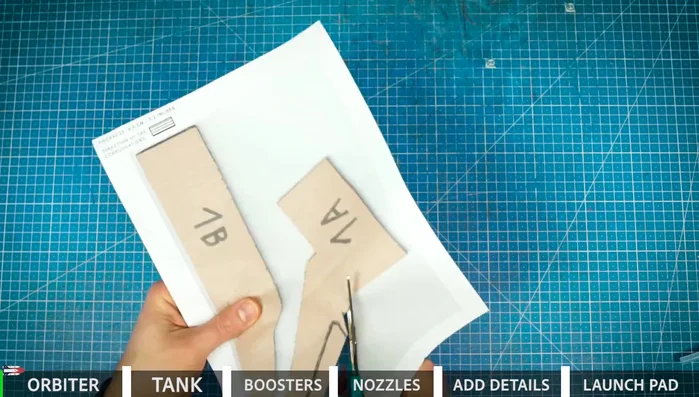
Prepare Materials
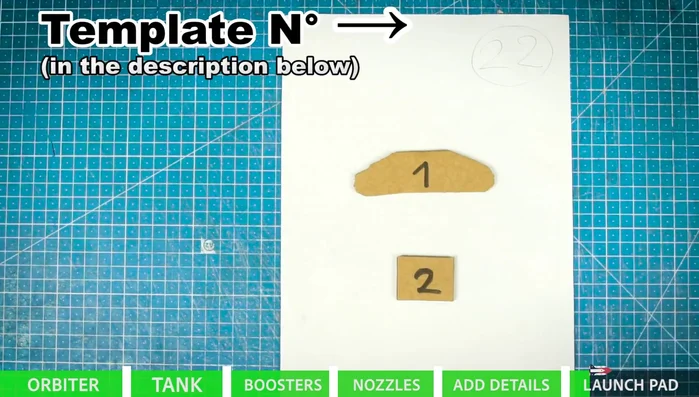
- Prepare cardboard pieces for the shuttle body and wings.

Prepare Materials Construct Shuttle Body
- Create the shuttle body using cardboard.
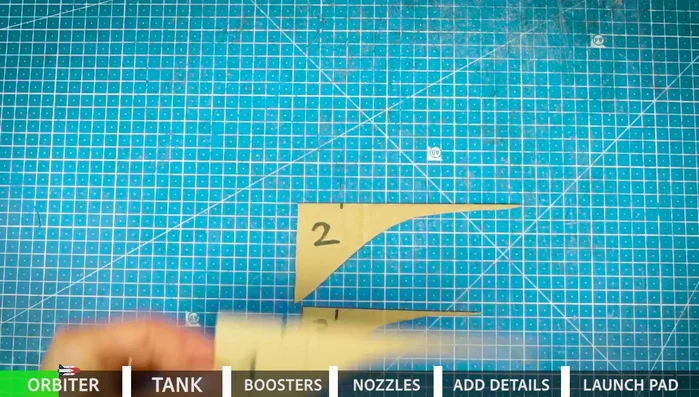
Construct Shuttle Body Attach Wings
- Make the wings and attach them to the body.
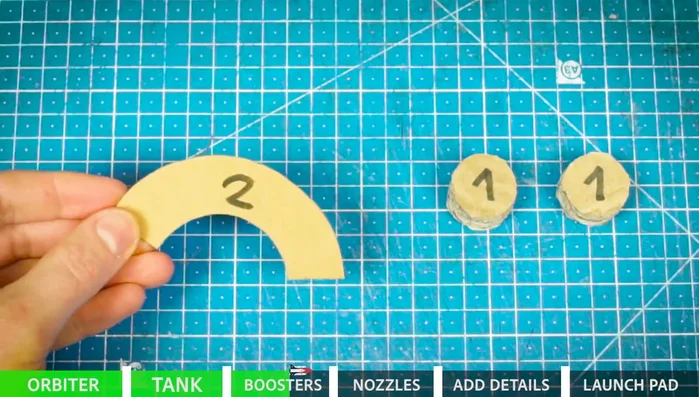
Attach Wings Create and Attach Fuel Tank
- Create the external fuel tank from cardboard.
- Attach the fuel tank to the shuttle.
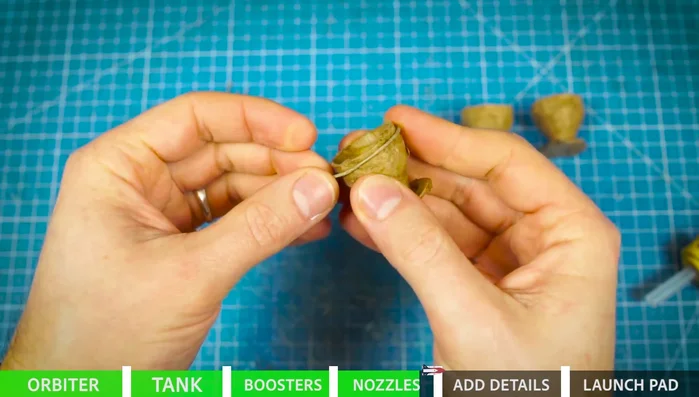
Create and Attach Fuel Tank Add Details and Decorations
- Add details such as windows, boosters, etc. using paper and other materials.
- Finish the details and decorations.
Add Details and Decorations Final Assembly
- Assemble the final model.
Final Assembly


Read more: DIY King-Size Tufted Headboard: Budget-Friendly Guide
Tips
- Use appropriate-sized cardboard for the desired shuttle size.
- Carefully cut and shape the cardboard pieces.
- Use strong glue to ensure a secure assembly.
- Get creative with the decorations and details!