Carpet remnants, offcuts, or even damaged sections of existing carpet can be repurposed into something useful, and often beautiful, with a little ingenuity. Learning to efficiently sew carpet strips together opens up a world of creative possibilities, from sturdy rugs and mats to unique wall hangings and even playful toys for pets. The seemingly daunting task of joining thick, potentially unwieldy materials is surprisingly manageable with the right techniques and tools. Improperly joined carpet strips, however, can quickly unravel and negate all your hard work.
This guide provides a clear and concise step-by-step process for effectively sewing carpet strips together, ensuring strong, durable seams that will withstand regular use. Whether you're a seasoned crafter or a complete beginner, following these instructions will empower you to transform discarded materials into functional and aesthetically pleasing creations. Let's dive into the step-by-step process to learn how to efficiently sew your carpet strips.
Preparation and Safety Guidelines
- sewing machine
- heavy-duty needle (jeans needle)
- pins
- Always use sharp needles and shears to prevent strain and injury. Dull tools require more force, increasing the risk of accidents.
- Handle your sewing machine with care and ensure it is properly maintained. Regular cleaning and oiling will prevent malfunctions and potential injuries.
- Before starting, properly secure the carpet strips to prevent them from shifting or bunching during stitching. This reduces the risk of needle mishaps and ensures even seams.
Step-by-Step Instructions
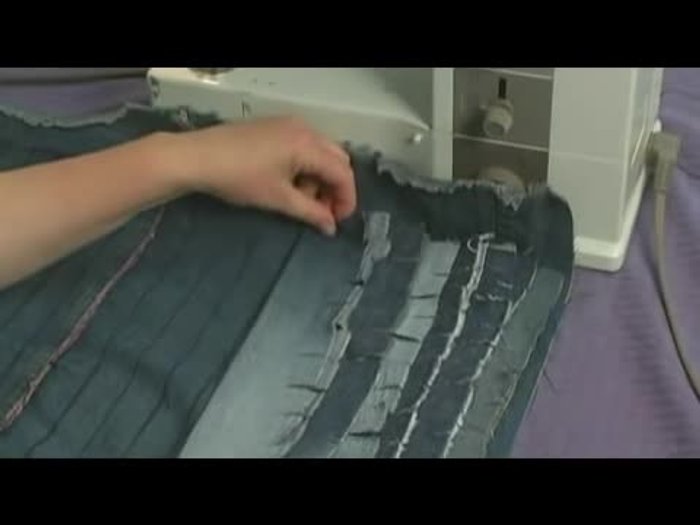
Preparing the Strip
- Lay the folded strip along the 1-inch marker on your carpet.
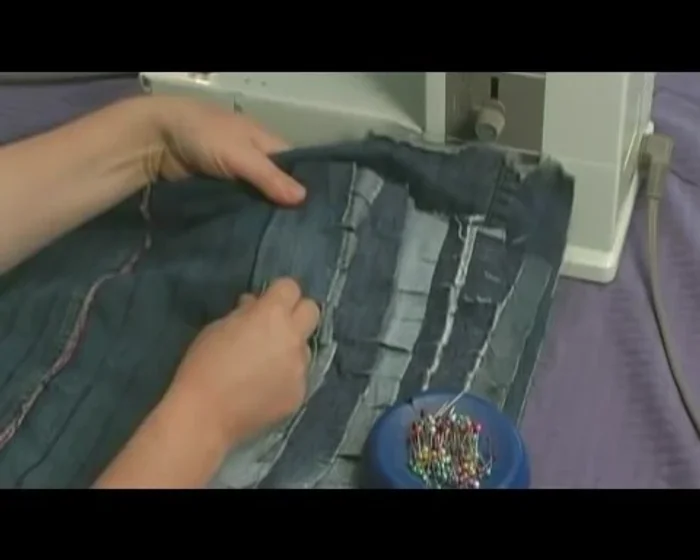
- Use pins to hold the strip in place (optional).

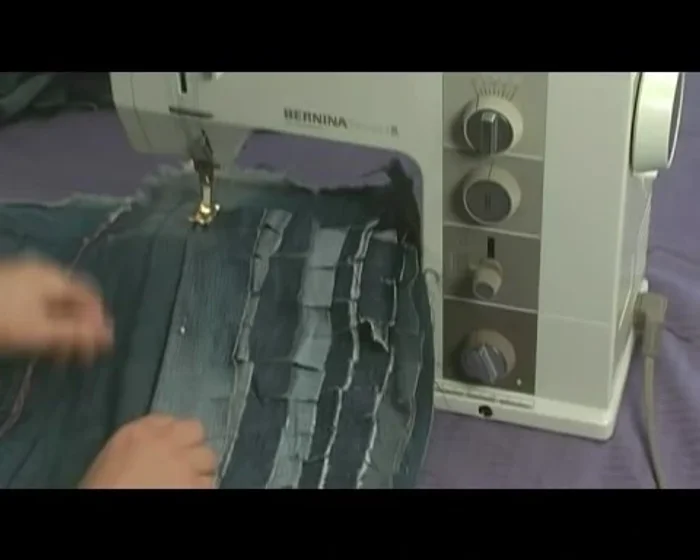
Preparing the Strip Sewing the Strip
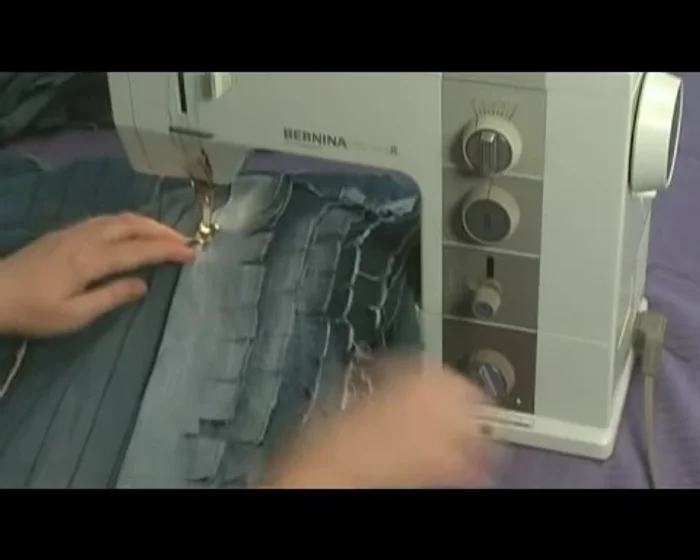
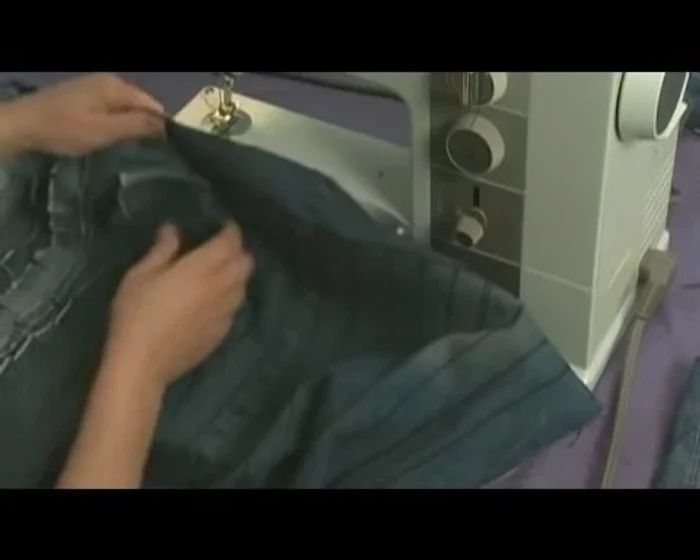
- Sew the strip using a normal stitch, 2.5 stitch length, about 1/4 inch from the edge and along the fold.
- Keep the edge of the strip aligned with your marked line.
- Use a heavy-duty needle (refer to your machine's instructions).
- Remove pins as you sew.
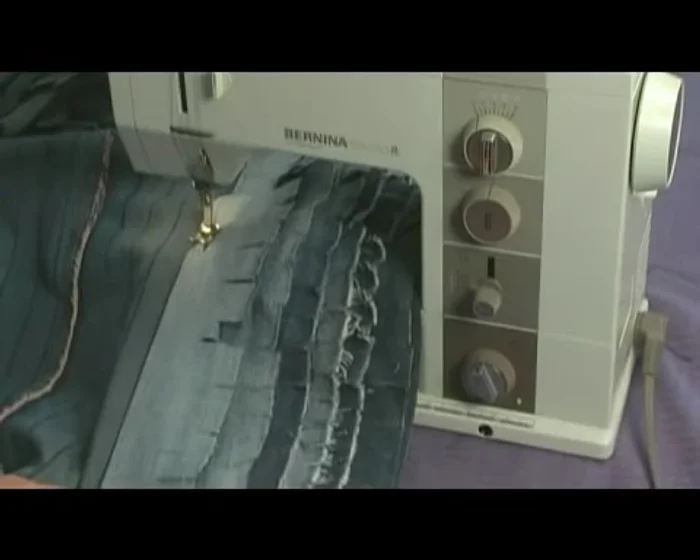
Sewing the Strip Continuing the Process (Single Direction)
- Continue sewing strips, folding them flat in one direction.
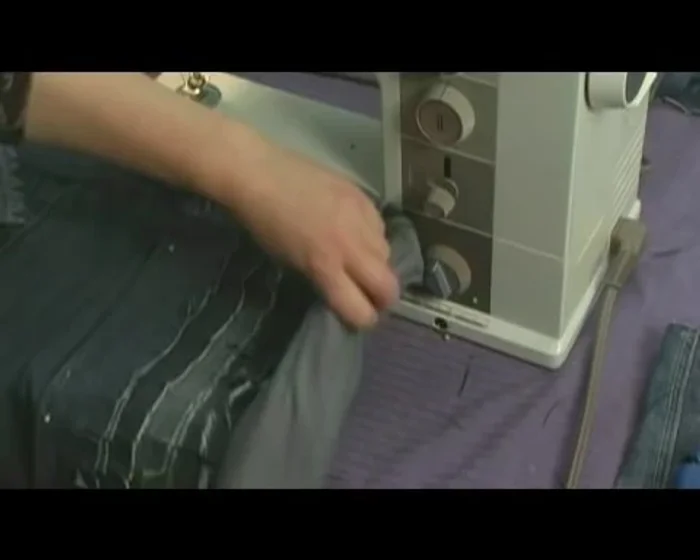
Continuing the Process (Single Direction) Managing Long Carpets
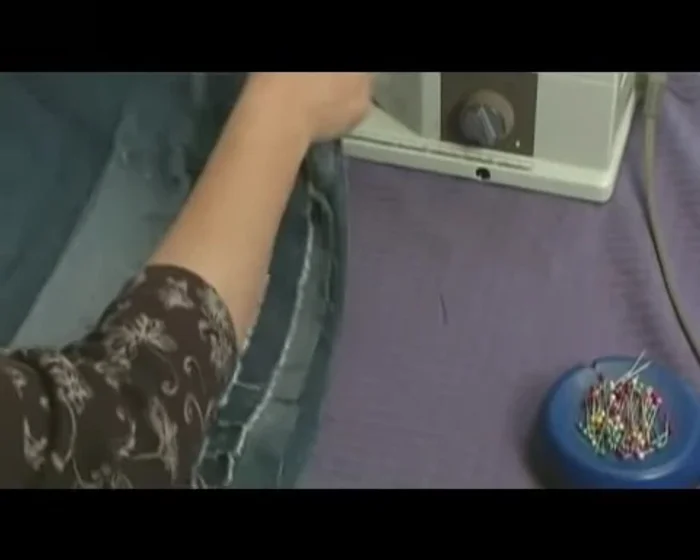
- For longer carpets, roll up the excess to manage it better during sewing.
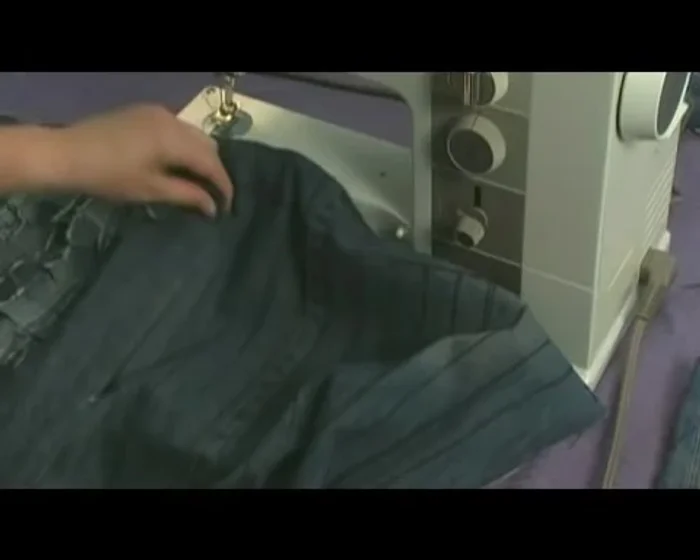
Managing Long Carpets Flipping and Finishing
- When halfway done, flip the carpet over. The sewn section will now be underneath, making it easier to handle.
- Place the next strip in the opposite direction, ensuring all strips are oriented consistently.
- Continue sewing until complete.
Flipping and Finishing


Read more: DIY Vibrant Car Organizer: A Step-by-Step Quilting Tutorial
Tips
- Use pins to secure the strip before sewing (optional, but helpful).
- Roll up excess carpet to make sewing easier when working with longer lengths.
- Flip the carpet halfway through to improve manageability.