Adding a ceiling fan with a light kit can dramatically transform a room, offering both cooling breezes and improved illumination. A well-placed fan can enhance comfort and even contribute to energy efficiency, making it a worthwhile home improvement project. Whether you're aiming for a modern aesthetic or a classic touch, a ceiling fan light kit offers versatile style options to suit any décor. Many homeowners are surprised to discover how straightforward the installation process truly is. However, proper installation is crucial for both safety and functionality.
This guide will walk you through each step of installing a ceiling fan light kit, from preparing your workspace to ensuring everything is securely connected and functioning correctly. We'll cover everything from identifying the correct wiring to finalizing the installation, providing clear instructions and helpful visuals along the way. So, let's get started on illuminating and cooling your home with this comprehensive step-by-step process.
Preparation and Safety Guidelines
- Screwdriver
- Ceiling Fan
- Light Kit
- Always switch off the power to the circuit at the breaker box before beginning any work. Failure to do so could result in serious injury or death.
- Use appropriate safety glasses and gloves to protect yourself from potential hazards, such as sharp edges or falling debris.
- Ensure the ceiling fan's mounting bracket is securely attached to a ceiling joist capable of supporting the fan's weight. Improper installation could lead to the fan falling.
Step-by-Step Instructions
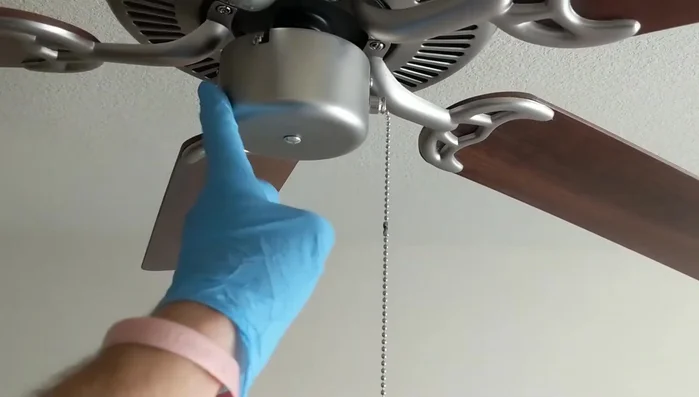
Power Off and Disassembly
- Turn off the power to the ceiling fan.
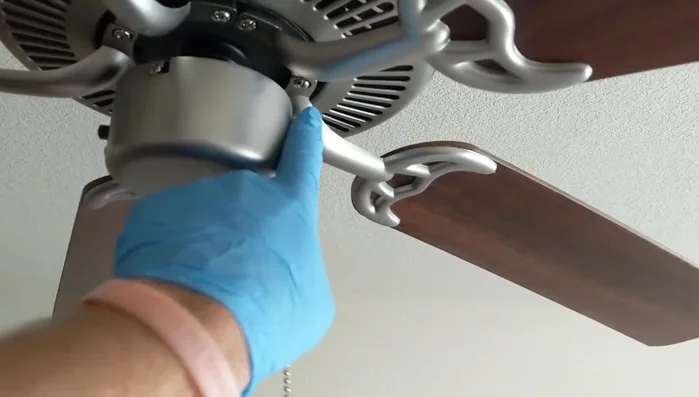
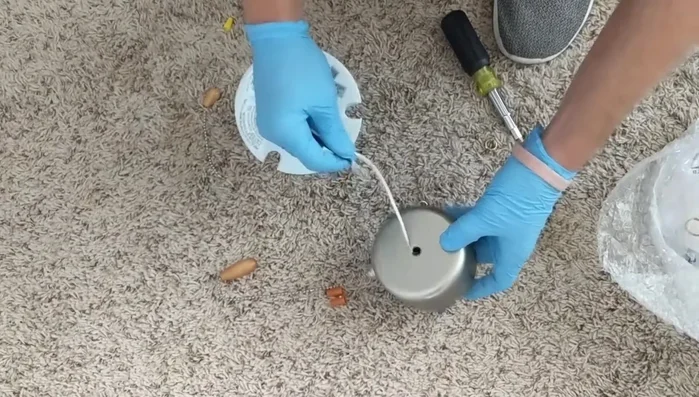
- Remove the ceiling fan blades and housing by unscrewing the screws.
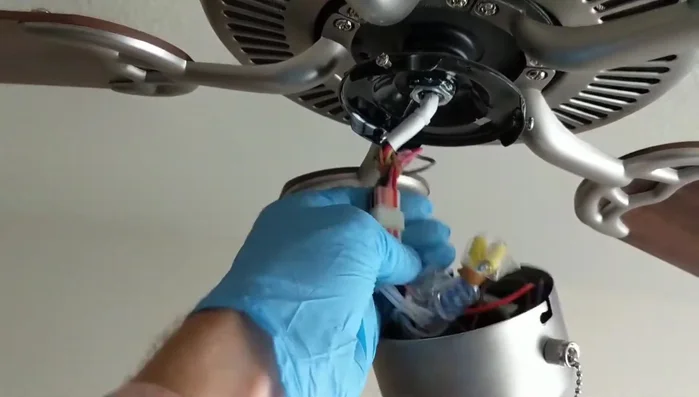
- Unplug the ceiling fan's wiring harness.

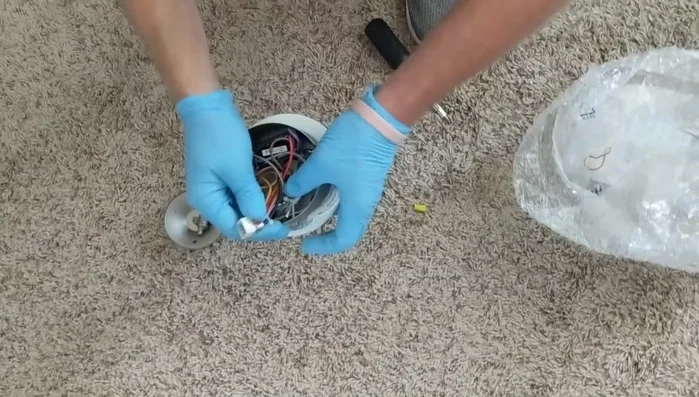
Power Off and Disassembly Prepare Light Kit Wiring
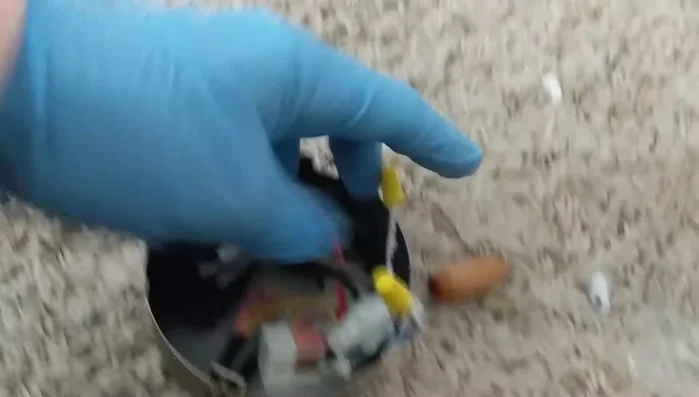
- Remove the cap covering the light kit wiring connections.
- Identify and separate the blue and white wires which are for the light kit.
Prepare Light Kit Wiring Install Light Kit
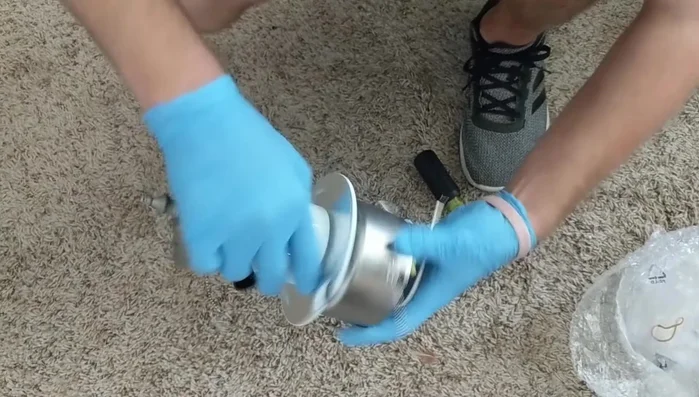
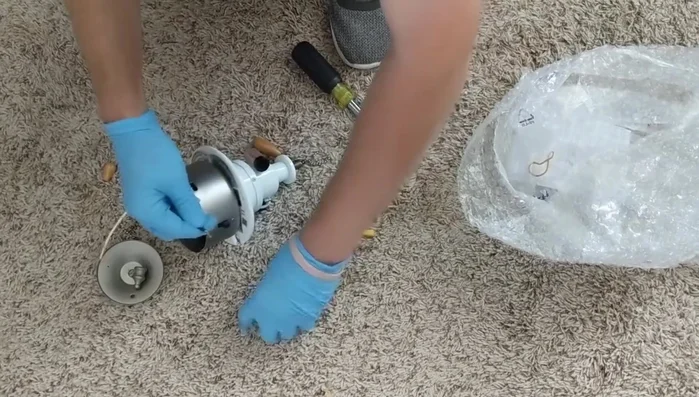
- Feed the light kit wires through the center of the fan housing.
- Attach the light kit to the fan housing using the provided hardware.
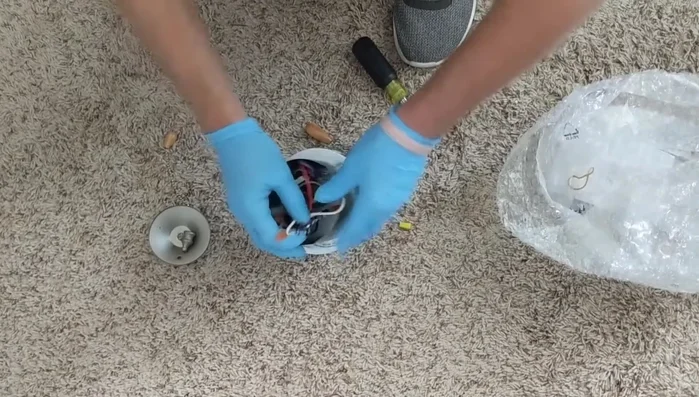
- Wire the light kit to the ceiling fan's wiring harness (black to blue, white to white).
- Tuck the wires neatly inside the housing and secure the light kit.
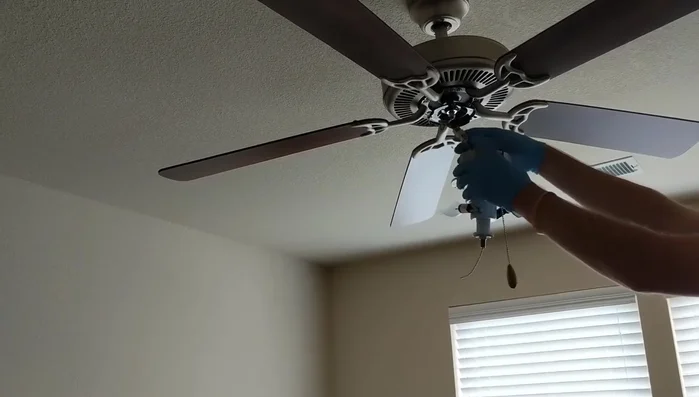
Install Light Kit Reconnect and Reassemble
- Plug the ceiling fan's harness back in.
- Reattach the ceiling fan housing and tighten the screws.
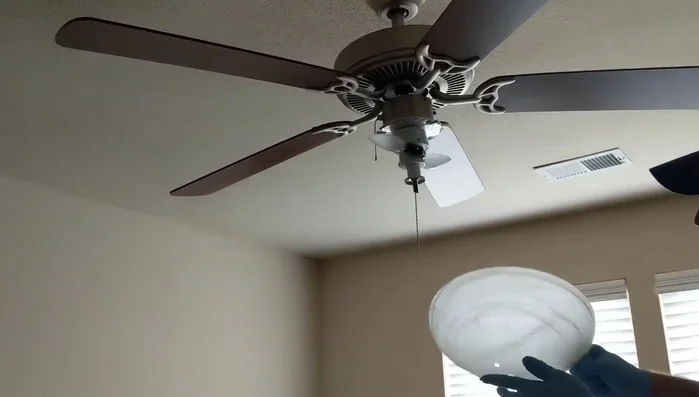
Reconnect and Reassemble Install Light Globe
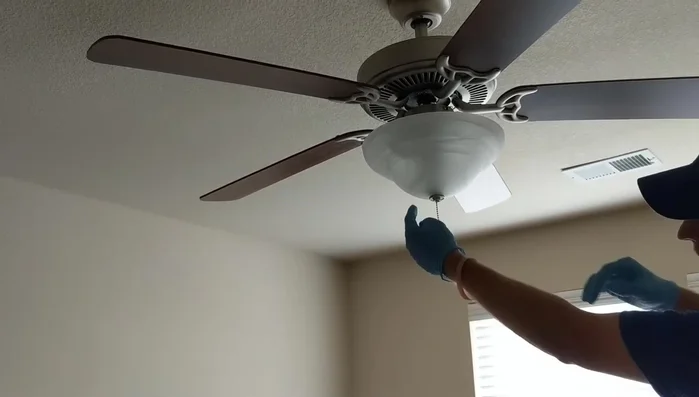
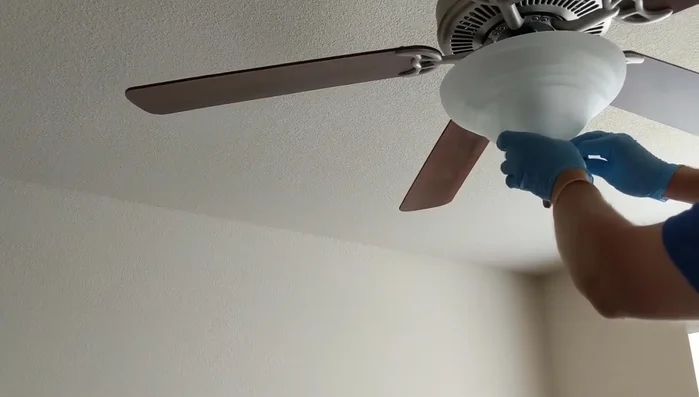
- Install the light globe, aligning it with both the light and fan chains.
- Secure the globe using the provided nut and seal.
- Reattach the fan chain, feeding it back up through the globe and hooking it to the coupling.
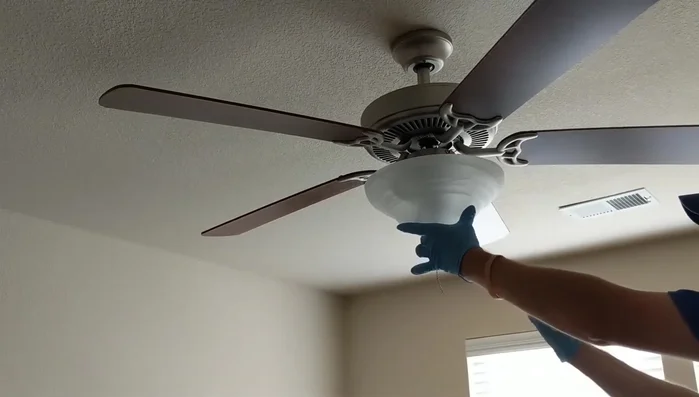
Install Light Globe Final Steps
- Tighten all screws and connections.
- Test the light and fan.
Final Steps


Read more: Installing an Outdoor GFCI Receptacle: A Step-by-Step Guide
Tips
- Always turn off the power before starting any electrical work.
- Carefully match the wire colors when connecting the light kit to the ceiling fan wiring harness.
- Ensure all connections are secure before restoring power.